Sunday, February 17, 2019

Delicate Nothings

One of the classes I attended at the Australian Sewing Guild Convention in Melbourne last year was a class with Tatyana Anderson, called Silk Camisoles that was a 1/2 day course.


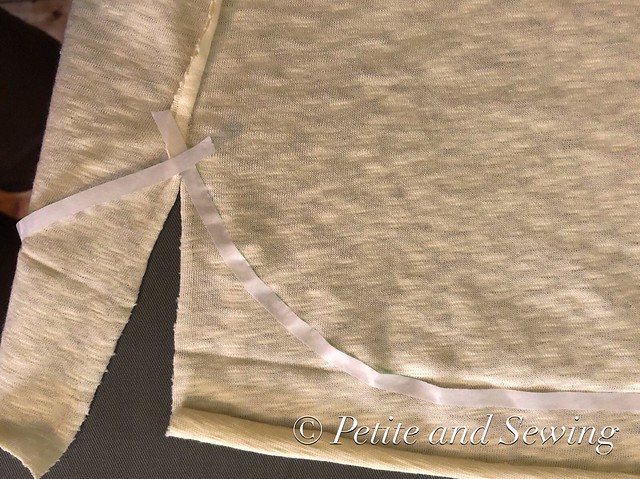
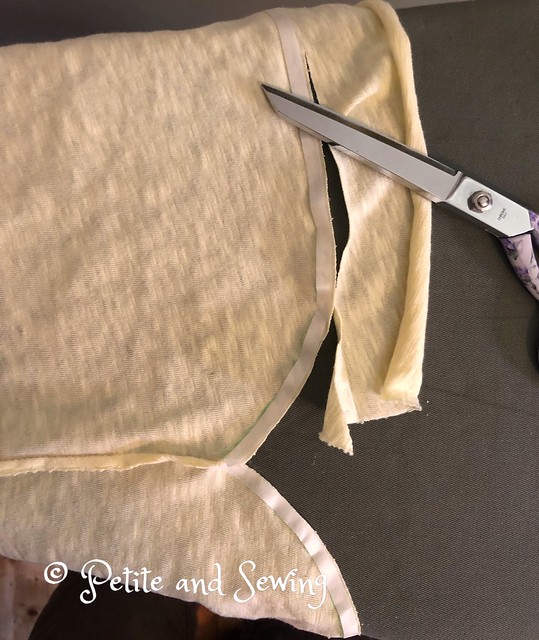
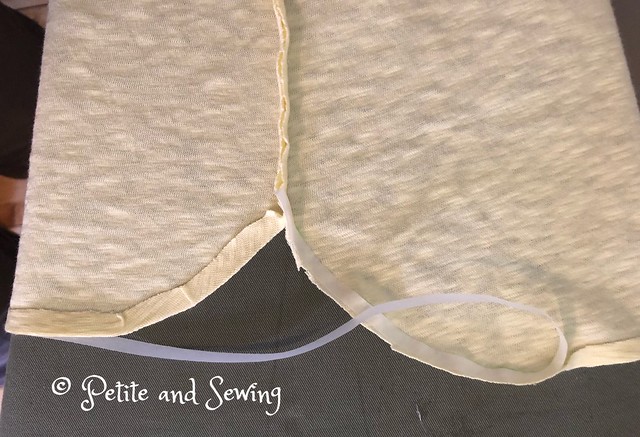
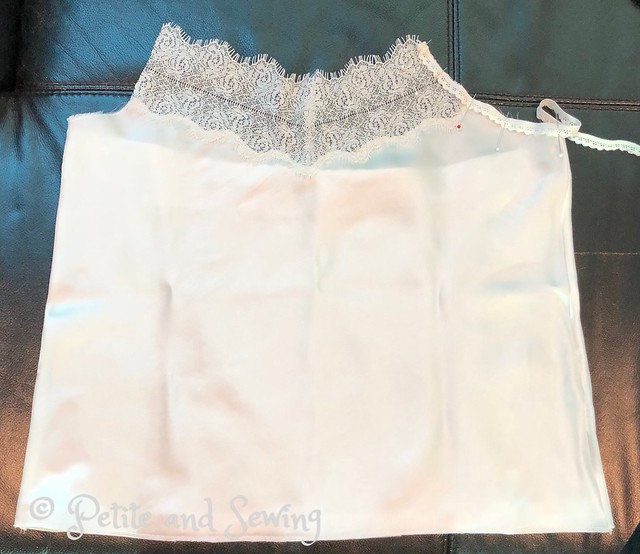
Thankfully Tatyana and her staff had cut out our silk and stablised it so we could get started on the placement of our lace straight away.

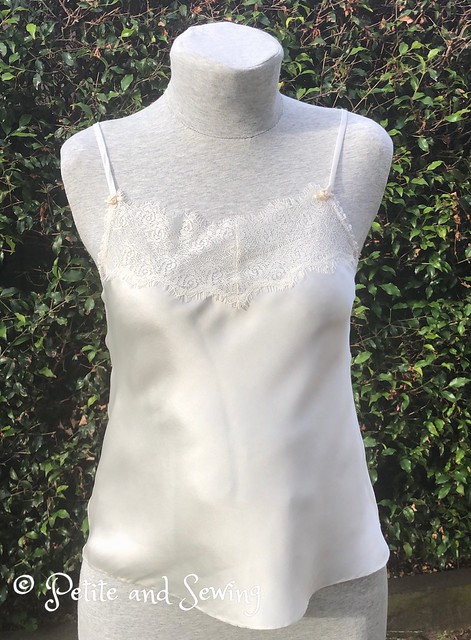
At the end of the 1/2 day I did have my lace sewn in place, the side seams french seamed and the elastic pinned in place along one edge of the front armhole.


During a couple of ASG group meetings I worked on this to finish the elastic and also to hand roll the hem,


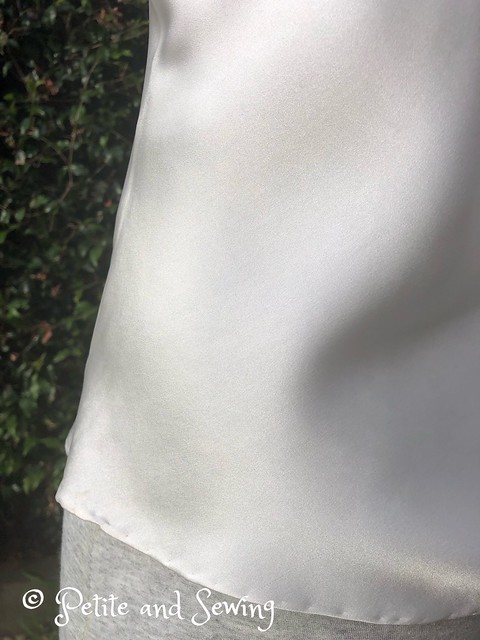
as I couldn't get a nice finish by machine and then finished the straps.

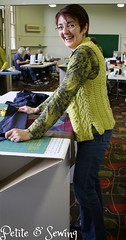
This is where it was up to when I found out that Tatyana was holding a 2 day workshop in Sydney.  I jumped at the chance to do this, as we hadn't really dealt with the initial preparation and cutting out of the silk and this is skill I want to work more on.

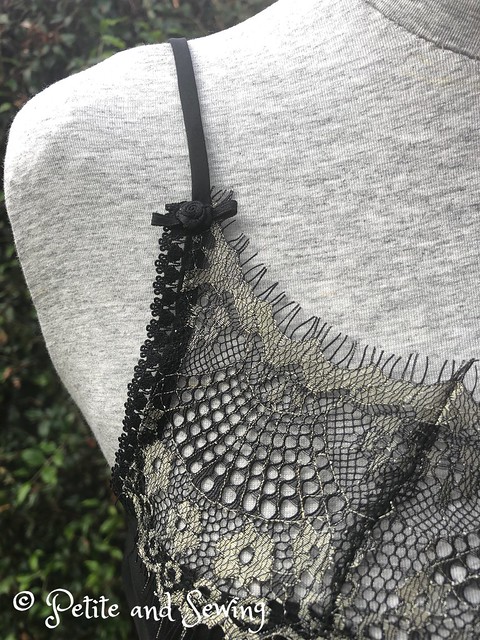
During the workshop Tatyana pinned my cream straps in place and I was able to sew these in place during the class as well.

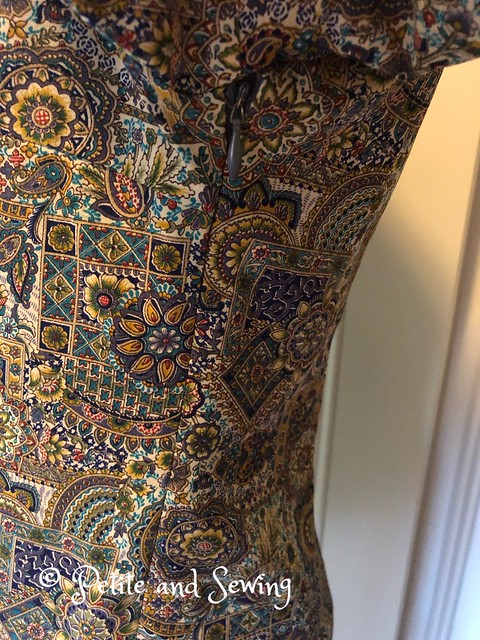
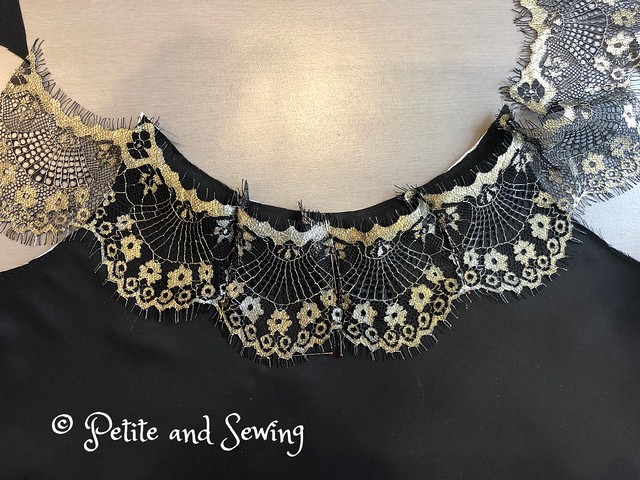
Surprisingly to my fellow attendees I had chosen a black silk with a black and gold lace kit.

We set about laying out our pattern pieces on the silk and cutting it out before we started playing with the lace placement.

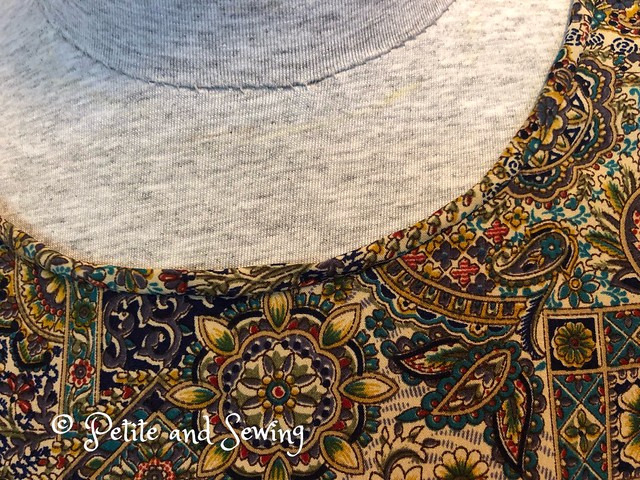
Seeing I had made a "v" neck for the cream camisole, Tatyana suggested I make this one a round neck which worked perfectly with my lace.


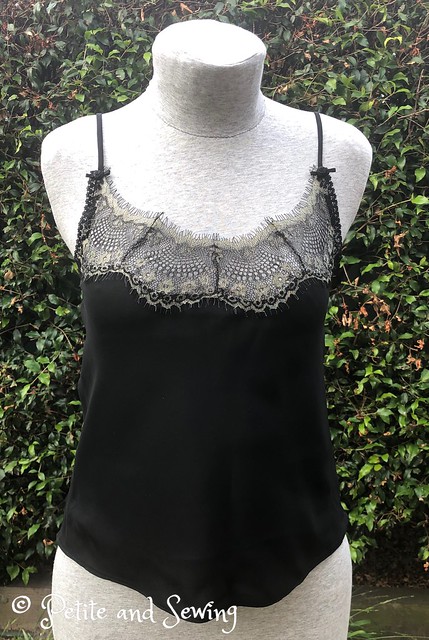
French seams are used and this time I was successful in getting a lovely machine rolled hem.

I was very pleased to get this finished within the 2 days of the workshop.


******************

Sunday, February 10, 2019

Lemon slub knit top with shirt tail hem

This is another version of KS 3740 in a lemon slub knit that was in the stash.


I would also like to introduce you to Katniss our new family member.  This is why Tomba is in nearly every photo as he is busy trying to find out where she is in the hedge.

Now to change up a plain t-shirt I decided to use the downloaded shirt-tail hem extension from Christine Jonson Patterns that I had downloaded sometime last year that has been sitting in my KS3740 pattern folder waiting for me to remember to use it.

So finally I got to play with it.

My t-shirt length is long meaning I usually cut off around 7cm depending on the fabric drape, so I already had some length built into my pattern to play with.

You make your t-shirt as normal until the side seams, so I used the binder on my Coverstitch for the neckband,


and then used the chain stitch on my Coverstitch to baste the side seams together so I could work out the length of my top and the point I wanted the split to occur.

I then machine stitched my side seams, stopping 6cm from the hem, where I pressed open the seam allowances and then had Mark level the front and back hems.

Once this was done, I pressed the hems and then used the shirt-tail hem extension to draw in the shaped hem with a FriXion pen.


Then with some 6mm Steam A Seam I finger pressed this around right at the outside edge the hem allowance,


and then trimmed the fabric back so I only had a 6mm hem allowance.


which I then carefully removed the backing tape from the Steam A Seam and finger pressed the hem in place


so it was ready to be taken over to the Coverstitch to finish the body and sleeve hems.

Front view minus Katniss


Side view


Back view


This is my 2nd piece for SWAP 2019.


******************
2019 Stash Out: 2.3 m
2019 Stash In: 0 m

Sunday, February 3, 2019

Multi muted V8572

I thought this blouse was finished a while ago but it was one of those that wasn’t quite right.


The fabric was in my stash and I can't remember where I purchased it from but the colours in it means I can wear it with navy, brown and olive skirts.

I ended up doing a burn test to work out what it might be and it is pure polyester although I find it quite comfortable to wear in the heat we have been having recently and it drapes well.

I have:

-  put an invisible zip in the left hand side seam


-  a tiny bias neckband, stitched on by machine and then handstitched in place


I wore it a couple of times and it just didn't look right and finally realised it was too long, only by 1cm but that perfect length was not there. 

So I took the hem up and I thought I had a new top to wear.  Not so!

On my pattern I had noted to shorten the back darts after seeing the pictures of this top, however I also did the same to the front darts (my blog post did say back only) which was a mistake as the top was falling away from my body, not a look that I like.

The top sat around for a few more weeks before I lengthened the front darts into the hem.  I am glad I persisted in getting this right as it has been a great addition to my wardrobe.


*****************
2019 Stash Out: 1.5 m
2019 Stash In: 0 m