Showing posts with label Gift. Show all posts

Sunday, March 18, 2018

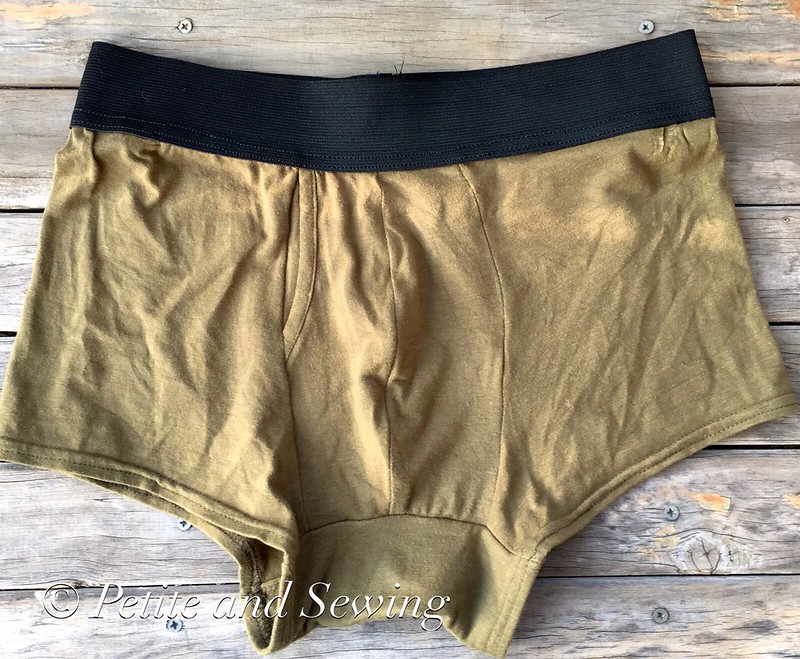
Como Trunks

Still catching up with my sewing backlog, here is a gift I made for Mark back in September last year.

I have read a lot of reviews of the Thread Theory Como Trunks and purchaed a kit back in 2016 to check out the fabric quality as well as the elastic that they suggest you use.


These were made for our 16th Wedding Anniversary in 2017, and the gemstone colour is Peridot which by my thinking is green therefore this olive fabric in the Como Trunks kit was perfect and thankfully quite quick to make up.

For some reason last year Mark decided to wear trunks and went on a bit of a purchasing spree.  At this time he did make the comment that he didn't want any for his Birthday or Christmas so I felt that I could still give him a pair for our Wedding Anniversary.


As usual the Thread Theory instructions are very clear and you end up with a very professional looking pair of trunks.


The only change I made was the way I sewed on the elastic for the waist, I followed how Mark's RTW trunks were sewn which meant I had to trim the excess fabric away using my Duckbill scissors.

The Coverstitch was perfect for stitching the elastic in place as well as for the two leg hems.


There are no modeled photos but they are in high rotation which is great, but so far there hasn't been a request for any more so I will see if that changes as the year progresses.

******************
2017 Stash Out: 21.9
2017 Stash In: 14.6 m

Sunday, March 4, 2018

Garnet Finlayson

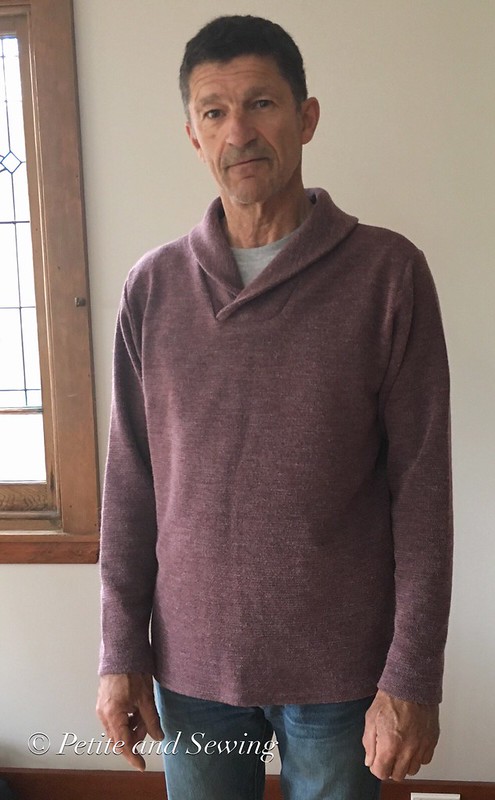
I've been sewing for Mark again for our 15th Wedding Anniversary back in 2016 and it has taken me quite a while to get some photos of this garment even though it is worn quite a lot.

Some of the choices from Traditional and Modern Anniversary Gifts suggested Glass, Watches, Ruby, Alexandrite and Rhodite Garnet.

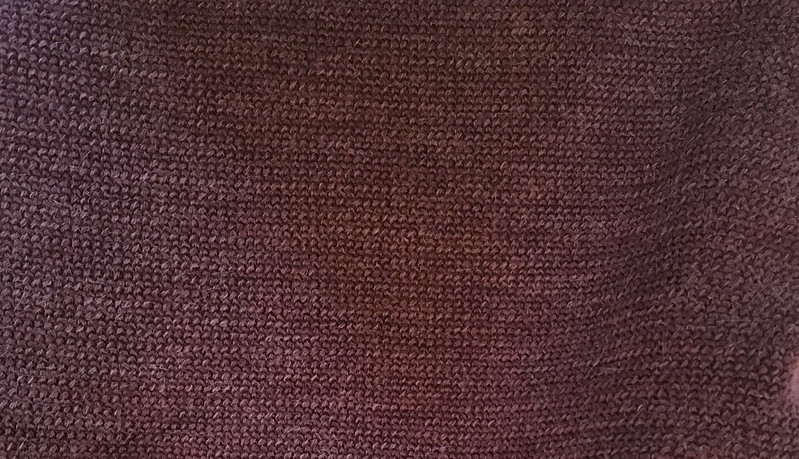
I then remembered I had been given some Sweater Knit from Knitwit by Alison's mother about 10 years ago that I had earmarked for a smarter sweatshirt style that Mark had been wearing for years that were starting to show their age.


So I headed to Thread Theory and purchased the Finlayson Sweater PDF as I planned to sew this during our Sewing Weekend in Brisbane as Mark was going to be away for our wedding anniversary. However his plans changed so I suddenly had to get this made.

Working from his much loved sweater I cut a large and added 7.5cm in length as I wasn't going to add the bands.

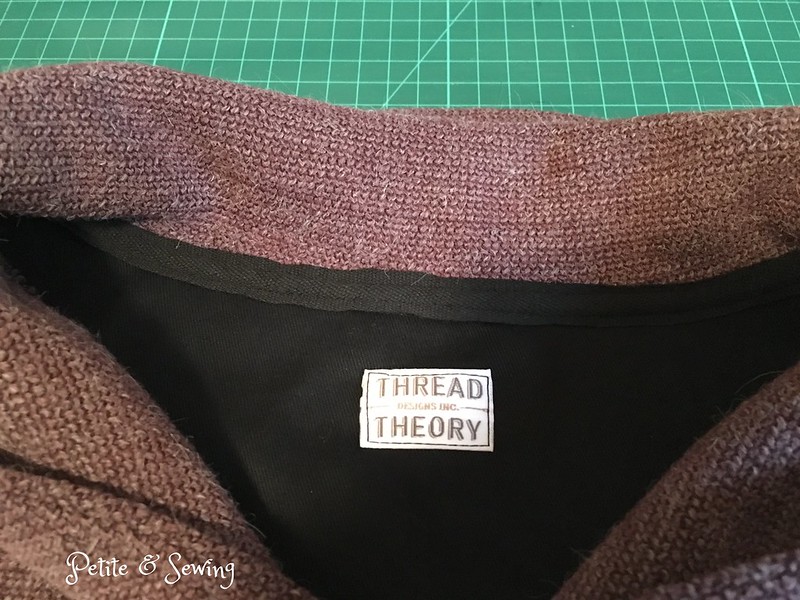
From my bag stash fabric I found some black twill that I used for the back neck facing.


and used my Duckbill scissors to trim the bulk from the collar which I also understitched.


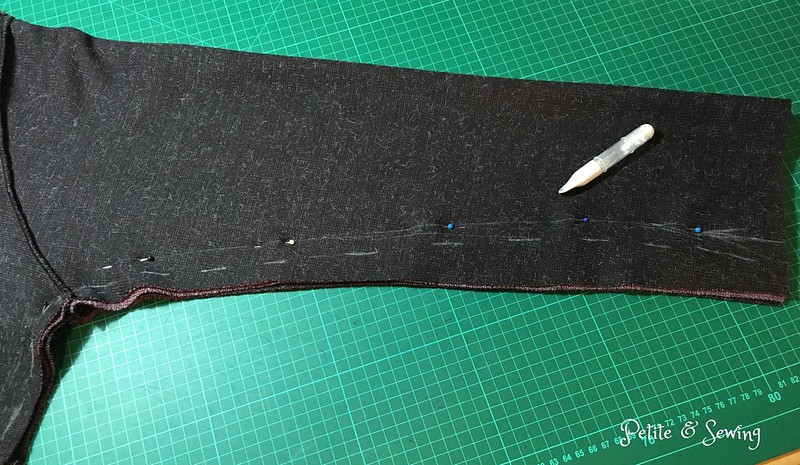
This pattern went together very well and when I had the sleeves in I decided to compare it to his much loved sweater and realised it was going to be too large in the sleeves and also thought I'd take some extra width from the side seams as well.

The solid line is my stitching line and the dashed is the cutting line.

The final steps were to add some black twill tape to the neckline and to do the hems on my Coverstitch.


Mark has said that it is a different neckline but he seems to be quite comfortable with it as it got a lot of wear during Winter.


This is the only photo I have got of the back view, which shows how much fullness there is in the body,

mucking around with Roscoe
so I will compare this to the Medium to see how much difference there is for the next version.

******************
2017 Stash Out: 21.9 m
2017 Stash In:  14.6 m

Sunday, June 12, 2016

A Special Birthday present!

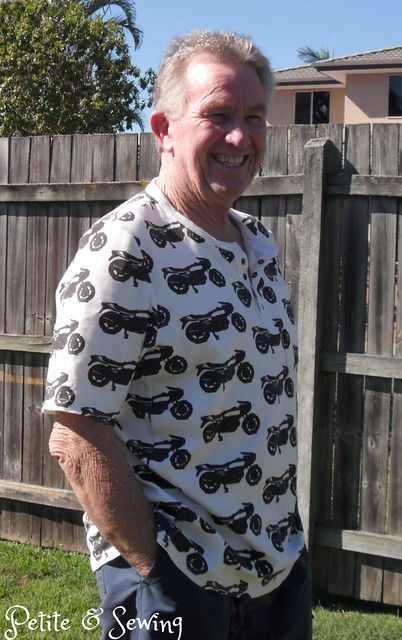
My DBIL is a keen Ducati lover and rider and he celebrated a big "0" birthday in April with friends and family.

I had been racking my brain what I could do for a present that was a bit different.

Then I started to see some patterned mens t-shirts about and was seeing a lot of fabric printed at Spoonflower and an idea started to formulate.

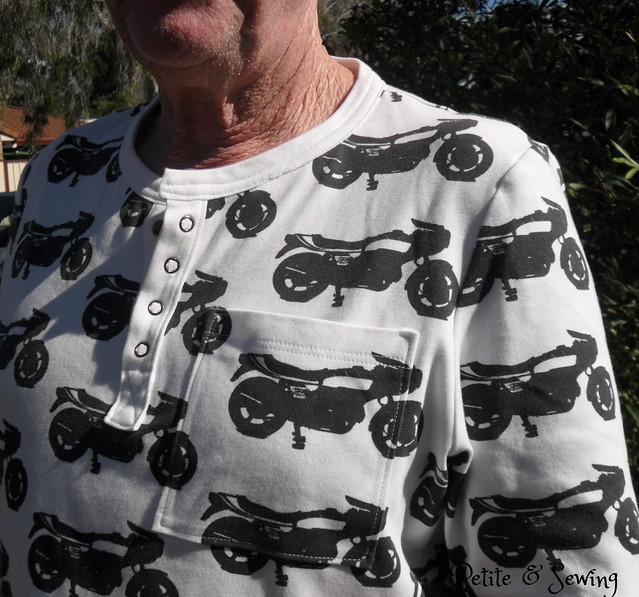
My BIL loves to wear t-shirts and also likes to have a pocket, which most RTW don't have, so after making 2 Strathcona Henleys for Mark, I decided this is what I would do.

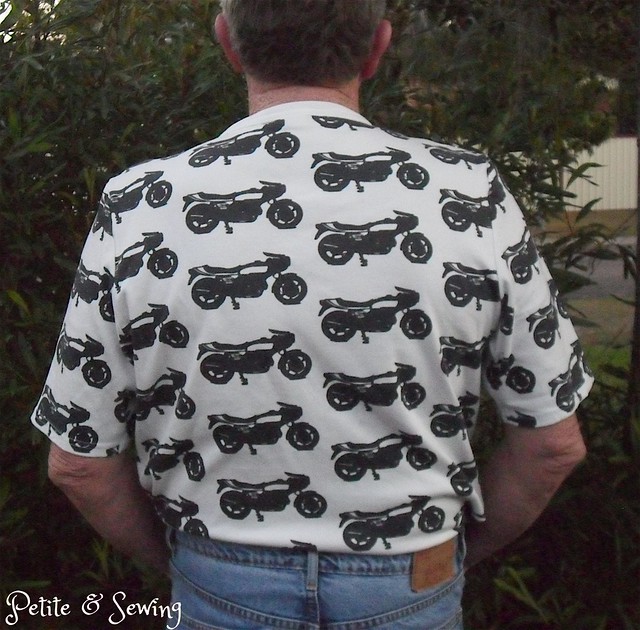
I found a picture of his 900 SS Darmah and then used the feature in PowerPoint to "remove the background" and with a bit of fiddling I had a pretty clear black and white jpg of this bike.  I uploaded it to Spoonflower and chose a half-drop layout and then ordered a sample in their Organic Cotton Interlock Knit.

This arrived just before Christmas and gave me time to think about exactly what I was going to do. So at the end of February I ordered the Ducati fabric as well as a metre of the plain Organic Cotton Interlock knit in case I wanted to use it on the Henley.

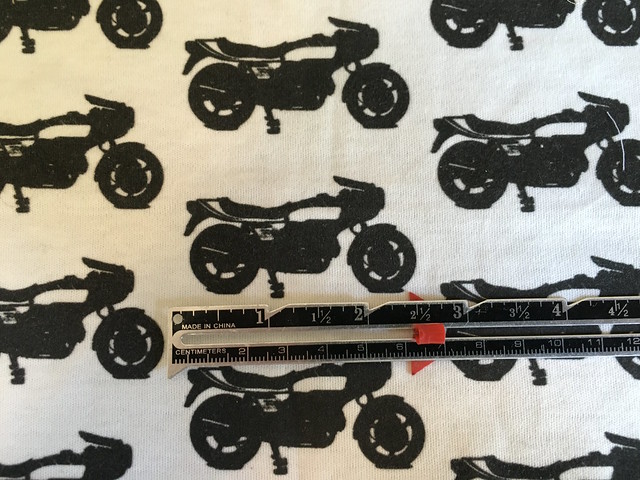
Now this is where I had a bit of a shock, the sample I received the bikes looked like this


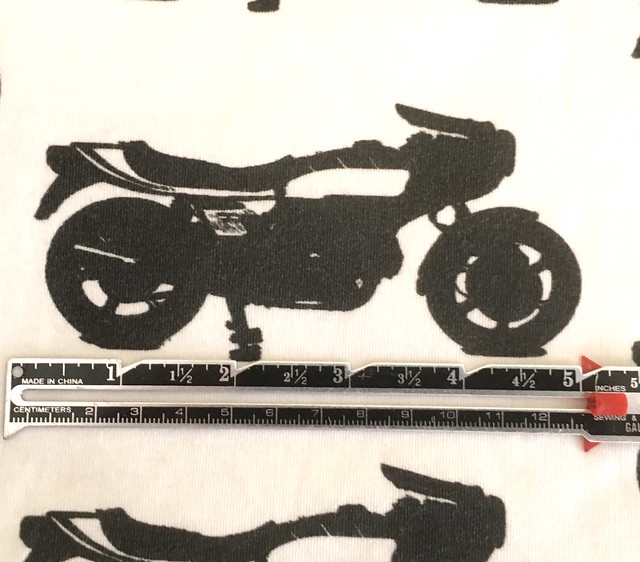
and the real fabric they looked like this.


I did pop back onto Spoonflower to double check what size I had chosen, and it was the 5" size.  I completely forgot to the check the size of the bikes on the sample because if I had I would have reduced the size of the bike to 2.5" only if I could have spaced them out a bit more.

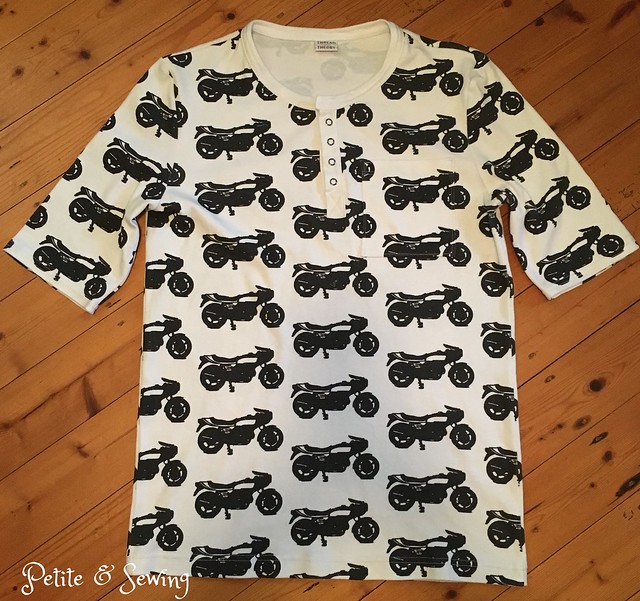
Now I wasn't sure if this would look like a t-shirt or a night shirt but I decided to go keep going.

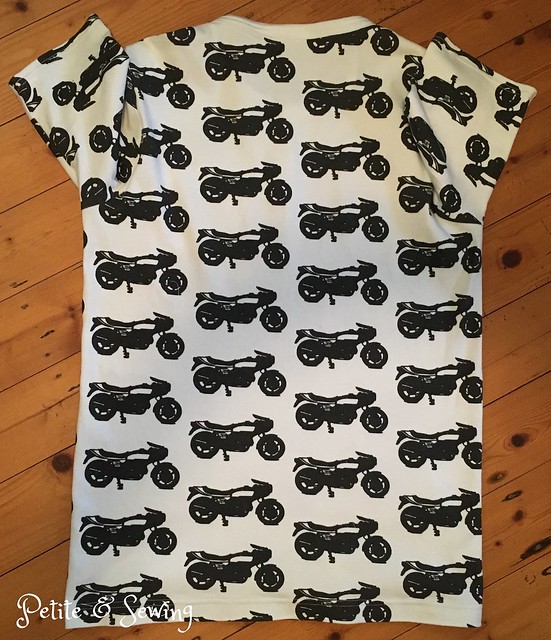
It did take a bit of head scratching to cut it out, Roscoe was locked outside and the fabric was spread out on the floor so I could get a better idea of the positions.  I soon realised that I would not be able to pattern match the sides so I decided to have a

  • full bike at centre front

  • a full bike at the side seams on the back.

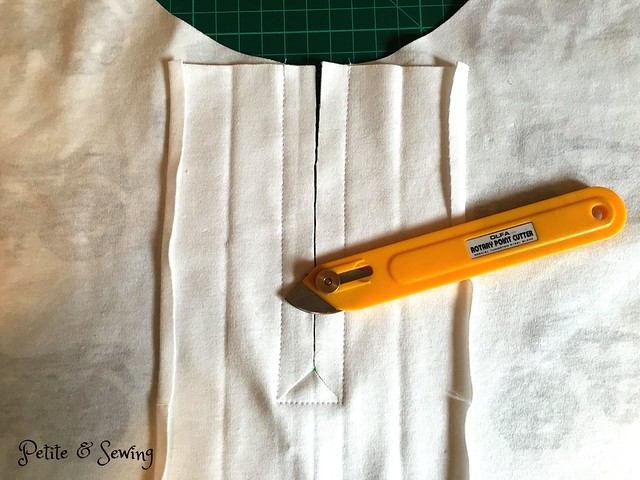
The first thing you do is the placket, so I chose to use the white organic cotton interlock knit for this and it went together very well with the help of the Olfa Rotary Point Cutter.


Next up was the pocket.  Now I wanted this to be invisible so I traced of a pocket pattern


and then laid it on the fabric to get the design and placement correct.


I've never installed a knit patch pocket before and found this great tutorial over at Seamwork.

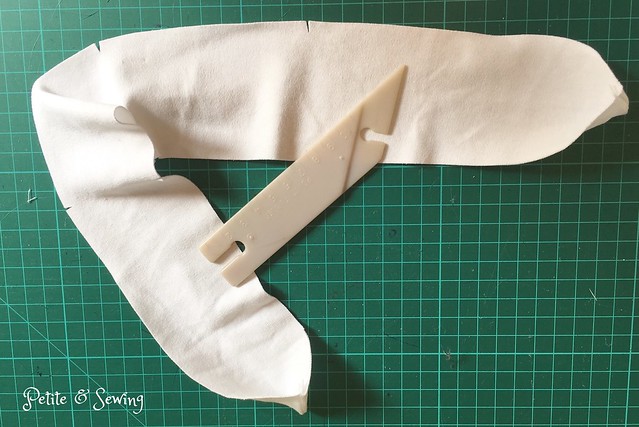
Next the shoulders and then the neckband.  I have tried the method that Thread Theory suggests but I just don't like the overlocking on the neckband and this is the way I did the neck band on Mark's but didn't document it.

I sew the ends of the neckband together as per the instructions, but that is where it stops.


Then I pin the neckband to the neckline like this, and sew it in place.


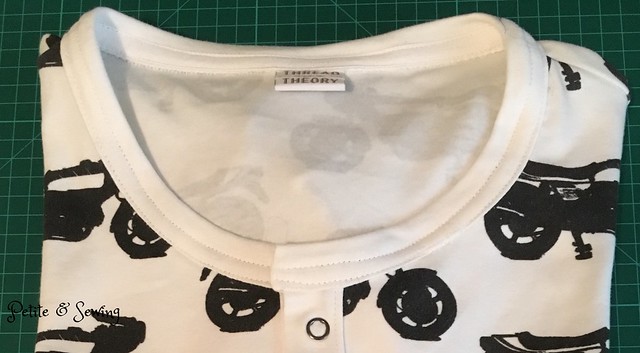
Then I turn under the other neckband edge and pin in place and handstitch this in place, remembering to add the label.  Thinking about this it is like attaching a waistband.

oops I forgot the label!
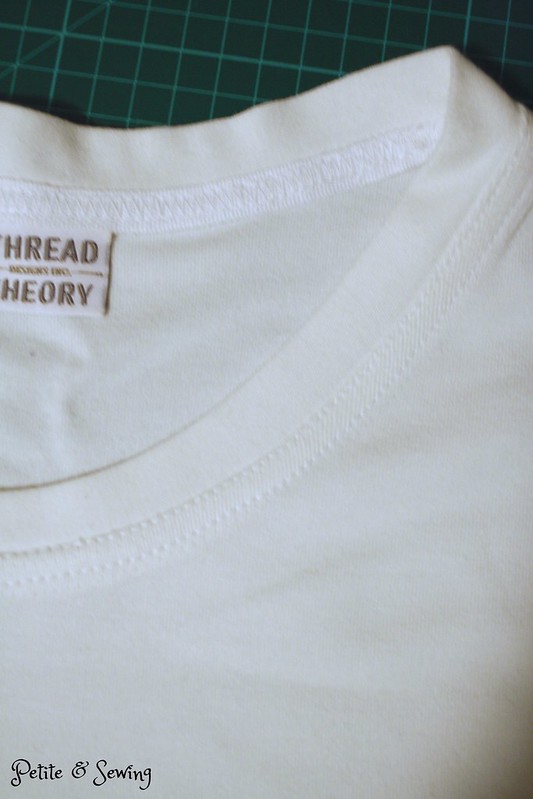
The final step is to add some twill tape to the inside neckband just like RTW and I did this for Mark's Skiing Henley but found more information over at Baste + Gather and her T-shirt Neckline Twill Tape Tutorial.


The rest of the t-shirt went together very smoothly.

My final decision was what I was going to use on the placket:
  • black buttons
  • white buttons
  • smoke open prong ring snaps
The snaps won and I got to use my new toy, the DK-93 snap press which you saw happening here!

The problem with a surprise gift and your sister telling you not to make the t-shirt because you are so busy, is the Henley was a bit too tight for my BIL's liking, it did fit him and in fact it is the best fit across his shoulders he has ever had but it was just a bit too close fitting for him to be comfortable in.

So it came back home with me so I could adjust the fit.

Luckily I had some left over fabric and manage to cut out two side panels of  8cm width that ended up in a point into the sleeve hem.

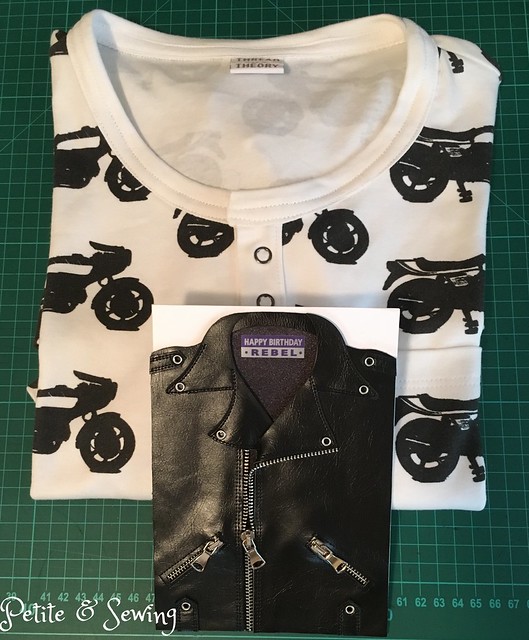
And look at this cool card I found when we were in Canada!


When he opened his parcel he thought I hadn't done anything to his Henley until my sister showed him the pattern matching at the front side seams.


He is very happy with his Ducati Henley.

*****************
2016 Stash Out: 8.1 m
2016 Stash In: 18 m
Sunday, January 24, 2016

Skiing Henley

The planets have finally aligned and I have been home when Mark has put on his Anniversary gift from September last year.

The modern gift guide for our 14th anniversary suggested Ivory or gold jewellery and seeing he doesn't wear any jewellery I put my thinking cap on regarding Ivory.  Luckily I remembered that I had some Ivory Bamboo Interlock purchased in 2009 from The Bamboo Fabric Store in my stash which would work perfectly for another Strathcona Henley, maybe the t-shirt with short sleeves this time.

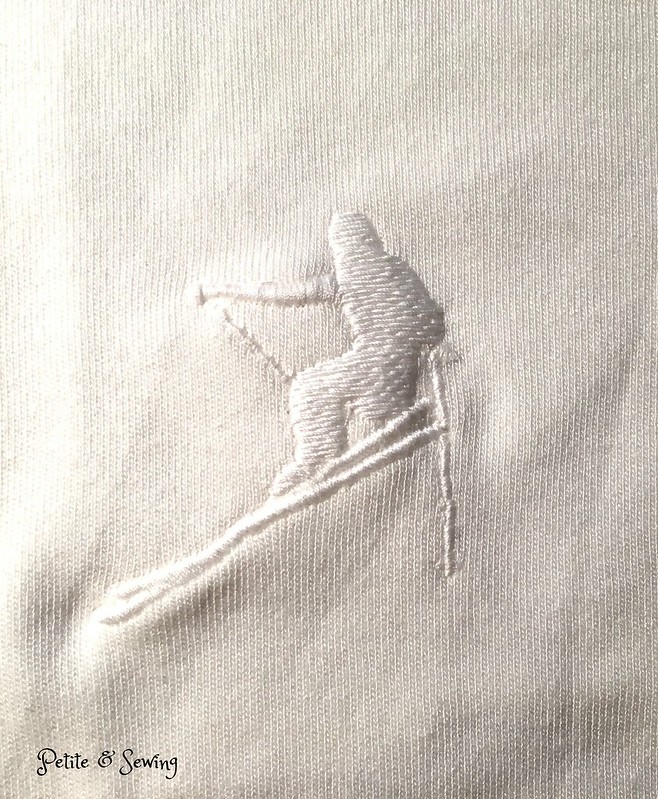
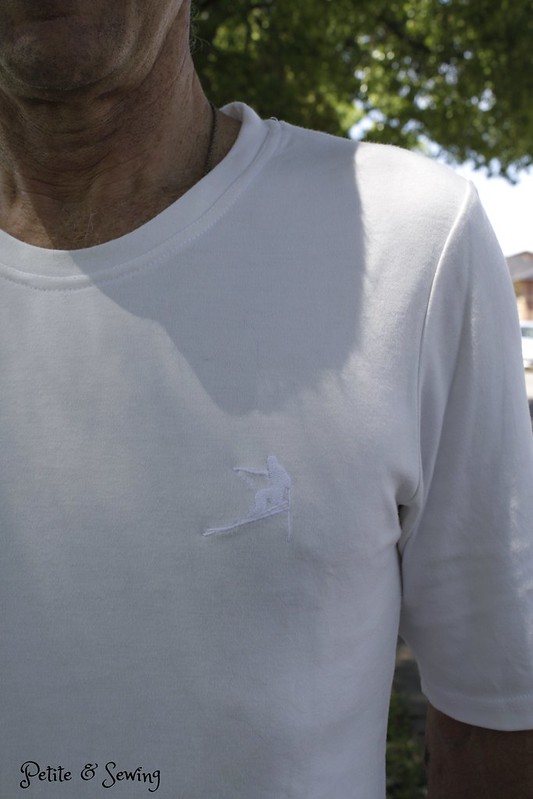
My next quandary was how to make it not so plain and then remembered Mark had a purchased t-shirt from Japan back in 2005 which was looking very sad, but had a tone-on-tone embroidered skier on it.

Now how to do this as I don't have an embroidery machine, but this is where talking to your sewing buddies is great, Alison volunteered to do this for me.

So I headed over to Great Designs and purchased a skier design for Alison to use on her machine.  It took Alison a few test runs with different threads to get the skier to look like I had imagined, and we ended up using Mettler No 703.


The only adjustment I made to the pattern was to lower the front neckline by 2cm.

And to make the t-shirt look more RTW I dug out some white twill tape and stitched it around the back neckline like Mark's RTW t-shirts.


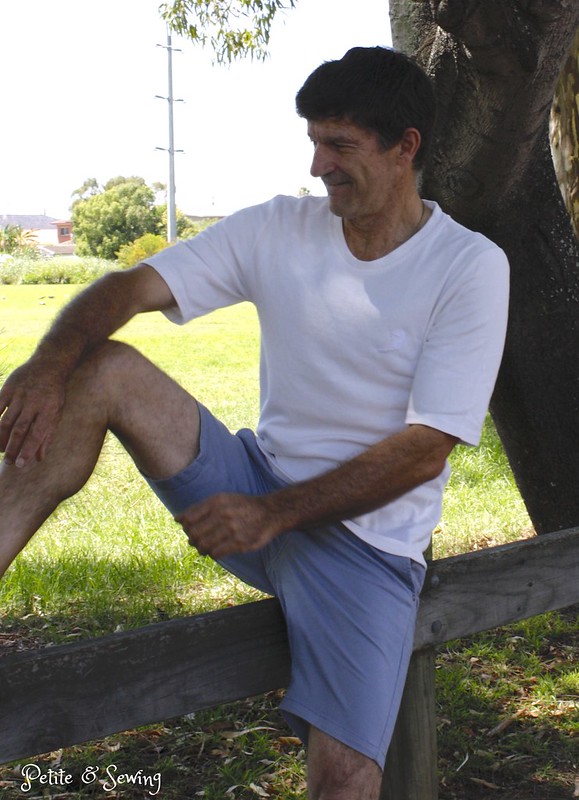
Mark is very pleased with this t-shirt, it has had a lot of wears already.

******************
2015 Stash Out: 25.55 m
2015 Stash In: 32.8 m

Monday, December 28, 2015

Twas 5 nights before Christmas .....

and I decided to make an extra gift for Mark's nieces and nephew.

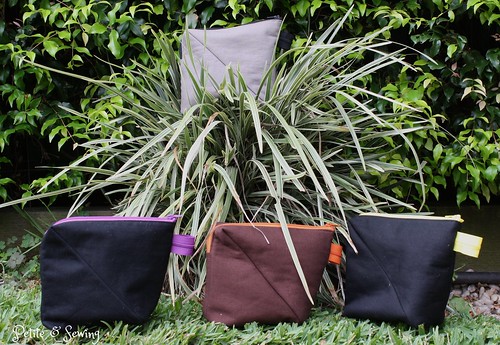
This is where sewing with your friends on 19 December  at our ASG Group at The Remnant Warehouse is dangerous.  Deborah was making the Bendy Bag by Lazy Girl Designs and I was keeping a close eye on how this went together as I had the pattern in my stash and do have intentions of making one for myself.

Well Deborah made 2 in the one day of sewing so that got me thinking and when I showed Mark what I was thinking of, he said yes and he would have one as well*.

So again the bag stash was raided and so was my zipper stash as I needed  a 14" zipper for each bag.

The only thing that Deborah and I weren't that thrilled about was that the lining seams are visible and I did try and work out how to hide them but really don't think it is possible.  So I took some of the offcuts over to my Juki and tried a few finishes.

This is what I found worked best for those seams.

Stitch length of 1, Blade at 3.5 and foot pressure H.


I did manage to get two sewn during the working week and I was very thankful that our office closed on 23 December so that left me Christmas Eve to finish off the other two.


These were well received by Mark's nieces and nephew and there were quite a few hints from other members of the family, so I might have next years gifts for some already worked out!

* Mark is still waiting for his!

******************
2015 Stash Out: 15.85 m
2015 Stash In: 18 m

Sunday, December 27, 2015

Kris Kringle gift


Earlier this month I attended the Australian Sewing Guild Region Day and AGM at Bernina Chatswood and we could take along a Kris Kringle gift.

Now this is where reading blogs can give you some great ideas.  The site that I find quite interesting during the lead up to Christmas time is Sew Mamma Sew, during the month of November where they have new tutorials, recipes and printables for all areas of your life for Handmade Holidays.  They also do a blog post that lists all the ideas together, 9th Annual Holidays Tutorials.

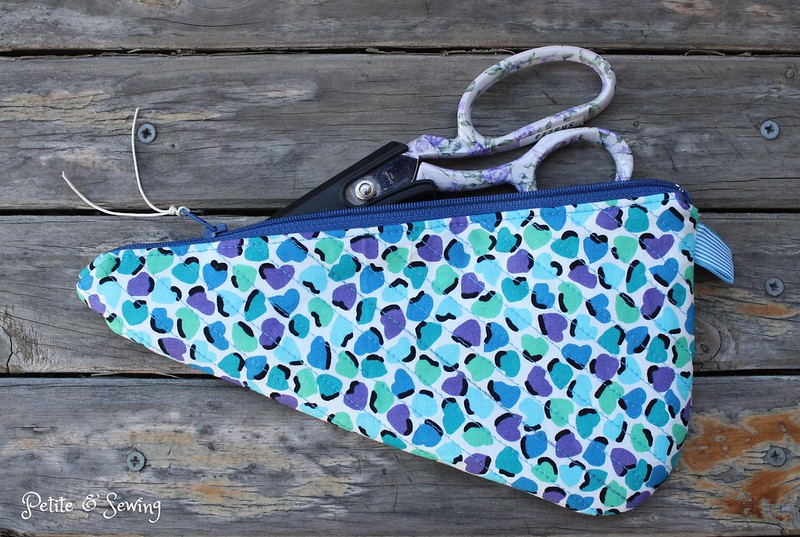
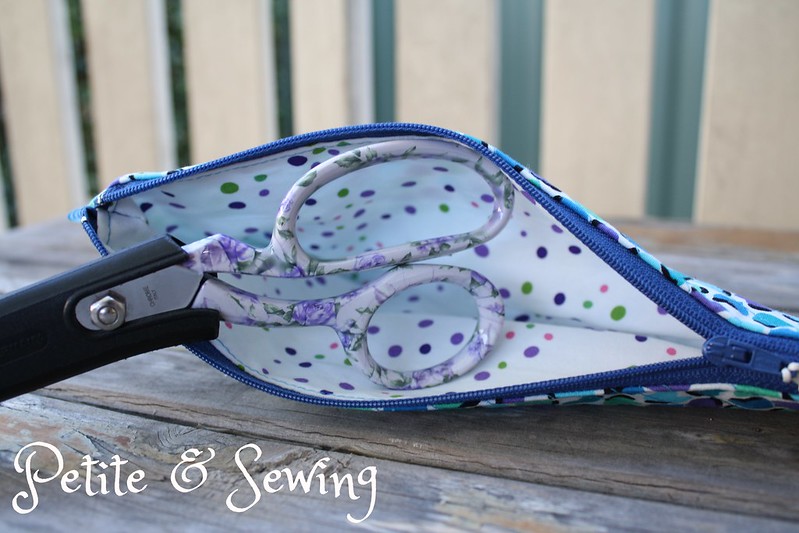
When I saw the Scissor Cozy I knew this would be great gift for any of my sewing friends.


Luckily everything was in my stash except the small amount of ribbon.


The scissors aren't part of the gift, but I did print out a picture of a pair of scissors and put this inside the cozy in case it wasn't clear what is was used for.


******************
2015 Stash Out: 15.35 m
2015 Stash In: 18 m
Sunday, March 29, 2015

Flat Iron - Curling Iron Travel Case

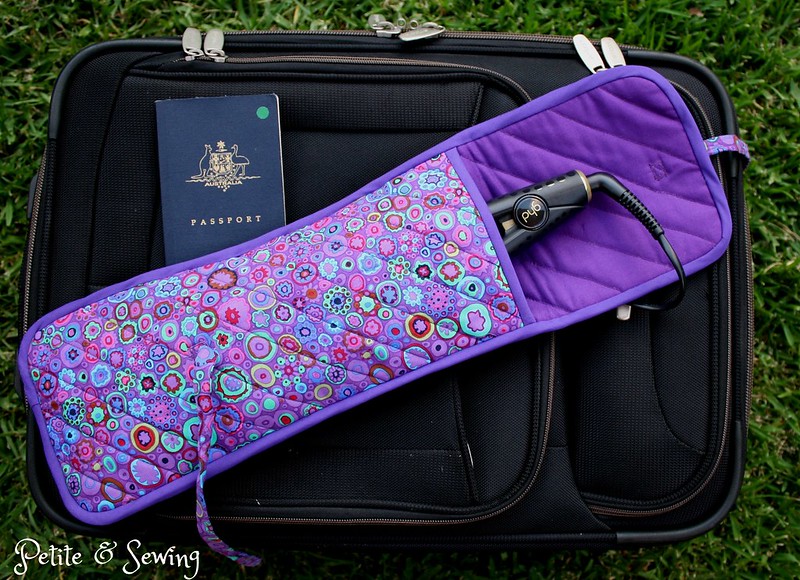
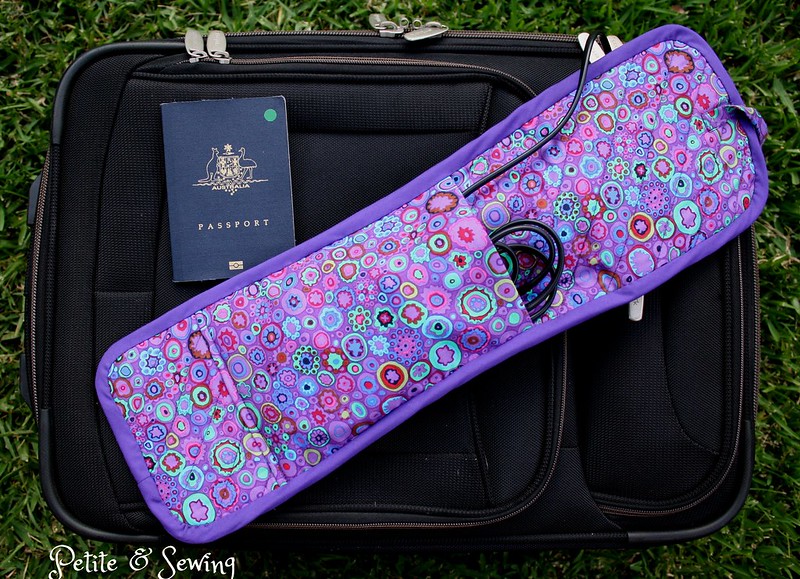
Even though I said my sewing mojo had disappeared, it didn't stop me from making my best friend a Curling Iron travel case for her birthday back in February.

I found this great tutorial over at Sew4Home for a Flat Iron, Curling Iron Travel Case and then spotted the perfect print and plain fabric as well as the Insul-Bright Insulated Lining (so the iron can be packed when it is hot) at The Remnant Warehouse.

The instructions are very well written and easy to understand.

The one thing I did differently was to quilt the sandwiched fabric together to keep it all secure.

This is the Travel Case closed with the cord in the back pocket.  To get an idea of the finished size it is sitting on top of my carry on bag.


The hot iron is encased within the Insul-Bright Insulated lining.


 and the cord is then folded into the pocket on the back.


For those days that the iron is cold, you can put both the Iron and cord in the front pocket.


I believe it has been on few trips already!

and, if you haven't entered my giveaway, you still have a few days to do so.


Sunday, March 22, 2015

Goodies and a GIVEAWAY!

Back in December Yoshimi had a giveaway for a gachapon and I'm certain that Yoshimi heard my squeal of delight when I was a winner.

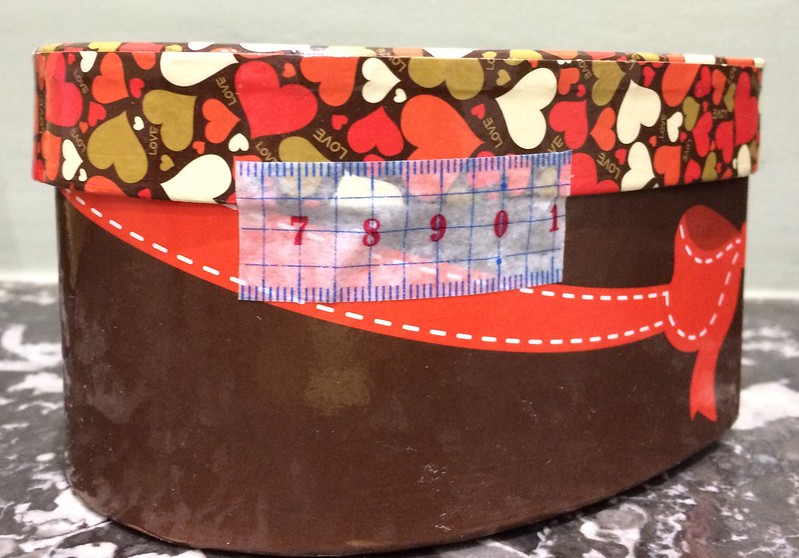
Look at the gorgeous packaging by Yoshimi!


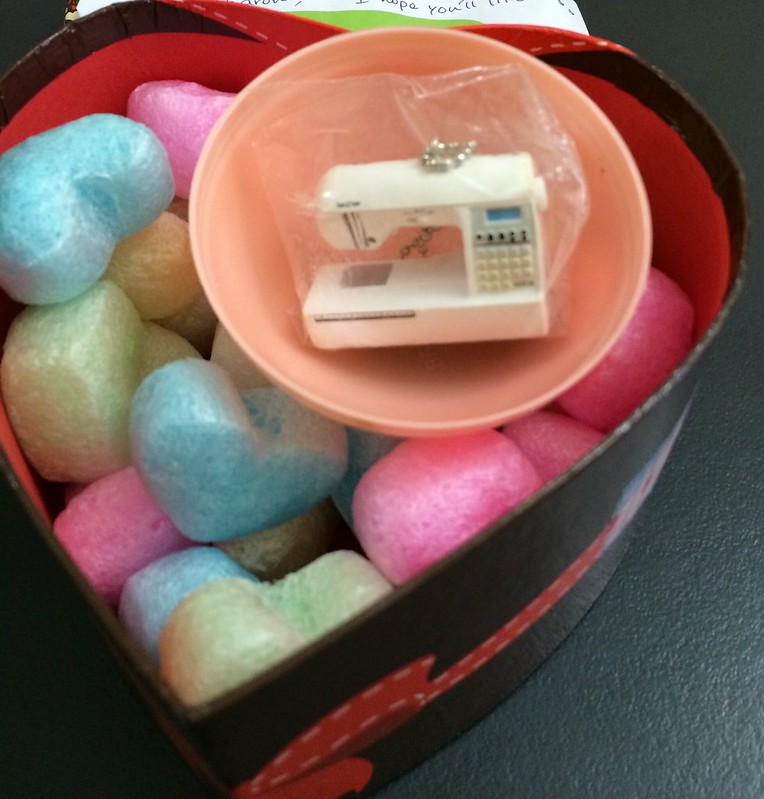
and inside


Isn't that the cutest sewing machine!

and then,

I found a new blogger to me, Mainleydad from The Japanese Pattern Challenge, who I first spotted over at Pattern Review with his Missoni jacket.

Mainleydad is a self taught sewist, and is making himself a very interesting wardrobe, with pieces that might work for Mark (Thread Theory patterns as well as some of his plainer shirts).  One product that he uses a lot of is Hug Snug.

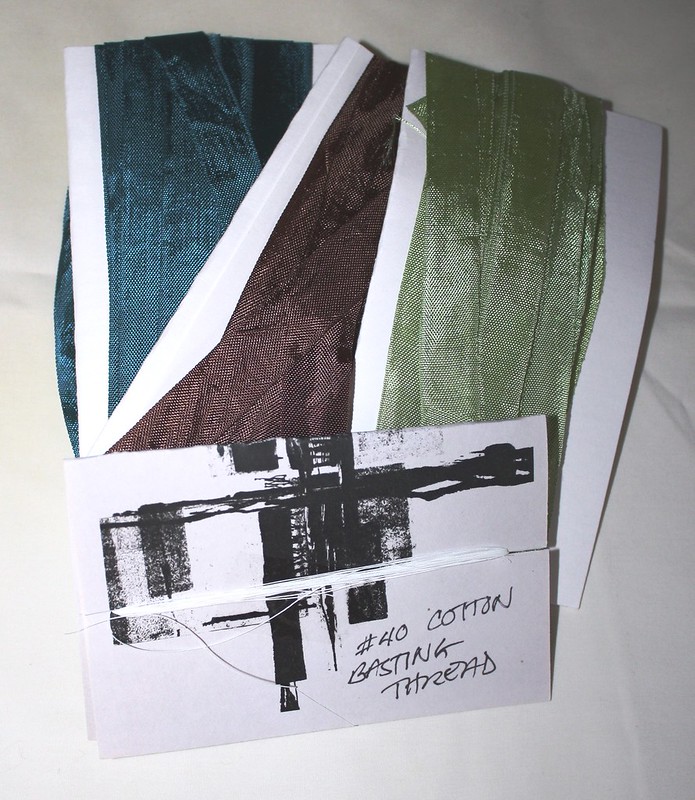
I was blown away when the postman delivered this generous parcel from Mainleydad.


Three different colours of Hug Snug and some #40 Cotton Basting Thread. His note did say, "the basting thread might turn me into a baste-oholic like him", only time will tell.

Mainelydad also shared with me the link for Lilacs & Lace where Laura Mae shows you how to use the Hug Snug


Now it is my turn for giveaway.

I have been trying to tidy up my sewing room and have found these that I thought you might like.

The first is the SideWinder, it is a portable bobbin winder that winds your bobbins without your sewing machine.


Here  you can see it in action.

Next is a Sewing Companion Library book that I have ended up with 2 copies, it is Easy Guide to Sewing Blouses and here at Amazon you can have a look at some of what is inside.


If you would like either of these let me know in the comments which one you would like.  Entry will be finalised and drawn on 2 April 2015.


Wednesday, January 7, 2015

Gift giving

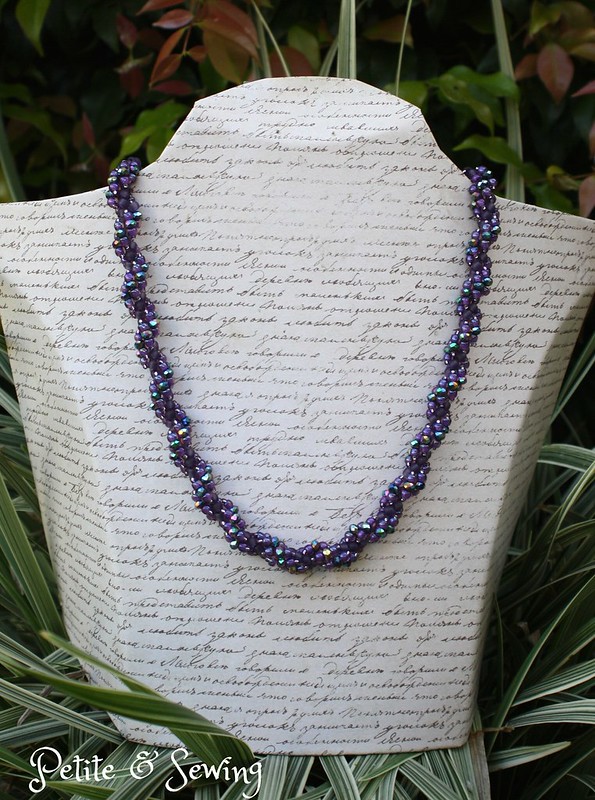
It all started when my best friend saw this necklace and gave the largest hint that one in various shades of purple would be a wonderful Christmas present, so who was I do deny her.

Another trip to Zilchbeads was organised and the lovely ladies helped me sort out the beads for this necklace.


and a close up of the colours


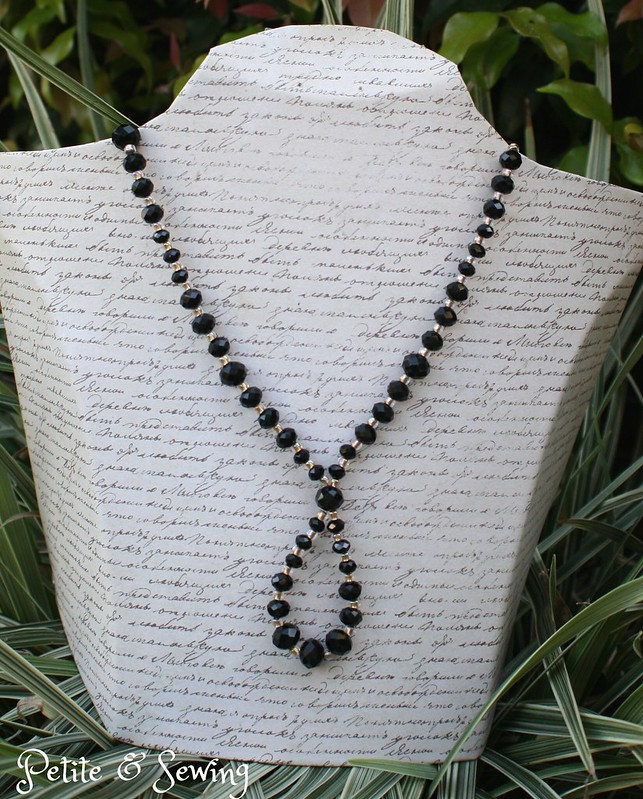
Whilst I was there, I saw a very stylish necklace and thought it would be an ideal gift for Mum so before I left the class the beads were gathered.


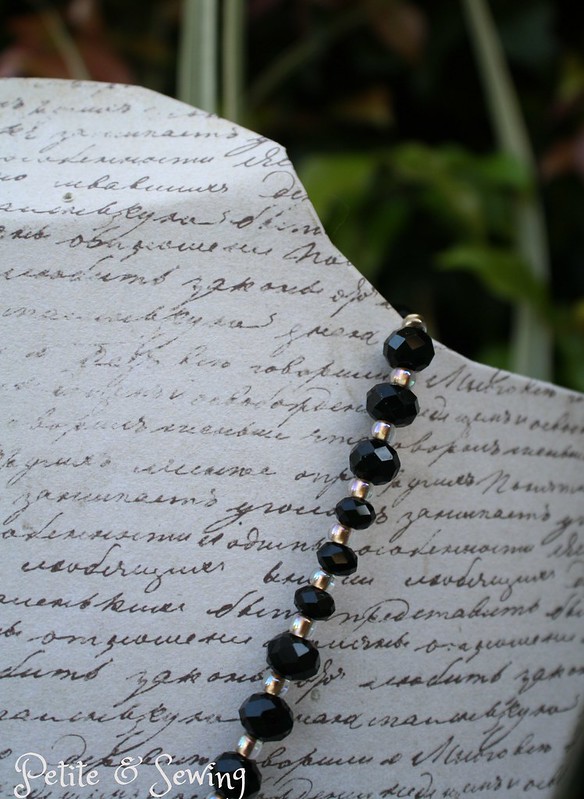
and an evening later I had finished this necklace which is 48 cm in length.


It will work with all her plain tops to add a bit of sparkle!

Whilst there I also saw some lovely beads that are hand made that will be perfect with the coral and watermelon fabric that is part of my 2015 SWAP plans, just not so sure I want to get involved in making beads!