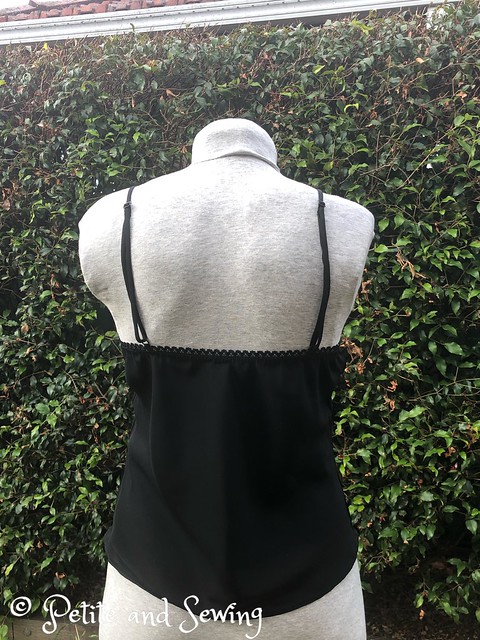
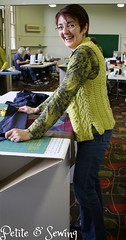
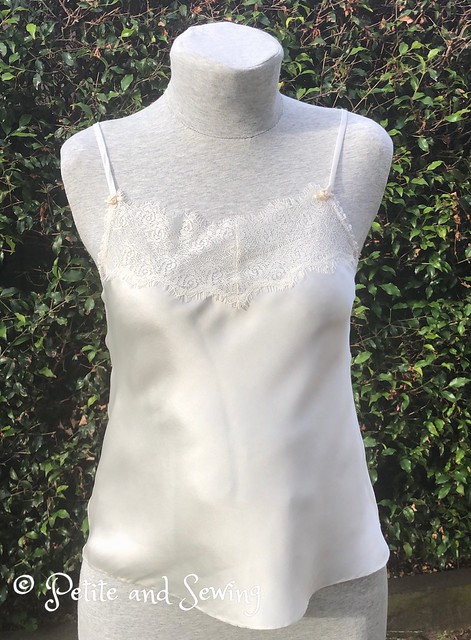
One of the classes I attended at the Australian Sewing Guild Convention in Melbourne last year was a class with Tatyana Anderson, called Silk Camisoles that was a 1/2 day course.
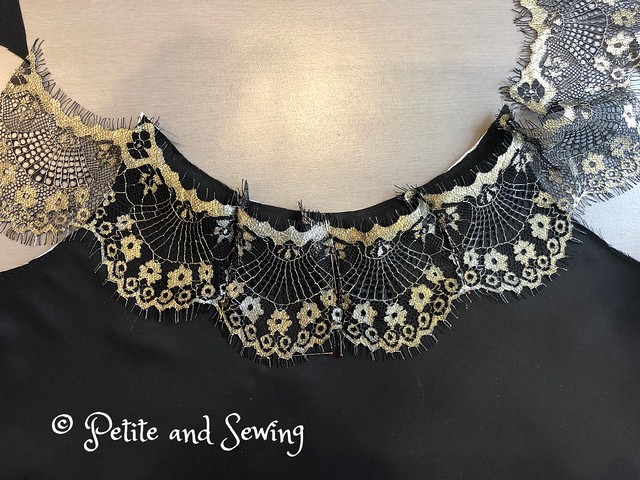
Thankfully Tatyana and her staff had cut out our silk and stablised it so we could get started on the placement of our lace straight away.
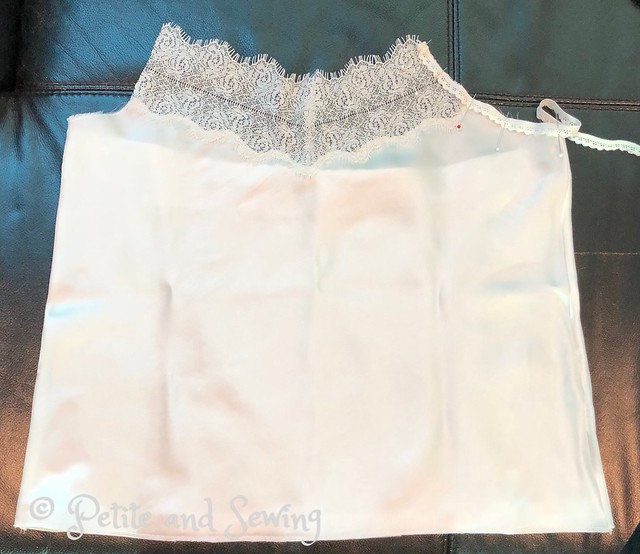
At the end of the 1/2 day I did have my lace sewn in place, the side seams french seamed and the elastic pinned in place along one edge of the front armhole.
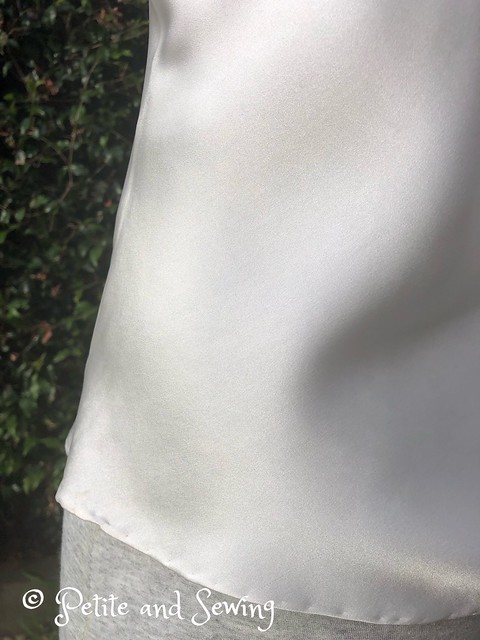
During a couple of ASG group meetings I worked on this to finish the elastic and also to hand roll the hem,
as I couldn't get a nice finish by machine and then finished the straps.
This is where it was up to when I found out that Tatyana was holding a 2 day workshop in Sydney. I jumped at the chance to do this, as we hadn't really dealt with the initial preparation and cutting out of the silk and this is skill I want to work more on.
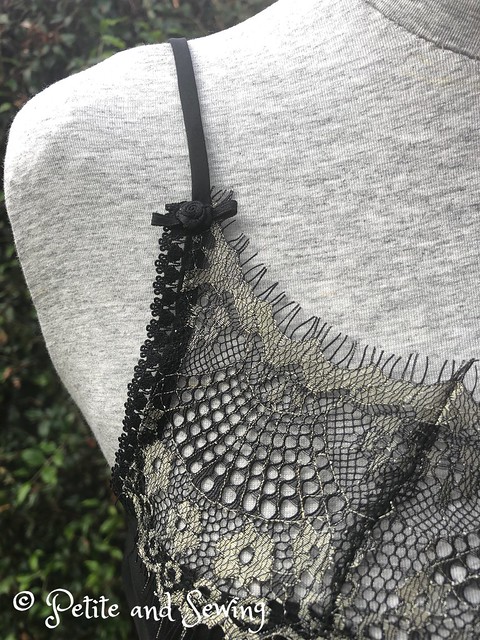
During the workshop Tatyana pinned my cream straps in place and I was able to sew these in place during the class as well.
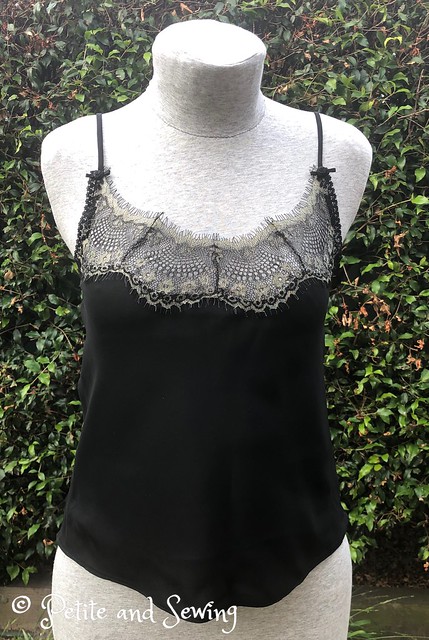
Surprisingly to my fellow attendees I had chosen a black silk with a black and gold lace kit.
We set about laying out our pattern pieces on the silk and cutting it out before we started playing with the lace placement.
Seeing I had made a "v" neck for the cream camisole, Tatyana suggested I make this one a round neck which worked perfectly with my lace.
French seams are used and this time I was successful in getting a lovely machine rolled hem.
I was very pleased to get this finished within the 2 days of the workshop.
******************
Showing posts with label Workshop. Show all posts
Sunday, February 17, 2019
Sunday, December 20, 2015
Getting to know my Juki
As you saw here I am the proud owner of Juki MO-1000 which has a few more features than my old 4 thread Singer Ultralock 14u 34, so when in2Mode offered the Taming your overlocker workshop I signed up as I thought this would be worthwhile.
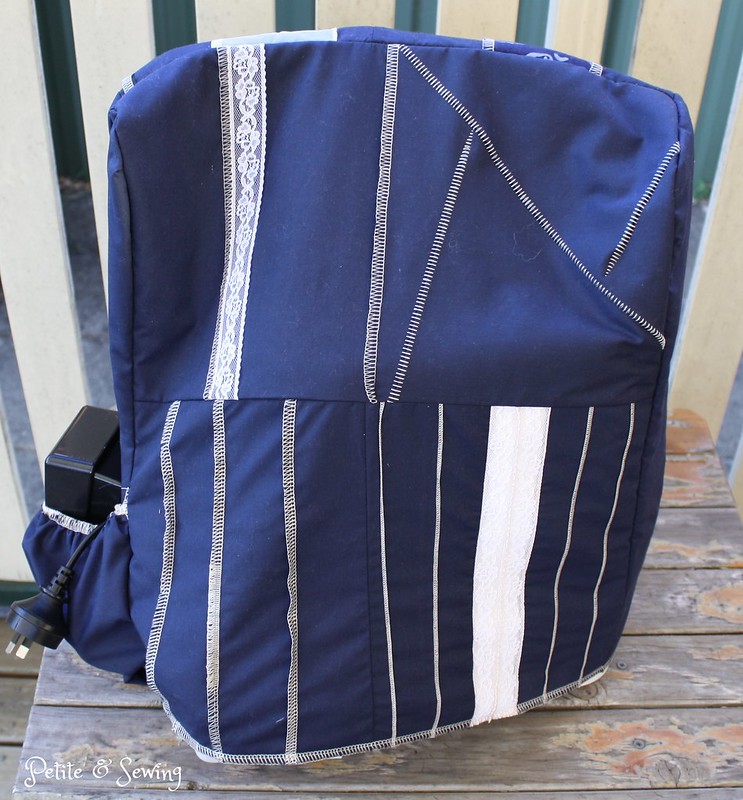
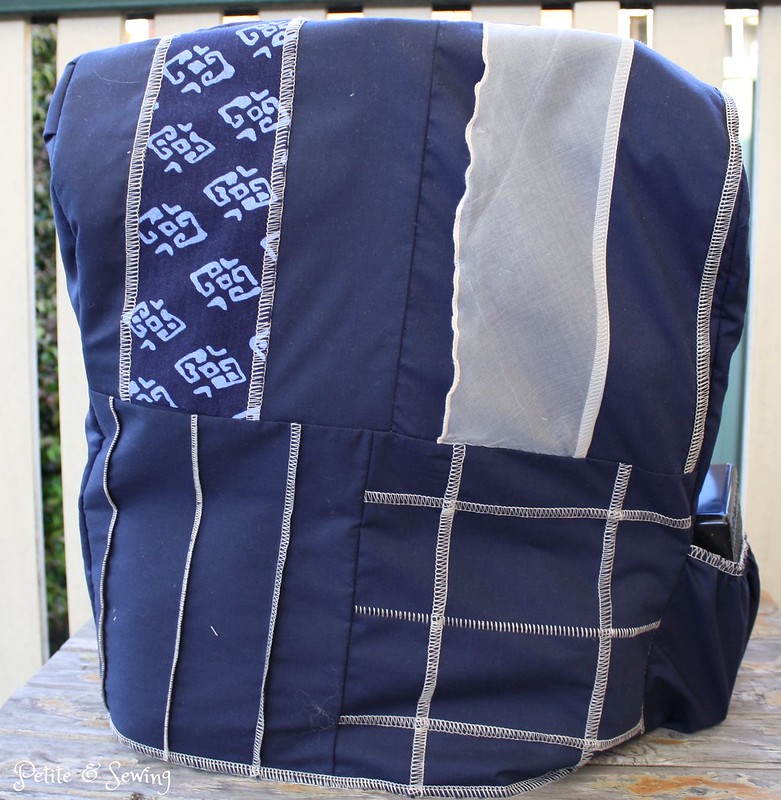
It was held over 2 Sundays and by the end of the 2nd week we had a cover for our overlockers, showing all the wrong and correct ways to use it, making it an easy reference guide.
We had 8 squares of fabric with 2 curved end pieces, so on each square a different technique was tried e.g. flat locking, pin tucks, rolled hems.
After all the blocks were completed then 4 where joined together for a front and back and then we were supplied with white cotton and bamboo wadding to complete the cover.
I was quite impressed with my Juki, when I came to put in the end piece there was 2 layers of bamboo wadding as well as the front and back pieces with their lining to stitch through and she didn't miss a beat.
One things the teacher did realise is that the Juki is quite a bit higher and wider than any of the other overlockers in the course so mine is a bit snug.
There were 6 of us in the workshop a which was a very good size and a diverse group of sewers.
It was held over 2 Sundays and by the end of the 2nd week we had a cover for our overlockers, showing all the wrong and correct ways to use it, making it an easy reference guide.
We had 8 squares of fabric with 2 curved end pieces, so on each square a different technique was tried e.g. flat locking, pin tucks, rolled hems.
After all the blocks were completed then 4 where joined together for a front and back and then we were supplied with white cotton and bamboo wadding to complete the cover.
![]() |
| Front |
![]() |
| Back |
![]() |
| Side without pocket |
One things the teacher did realise is that the Juki is quite a bit higher and wider than any of the other overlockers in the course so mine is a bit snug.
There were 6 of us in the workshop a which was a very good size and a diverse group of sewers.
Wednesday, May 6, 2015
A week of Couture and a travel wardrobe
On Friday 10 April my sewing friend Sandra and I drove to Armidale for a week to attend a hands-on workshop with Claire Shaeffer as our instructor.
This was all organised by Rita who owns Fabric Fair in Armidale and Rita had organised two workshops during a 2 week period.
Sandra and I had chosen to attend the 2nd week which was the Chanel Jacket Workshop.
There were 14 of us in the class from all over the east coast of Australia. The group got onsew so well and it just amazes me how sewers bond and friendships blossom.
Rita had organised a kit for each of us which contained a pattern, fabric and all the notions to make half a jacket in a very small size.
We first focused on the sleeve as this piece lets you learn all the techniques you need to make the entire jacket, except for the chain for the jacket hem.
After two days we had a wonderful range of 14 different sleeve trims to admire.
and by the last day we had this half jacket to keep as our reference.
I was already an owner of Claire's book and she has kindly signed it for me.
Claire also had with her quite a number of original Chanel garments for us to view and inspect (with gloves on) it was amazing to see how Chanel create the jackets, top and skirts - cutting fabric apart and then resewing it together to get the look they are after was the one that intrigued me the most.
It was a truly memorable week, Claire as a teacher was amazing and the other attendees made the week a wonderful experience and Rita for her hospitality and organising this fantastic opportunity for us Down Under.
Now I have some great ideas for my tweed I purchased from Linton last year, just need to find the time!
Travel Wardrobe
I am so used to packing light to travel I did for this trip as well, except for 2 pairs of boots just in case it got cold and we were travelling in a car.
Time Away:
8 days
Where to:
Armidale, New South Wales, Australia
Season:
Officially the start of Autumn and Rita had let us know that the first frosts for the season had been on the ground the week before we were due to arrive. The temperature range was from 9 to 26, with the mornings and evenings being rather brisk, but the middle of the day was quite warm.
Expected Activities:
For the majority of the time sitting in a class room as well as checking out Rita's fabric store and going out to dinner a couple of nights.
Colour Scheme:
What I packed:
(each garment is linked to its original construction post - top to bottom, left to right)
and I forget to add to the photo my brown mercury jersey cardigan using Simplicity 2603.
Verdict:
This wardrobe worked out really well, all the tops went with the bottoms, my layering pieces worked with everything. I did have to do a wash during the week but this is something I do on every trip so it wasn't a bother.
I did take a selection of jewellery and I think this changed the look of some of the outfits.
Now it is time to confess, during out visit to Rita's fabric store, this is what followed me home, some gorgeous lightweight "Merino State" Silk Jersey called Cayenne!
******************
2015 Stash out: 5.85m
2015 Stash in: 15.0m
This was all organised by Rita who owns Fabric Fair in Armidale and Rita had organised two workshops during a 2 week period.
Sandra and I had chosen to attend the 2nd week which was the Chanel Jacket Workshop.
There were 14 of us in the class from all over the east coast of Australia. The group got on
Rita had organised a kit for each of us which contained a pattern, fabric and all the notions to make half a jacket in a very small size.
We first focused on the sleeve as this piece lets you learn all the techniques you need to make the entire jacket, except for the chain for the jacket hem.
After two days we had a wonderful range of 14 different sleeve trims to admire.
and by the last day we had this half jacket to keep as our reference.
I was already an owner of Claire's book and she has kindly signed it for me.
Claire also had with her quite a number of original Chanel garments for us to view and inspect (with gloves on) it was amazing to see how Chanel create the jackets, top and skirts - cutting fabric apart and then resewing it together to get the look they are after was the one that intrigued me the most.
It was a truly memorable week, Claire as a teacher was amazing and the other attendees made the week a wonderful experience and Rita for her hospitality and organising this fantastic opportunity for us Down Under.
Now I have some great ideas for my tweed I purchased from Linton last year, just need to find the time!
Travel Wardrobe
I am so used to packing light to travel I did for this trip as well, except for 2 pairs of boots just in case it got cold and we were travelling in a car.
Time Away:
8 days
Where to:
Armidale, New South Wales, Australia
Season:
Officially the start of Autumn and Rita had let us know that the first frosts for the season had been on the ground the week before we were due to arrive. The temperature range was from 9 to 26, with the mornings and evenings being rather brisk, but the middle of the day was quite warm.
Expected Activities:
For the majority of the time sitting in a class room as well as checking out Rita's fabric store and going out to dinner a couple of nights.
Colour Scheme:
What I packed:
(each garment is linked to its original construction post - top to bottom, left to right)
Taupe loafers
Black boots
Brown boots
Black loafers
Verdict:
This wardrobe worked out really well, all the tops went with the bottoms, my layering pieces worked with everything. I did have to do a wash during the week but this is something I do on every trip so it wasn't a bother.
I did take a selection of jewellery and I think this changed the look of some of the outfits.
Now it is time to confess, during out visit to Rita's fabric store, this is what followed me home, some gorgeous lightweight "Merino State" Silk Jersey called Cayenne!
******************
2015 Stash out: 5.85m
2015 Stash in: 15.0m
Monday, December 3, 2012
Zipper Workshop
Back in October, Maria, Alison and I headed to Canberra for the day to attend a Zipper Workshop by Nicole Mallelieu at Addicted to Fabric.
Our requirement list had us purchase fabric, lining and zips for the Large Tote and Satchel.
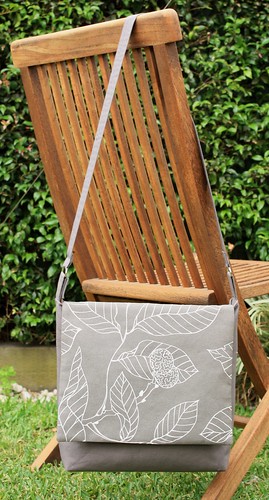
After checking out the Nicole Malleliue Design - Made by You flicker group I fell in love with the all the different flaps that people had added to their Totes, so I headed off to Ikea and found this wonderful print and then managed to get a reasonable match in some quilting cotton for the remainder of the Tote and the lining.
The workshop consisted of 4 types of zippers which Nicole said we would probably only get 2 completed, maybe 3 but were given notes for all 4, which were:
and then proceeded to work on the Zipped Gusset for the top of the Tote.
Over the last month (I'm not sure where the time has gone) I have:
and this:
I'm not sure if you can see the black pins on the strap on the right hand side of the Tote above but this is where the bag is up to.
It was whilst I was trying to decide on the strap length, that I realised that no matter what length I made the strap the actual size of the Tote was not something I would ever use, it wears me which is not how I want my bags to be.
Now it is fortunate that when my darling Mum and Sister visited yesterday the Tote wasn't quite finished but my Sister did like it "quite a lot" so maybe this Tote has a new home already, I am waiting for the call back!
Our requirement list had us purchase fabric, lining and zips for the Large Tote and Satchel.
After checking out the Nicole Malleliue Design - Made by You flicker group I fell in love with the all the different flaps that people had added to their Totes, so I headed off to Ikea and found this wonderful print and then managed to get a reasonable match in some quilting cotton for the remainder of the Tote and the lining.
The workshop consisted of 4 types of zippers which Nicole said we would probably only get 2 completed, maybe 3 but were given notes for all 4, which were:
- Super Simple Zipper
- Exposed Zipper Pocket
- Lapped Zipper Pocket
- Zipped Gusset
and then proceeded to work on the Zipped Gusset for the top of the Tote.
Over the last month (I'm not sure where the time has gone) I have:
- fused the Tote first with Medium-Heavy Iron-on Interfacing and then put a layer of H640 Fusible Wadding Medium over the top using my Elna Press in both instances;
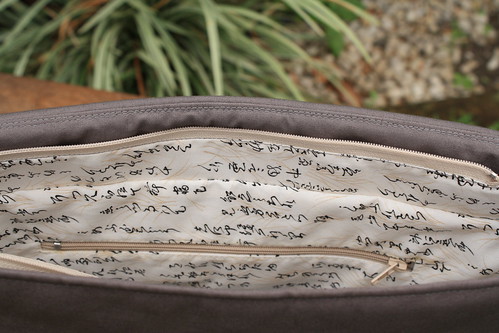
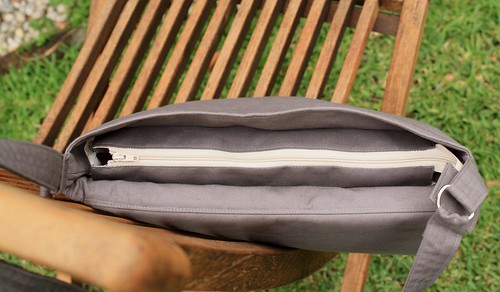
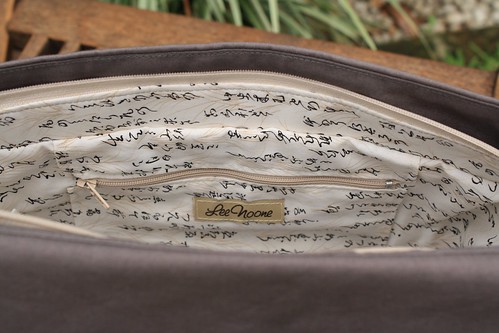
- Put the Lapped Zipper Pocket on the back of the Tote so the zip doesn't rub against my clothing;
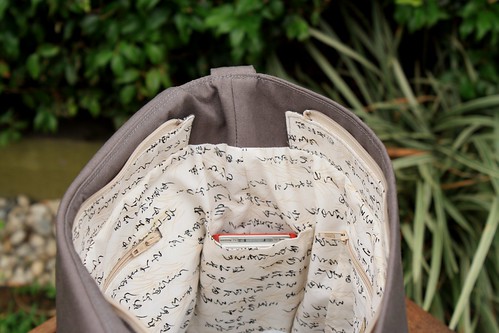
- Added a zipper patched pocket to the opposite side of the Tote lining;
- Added a phone pocket on the end wall of the lining.
and this:
I'm not sure if you can see the black pins on the strap on the right hand side of the Tote above but this is where the bag is up to.
It was whilst I was trying to decide on the strap length, that I realised that no matter what length I made the strap the actual size of the Tote was not something I would ever use, it wears me which is not how I want my bags to be.
Now it is fortunate that when my darling Mum and Sister visited yesterday the Tote wasn't quite finished but my Sister did like it "quite a lot" so maybe this Tote has a new home already, I am waiting for the call back!
Subscribe to:
Posts (Atom)