At the end of September Alison, Velosewer and I drove to Ballarat in Victoria to attend the 9th National Convention held by the Australian Sewing Guild at Ballart Grammar, arriving just in time for the first dinner on Sunday night and we would be there until after breakfast on Saturday.
We were looked after very well, our rooms were tidy and ours was very warm compared to others, but I'm definately not complaining, and the classrooms were heated as well. There was plenty of food, just wondering why the dining hall is not heated?
I had elected to do 2 x 2 day workshops and Wednesday was left free.
Monday and Tuesday was spent with Sue Marriot who was teaching us how to use our TNT Pants Pattern to design and construct a pair of jeans learning the following techniques - topstitching, traditional fly front, jean pockets (including pocket stay), belt loops and hems.
Monday morning I started with my TNT Pants Pattern Vogue 9537 (OOP) as my base and with Sue's guidance and great notes created the Jeans Pattern. I managed to cut them out in a black woven denim from Spotlight and the pocket pieces from a fat quarter. By the end of Monday I had:
• Stitched and topstitched the front pockets
• Inserted the Metal Zip and more topstitching
• Used the design from Margie T’s Jeans for my back pocket and had these stitched and ready to be placed on my jeans.
Tuesday’s first job was to stitch the back pockets in place and attach the yoke. At this stage I basted the legs together for a fit. This is when Sue took out quite a bit off the back leg (sorry the excess that Sue cut off, I cut off the pattern and didn’t take measurements) and I had to cut off 1.5cm from the waist so this is why my front pockets look like coin pockets. Once we were happy with the fit I finished off the leg seams. I then attached the waistband and ran out of time before I could get Sue to check or topstitch which turns out very fortunate. This is where they were left until I got home.
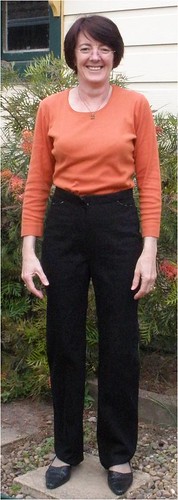
Last week I tried them on and oh dear, that waistband gaposis, it is not much but enough to bug me, so I have unpicked the waistband and again work has got in the way and they are still at this stage but thought I would show you how they look (well as good as you can see them in black).
Front (minus button)
Back

Pockets
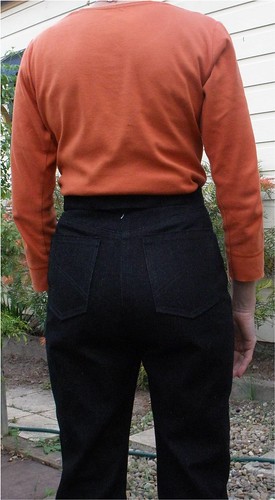
Note the back waistband is not attached here.
Wednesday saw the three of us getting back in the car and heading to Melbourne to check out some more fabrics shops and Jimmy’s Buttons. It turned out to be the wrong season for me to purchase fabrics, nothing wanted to come home with me.
Thursday and Friday was spent with Pamela Kerr, who promised that those Perfect points on shirt collars wouldn't be so daunting anymore. Tips for edge stitching around the collar as this can also be hard work and often ruins an entire shirt because it can look poor quality.
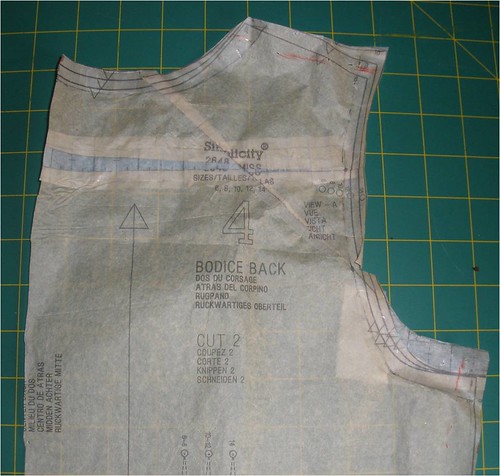
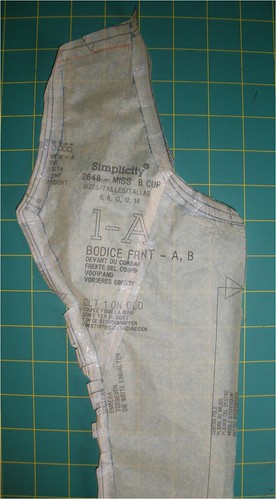
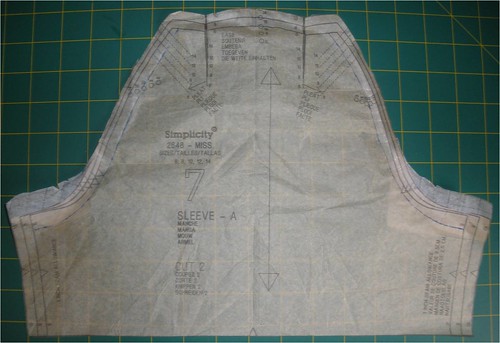
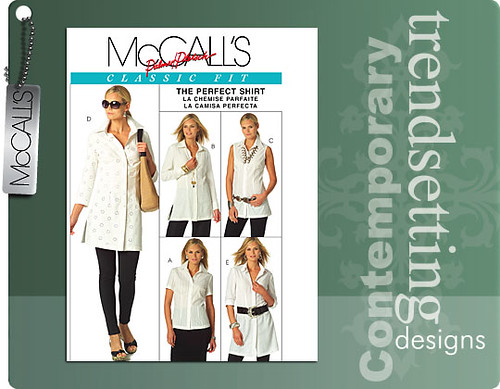
Thursday was essentially the fitting day. We all started with McCall’s 5433 Palmer/Pletsch Classic Fit pattern. I had already cut the paper pattern out (size 8, View D), drawn in my stitching lines and taped the curves so I was a bit ahead of the others when class started on Thursday morning. I soon had it all pinned together and was ready for my first fitting and discussed with Pam about making this a shirtmaker style (View D just needed the hem allowance added).
I was ready to cut out my fabric after we had lunch. By the end of Thursday I had the front and back darts sewn, side seams and shoulder seams sewn and everything was pressed.
Friday morning started with cutting out the interfacing x 2 for the collar, collar stand, cuff and button band and fusing these.
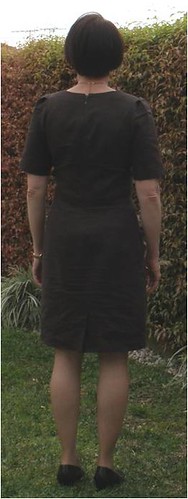
Then disaster struck, I was busy overlocking my side seams and

I put it on to see where it was and it is sitting on my waist, which is fortunate.
I made the decision to ignore it (well sort of) and continued to sew the collar stand, collar and button bands on the dress and this is where it is up to.
Front

Back
Side view

Now Pamela did suggest that I add belt loops so I can wear a belt. I’m not a huge belt wearer and then I got to thinking about adding a self fabric band (probably stitched the same way as the button band is) around the waist and this is what I have played with very roughly this afternoon when I decided to take the photos.

I will share further details about my adjustments when I finally finish these items (note In-Laws in sewing room for 1 week at least).
I had a wonderful time at the Convention, catching up with others that I don't see from Convention to Convention, meeting new people and learning lots of new things through my classes but also through the generous nature of all those who attended. I will admit that by the end of the Convention I was exhausted, however, I am now trying to work out how to get my sewing machine to Launceston!
Now I had better get back to packing up the sewing room.


