Thursday, July 31, 2014

Activewear - Avocado Hoodie

I did it, I have sewn 5 garments this month, this is a first for me!

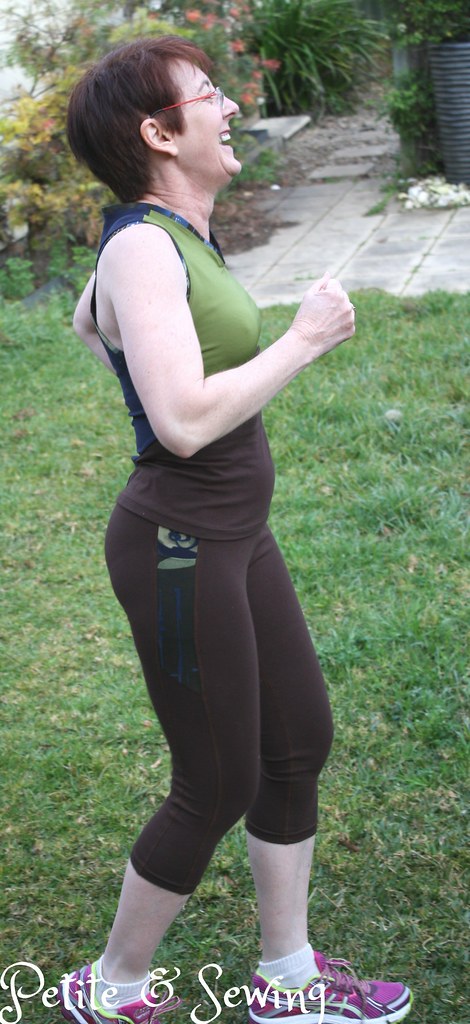
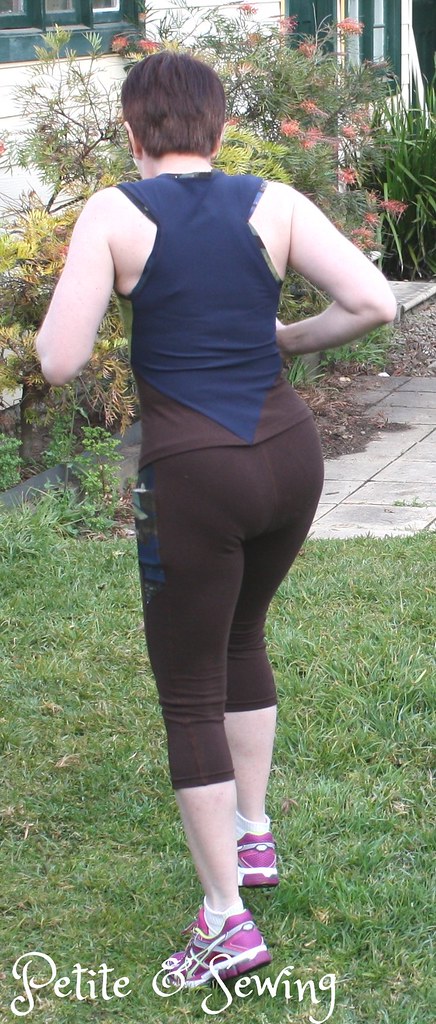
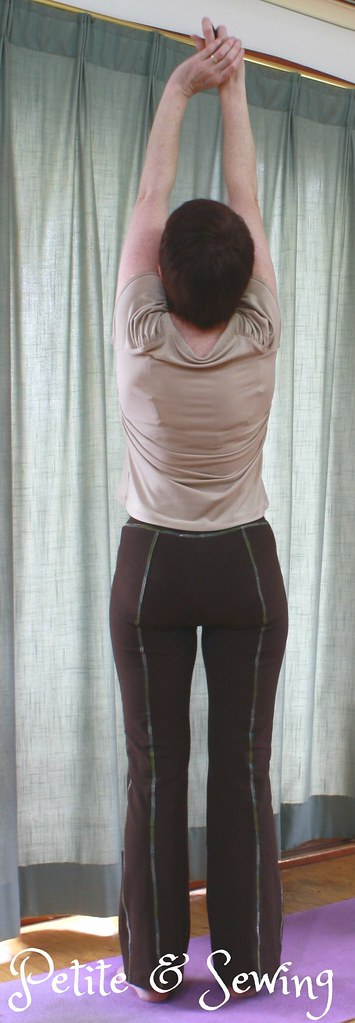
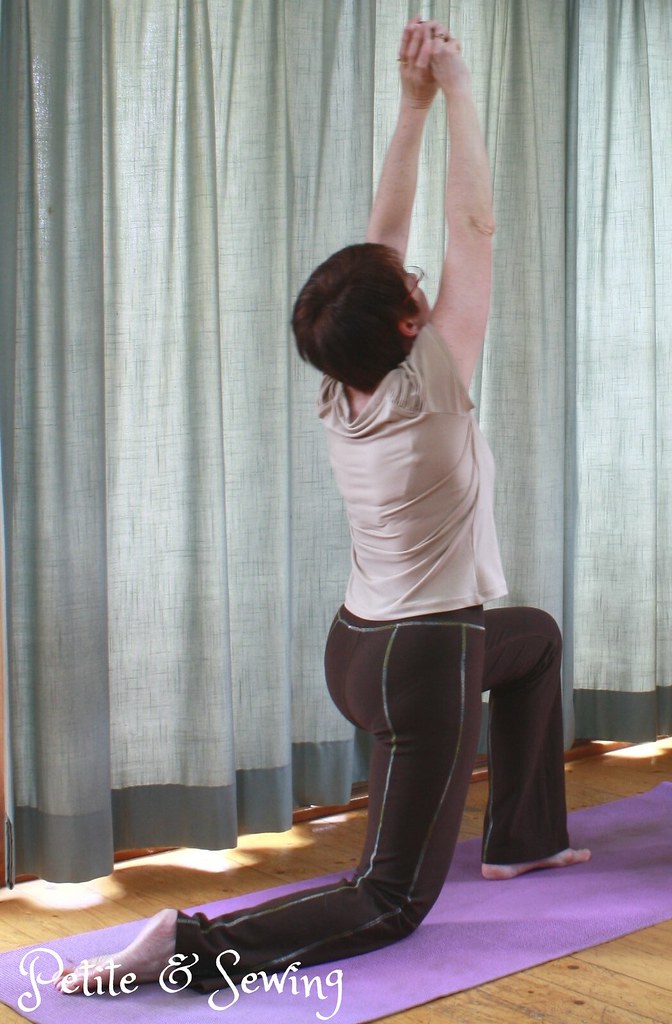
This is my last piece for the Mini Wardrobe competition, it is the Avocado Hoodie by Seamster Patterns.

With my other two tops being sleeveless, I thought I had better plan a layer piece and the hoodie seemed the perfect thing to make as I could play with the panels for some colour blocking.

The patterns is another downloadable one, and I know putting it together and tracing it off was one of my activities during my week at Thredbo last year :)

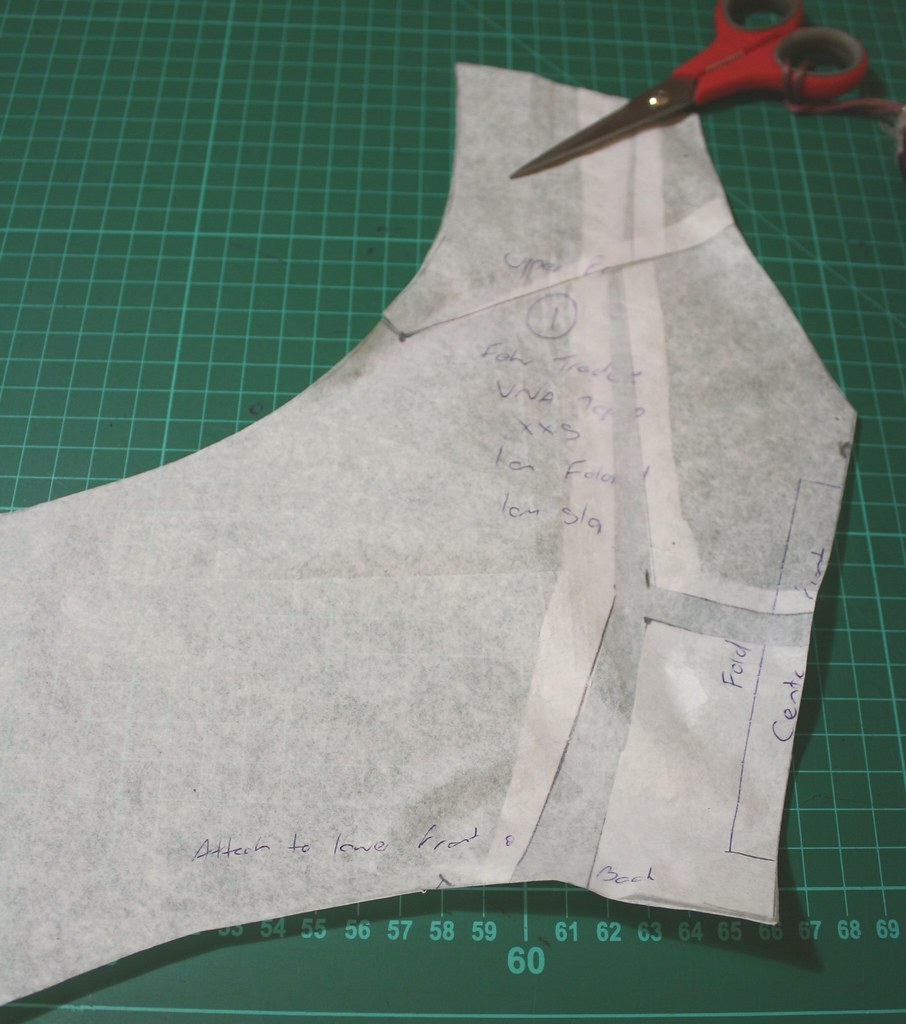
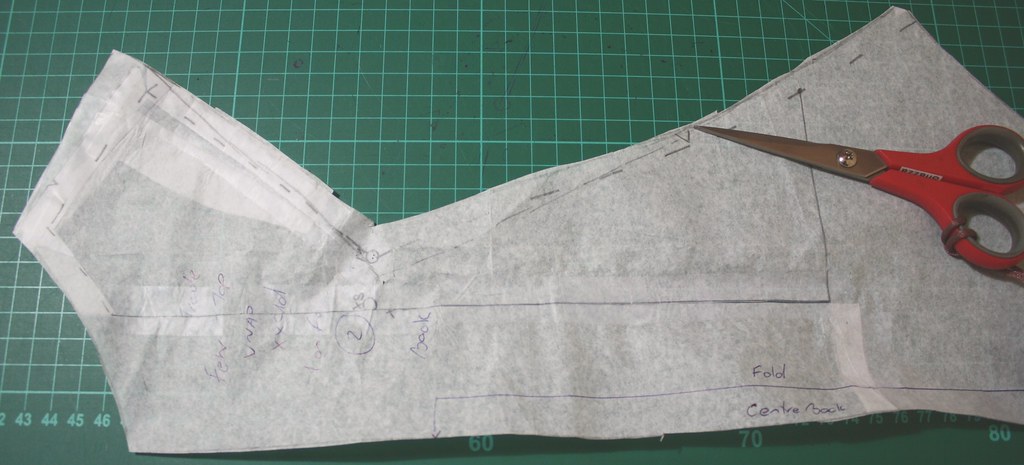
I traced off a Size 0 and then did the following adjustments:

*  1cm gaposis tuck for the front neckline and 1.5cm round shoulder adjustment on both back and front pattern pieces

*  1cm sway back (not sure why I didn't do the extra 0.5cm)

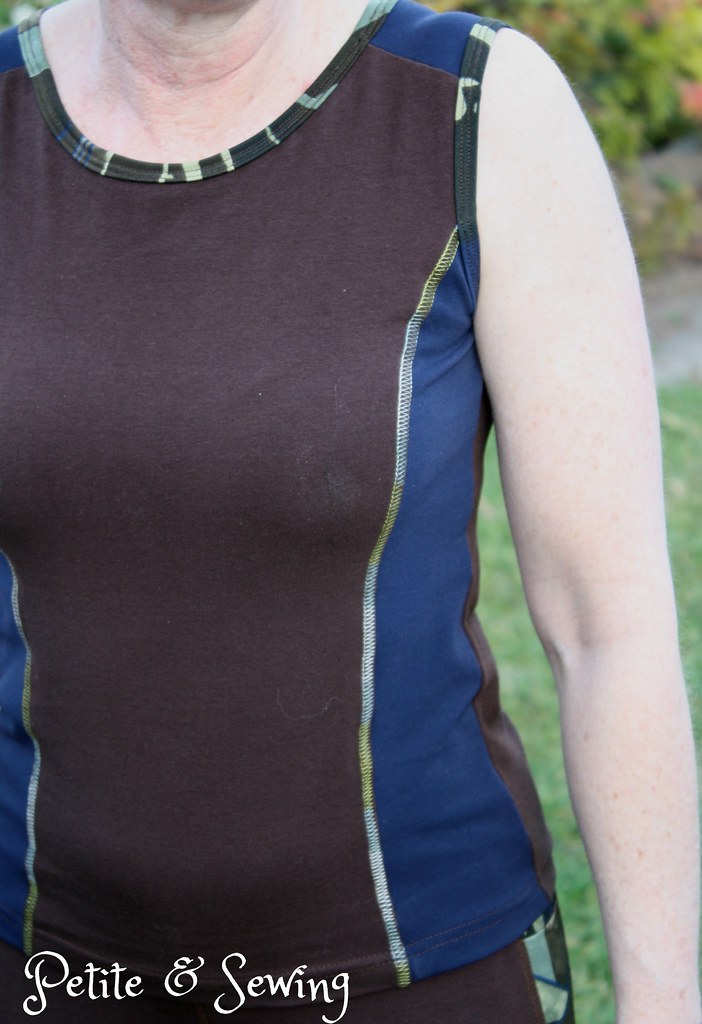
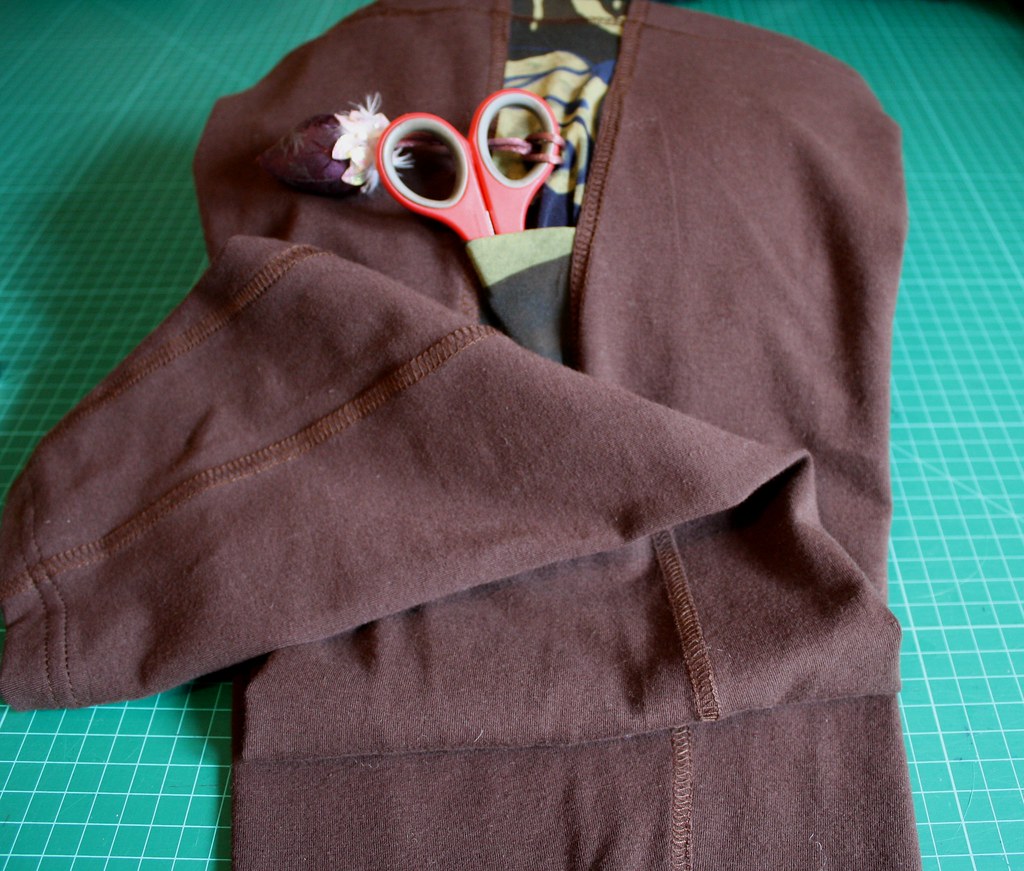
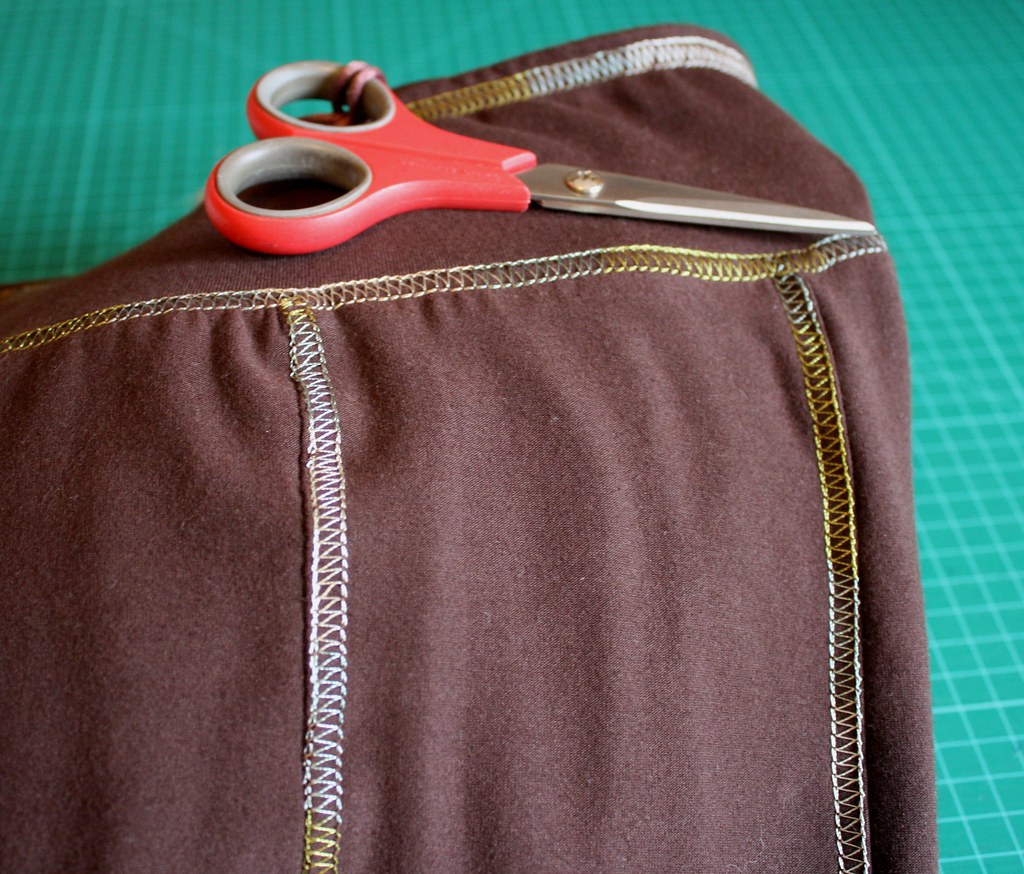
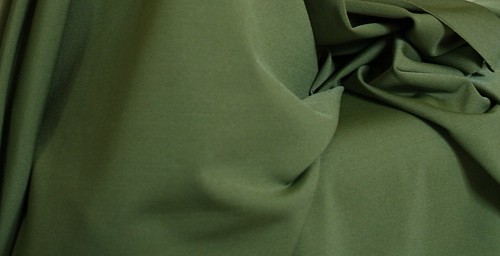
I again used the brown Stella Cotton Elastomeric 10% Spandex that I have used for all the other pieces as well as the fabric leftover from this top for the hood lining and side panels.

Last Saturday at my ASG meeting I started to sew this hoodie and finished it on Tuesday night.

The directions are very good, except I had some difficulty with the sleeve cuff. The cuff seam is to meet the notch on the sleeve, however if I did this my cuff/sleeve twisted, so my cuff seam is 1.5cm from the sleeve seam and placed towards the front of the sleeve.


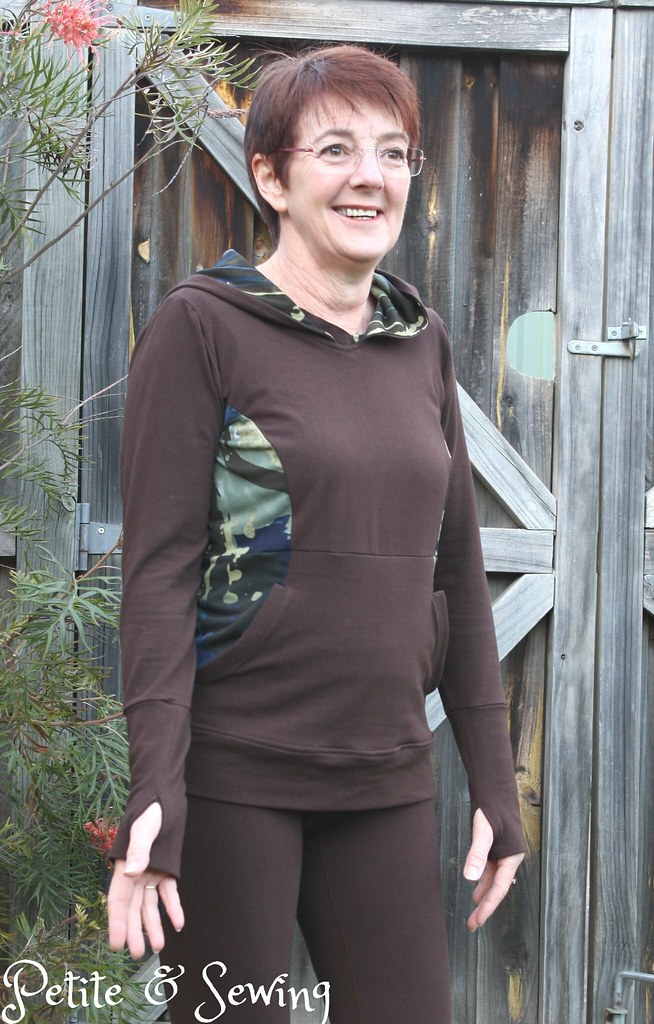
I wanted the hood to be a bit warmer, so I added a lining, cutting out another hood in the top fabric, sewing them together and then top stitching around the edge to keep it in place. I like the pop of colour near my face.


Are we going for my walk?

Okay let's go!
I am thrilled with the way this Mini Wardrobe has come together, I don't have to subscribe to the black pants that you find in RTW!

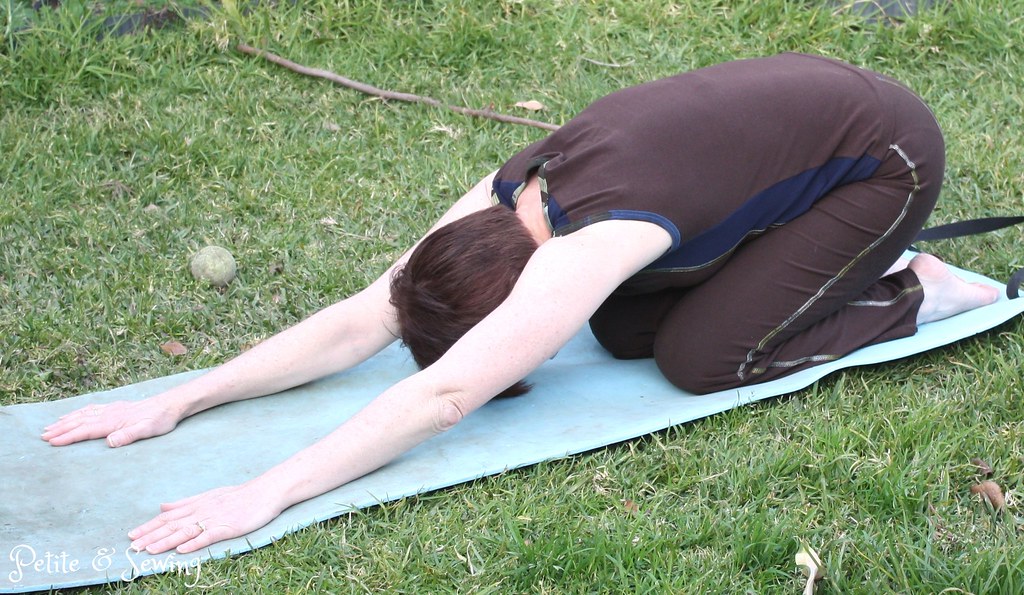
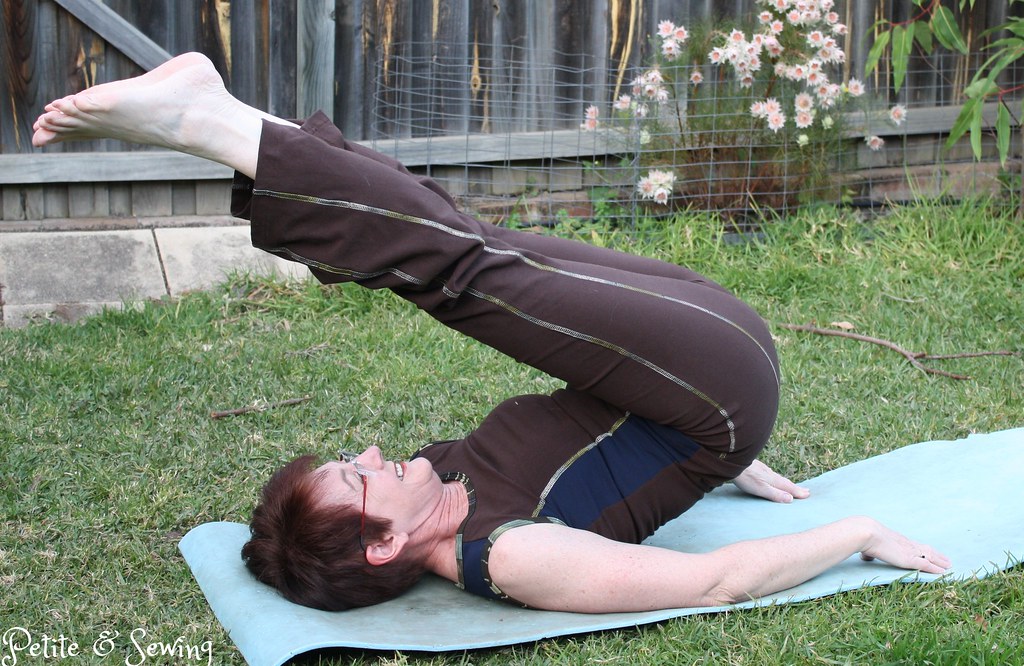
I am also taking this piece as my official completed garment for July!

******************
2014 Stash Out: 24.1 m
2014 Stash In: 45.75 m

Wednesday, July 30, 2014

Activewear - Sports Top

Now for the 4th piece in my Activewear Mini Wardrobe.

Back in December, Sandra (Dilliander) one of my sewing buddies introduced a few of us to the Lekala Patterns as she had their Sports Vest with her at our sewing day and was very kind in letting quite a few of us try it on.

The interesting thing about these patterns is that you input your own measurements into the order form and for $2.50 + 50c for the addition of seam allowances you have a pattern that uses your measurements, even some of your basic adjustments i.e. high waist can be specified.

Needless to say that I soon visited the site and downloaded my own Sports Vest to see how it compared to the BWOF or even the Big 4 patterns.

Again, it is another downloadable pattern.  Once I had taped it together and traced off the pattern I did do my standard sway back adjustment.

The fabric for this top is again a combination of the brown Stella Cotton Elastomeric from Standard Knits that I have used for the other pieces for the main front and back panels and the navy Supplex that Sandra and I purchased from Metro Fabrics earlier this year for the side panels and the two yoke pieces.  I have again used the leftover fabric from this top for the neck and armhole bindings.

I had fun again with my Coverstitch Machine:

*  Used the knitbinder to attach the neckline and armhole bindings.


* Put the variegated thread in the looper for the two princess seams.
* Back to brown thread in the looper for the reminder of the hem.


and now some more yoga


I am very happy with how this pattern has turned out, it is hard to tell in most of the above photos, but the top one does show the fit and maybe a small FBA will get rid of those wrinkles, but pretty good straight off the PC.

Today's photo shoot had hubby cut my legs of for most of the photos, so back to the drawing board and the digital remote tomorrow for the final garment.

******************
2014 Stash Out: 22.2 m
2014 Stash In: 45.75 m

Tuesday, July 29, 2014

Activewear - Gym shorts

Here is my 3rd piece for the Activewear Mini Wardrobe, and it is my second pattern from Fehr Trade the  Duathlon shorts

The pattern includes the booty short, biker or capri length and the capri is the type of short that I prefer to work out in, although this winter weather is making me wonder if I should also get the PB Jam Leggings but I will see how I survive for a while first.

These are also made out of the same brown Stella Cotton Elastomeric as my Yoga Pants and I have used some leftovers of this top for the side pockets.

I cut out a size XXS as per my measurements, again scooped the crotch curve lower and after reading a number of reviews I also straightened the hip curve.

Because of the patterned side panel, I only used the brown thread for the cover stitching on all the seams.


The pockets look so tiny, however my iPhone 5 fits very snuggly in there.

How did that speck of grass get there!
Now for some action shots:


For once hubby didn't cut my head off :)

I am very happy to report that I have finished the sewing of the 5 pieces, so I will be back again tomorrow with the 4th garment.

******************
2014 Stash Out: 21.5 m
2014 Stash In: 45.75 m

Monday, July 28, 2014

Activewear - VNA Top

Now for the 2nd piece of my Activewear - Mini Wardrobe.

This is Fehr Trade's VNA top, and what I liked about this top is that it has some shoulder coverage.

It is a downloadable pattern which is instant gratification and a very small pattern to put together.  The pieces also let you use small scraps of fabric if you want to do the colour blocking.

I have used again the brown Stella Cotton Elastomeric 10% Spandex from Standard Knits that I made the Yoga Pants out of and then some grass green and navy Supplex purchased from Metro Fabrics.  For the neck and armhole bindings I have used the  leftover fabric from this top.

This is the first time I have used a pattern from Fehr Trade and Melissa has done an excellent job in stetting out all the steps, including some common adjustments that people will need.

I traced off an XXS from my measurements and then did the following adjustments:

*  1cm FBA as per Melissa's instructions in the pattern sheets as well as my standard 1cm gaposis tuck to the front neckline


*  My standard 1.5cm sway back adjustment but this time I used a new technique that Sandra has been using that also squares the back shoulder.


Melissa has an interesting way to do the neck and armhole bindings, I found that you need to be very accurate with your markings and stitching, but the finished product is very smart.

Now here is the VNA top with my Yoga Pants


Now it is finished, I can see that I need to look at a few things:

*  the shoulder width as the shoulders keep folding in
*  how I can change the back armholes so that it will cover my standard bra (I am wearing a cross back bra) without changing the design line that I quite like.
*  remember to remove the 2cm (1cm gaposis tuck) from the neck band and hopefully this will solve the issue at the back neck or I will need to do a small gaposis tuck there as well.

I will be back tomorrow with another piece.


******************
2014 Stash Out: 19.8 m
2014 Stash In: 45.75 m

Sunday, July 20, 2014

Activewear - Jalie 3022

I am in the process of trying to make 5 pieces of active wear this month using some of the fabric that I purchased back in January.

Why?

Well over at Pattern Review they are holding their annual Mini Wardrobe competition and the rules state that it must contain 5 pieces to achieve 6 looks.   Now I don't wear too many dresses and my wardrobe at present has far too many skirts and jeans in it to make any more.

The one area of my life that is very neglected is active wear.  Now I am not a gym junkie, however 3 times a week, I work out at home and my current work out gear is looking a bit sad and sorry for itself.

The patterns I have chosen are:

Jalie 3022 Yoga pants
Fehr Trade Duathlon Shorts
Lekala Sports Vest
Fehr Trade VNA top
Seamster Patterns Advocado Hoodie

I took me a while to work out what colour combination I would like to use and have ended up using brown, navy, grass green and leftover pieces from this top

To start it all rolling, I decided to make up the Yoga Pants from Jalie


I traced the Size R and then scooped the crotch curve lower like I did for my Jeans and thought I would try a horizontal tuck of 1cm at the back upper thigh to see if this would remove the excess fabric in that area.

The yoga pants have a seam at the back of the leg, so I purchased some variegated embroidery thread that blended well with the top fabric to add some interest on the back leg and side seams as well as around the waistband.

To get this look, I threaded the embroidery thread in the looper of my Coverstitch machine and then set up the needles on the widest width and sewed the seam allowances down on the wrong side which gave me this very RTW look on the right side.


I didn't do the contrast waistband as I tend to wear my tops longer.

I used plain brown thread for the other seams using the same technique.

Here they are!


All the other pieces are in various stages of construction so I will be back soon.

******************
2014 Stash Out: 18.8 m
2014 Stash In: 45.75 m

Sunday, July 6, 2014

Wineberry Cowl

So what does a girl do when she has to spend 3 days away from her sewing machine, break out the knitting needles again.

Ravelry is a great site for inspiration and free patterns, and this one is by Jen Geigley and is called the GAP-tastic Cowl.

I did take this pattern with me on our trip and managed to find a few knitting shops but I didn't manage to find any wool that really appealed to me or that I couldn't purchase at home.  One of the things I was really after was a soft snuggly yarn as this would be worn around my neck.

It wasn't until I got back home and saw Heidi's post from Sewing Daisies about her Honey Cable Cowl and the gorgeous Morris & Sons Maya 14ply 100% Baby Alpaca that I knew this was the wool that I was looking for.

Inspiration from Heidi

This is a very simple cowl to knit, it is 130 stitches on a circular needle, joined in the round and then you knit 1, purl 1 until you reach your desired width.

The pattern does suggest a width of 15" but I thought this would be far too wide for my frame, so my cowl is 9" wide and this sits comfortably around my neck.

I purchased 7 balls of wool and have 3 and a bit left over, now to work out if I want a matching beret!

I cast on the stitches on Friday afternoon and cast off on Monday on the way home in the car!


This is the full length and I don't think I will wear it like this.


This is how I  will wear it the most, looped over my head twice and I can't wait to mix it with my print tops!


And for those cold days have it looped over my head 3 times.  Perfect for when you need your coat and something to keep your neck warm this is definitely the way to go!