Sunday, August 27, 2017

The Classic French Jacket class - Days 1 to 4

Further to my post here on the preparation, here is what happened over the next 4 days.

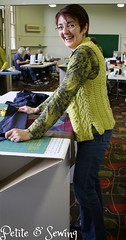
Even with my various toiles, Susan made a few more adjustments to my jacket.


Namely:
  • High round back
  • Took in the back princess seams slightly.
  • Shaved a bit off under the arm back to nothing at the waist and another reduction to the hips.
  • Flattened out the princess seam on the front and then letting it out from the waist down to the hips.
  • The shoulders were changed slightly but this changed again during the last fitting.
  • The sleeves haven't been looked at at this stage, this isn't done until the bodice is pretty much together.
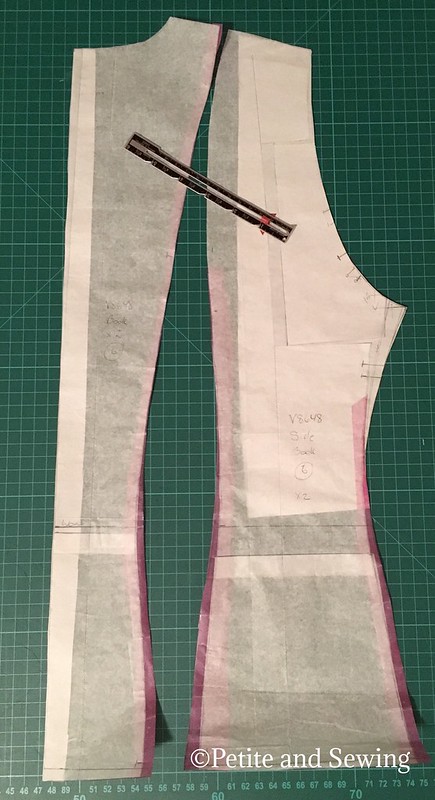
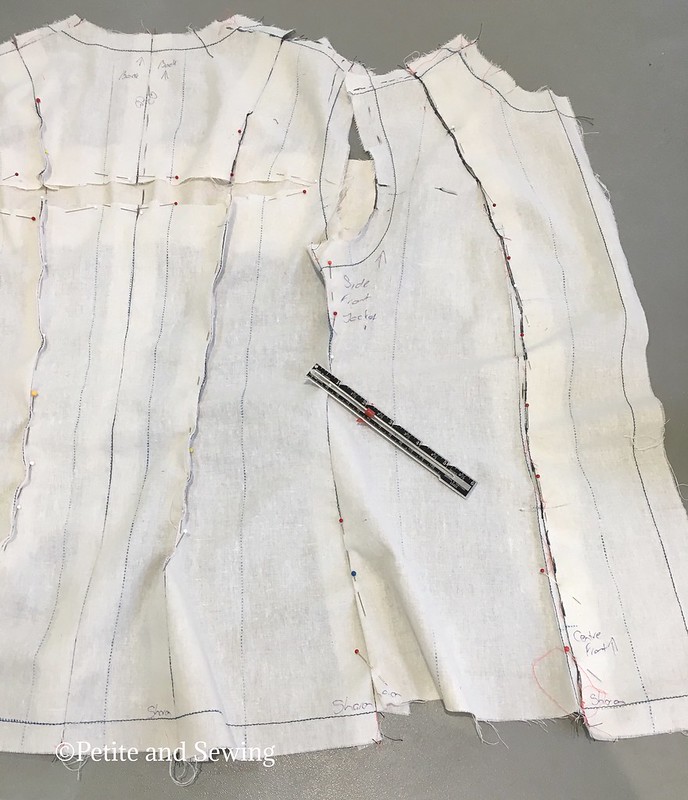
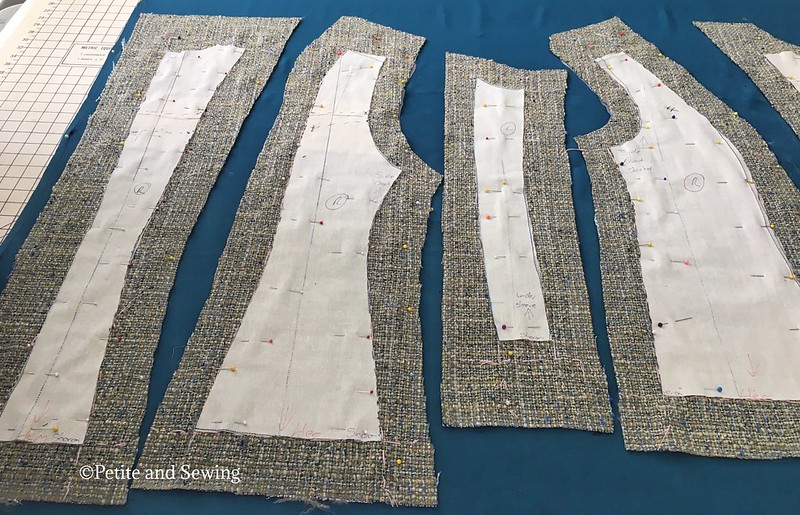
I then took apart my toile, stitched in my adjustments making sure that everything lays flat and then cut off those huge seam allowances to get ready to start positioning the jacket pieces on the fabric to cut out.

Luckily my fabric didn't have a major repeat or nap that I had to worry about.


The hardest part was to make sure that I had the 2" of seam allowances on each side of each piece, this lets you handle your fabric without it disappearing in your hands.  I tripled checked it all before taking a deep breath and cut it out using my Kai shears.

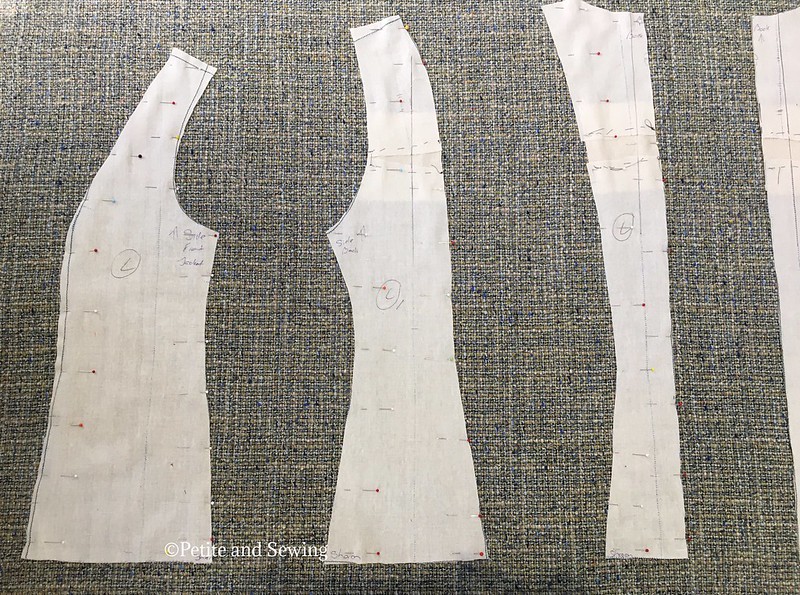
Then it was time to baste all the stitching and grainlines in place using the Japanese cotton basting thread that I purchased during my week of Couture back in May 2015.


Once I finished all the basting the jacket pattern is removed (I still kept each piece together as they all started to look alike with the huge seam allowances) I then reinforced the "peninsula" of the side front pattern piece above the armscye with silk organza for stablisation and support.


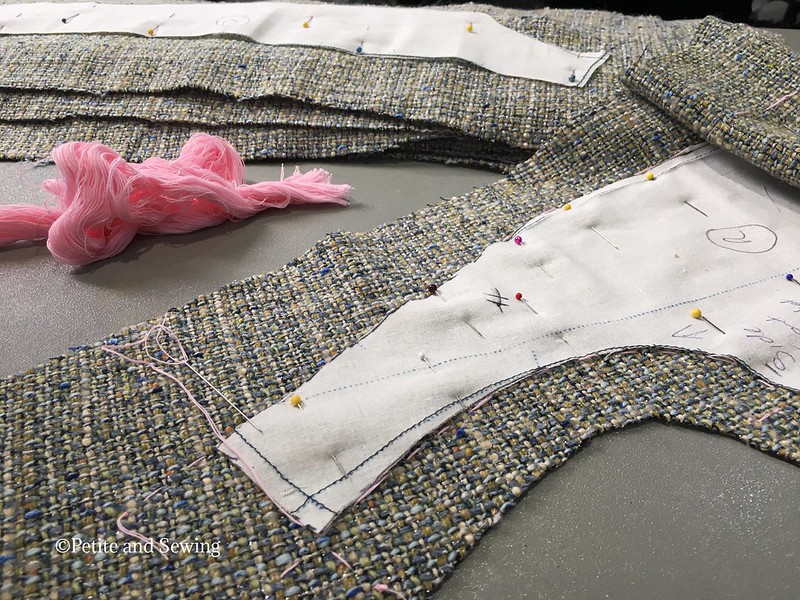
Cutting out my silk lining is next, laying my fabric on top of the silk, getting my grainlines correct and then again cutting it all out.


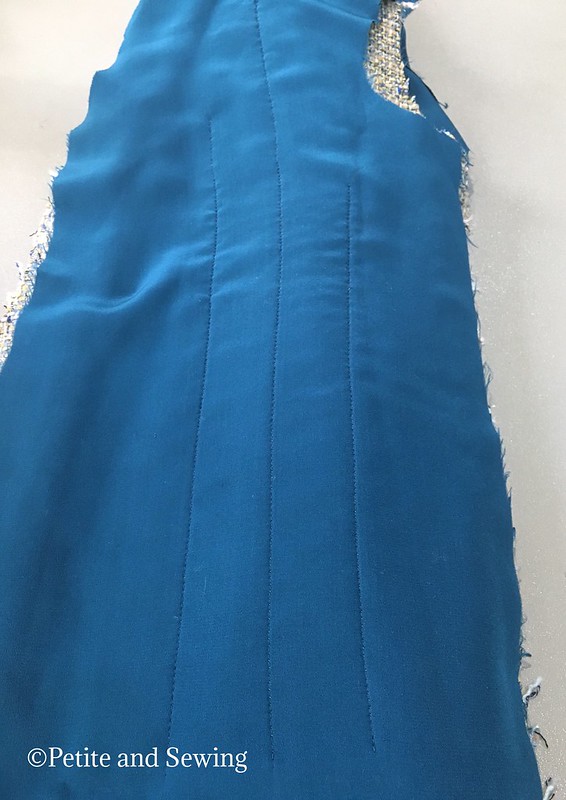
Finally I got to set up my sewing machine to start quilting all 8 jacket pieces (normally 7 but I have a centre back seam).


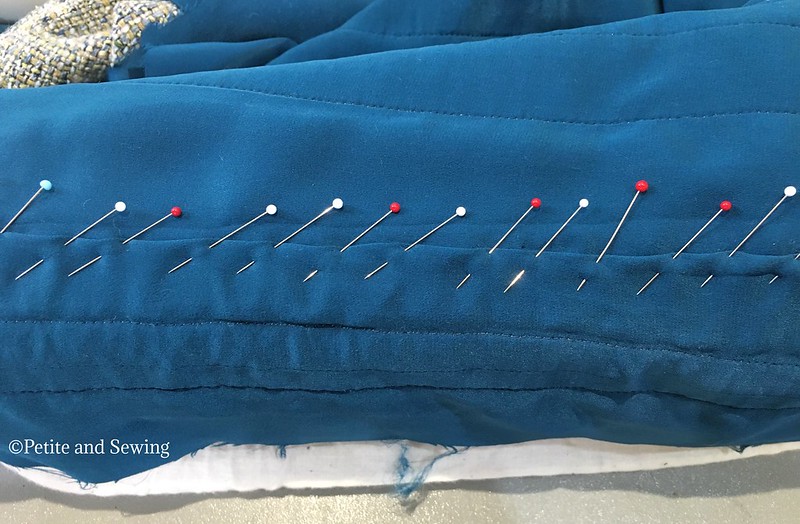
Then I hand baste the main jacket pieces together (leaving the lining free) for my second fitting.


Again a few more changes were made to my jacket, only slight and this is where I was thankful that I had different coloured Japanese cotton basting thread as it made it much easier to see what the new markings were.

Next the 7 vertical seams are sewn by machine, pressed open, reduce the width of the seam allowances (not by much) of the main fabric.  I then placed my seams over my sleeve board so I could pin the lining in place and trim if necessary and fell stitch the lining seams together.


This is where the jacket is really starting to take shape and the weight of it and the amazing fit still brings a smile to my face.

There is still quite a bit more I want to document, the sleeves and a fitting challenge that I didn't expect so I will be back next week with more.

See you soon.


Saturday, August 19, 2017

Preparation for The Classic French Jacket class

This seems such a long timde ago, but I do want to document it.

In our detailed pre-class notes Susan asked us to bring to class "a fitted muslin/toile".

I have made a couple of jackets using V7975 but my last jacket ended up being a "Miss" as it just felt too large and is currently back in pieces whilst I decide if I can salvage it.

Talking to one of my sewing friends who attended Susan's class in Baltimore, highly recommended Susan's pattern, The Classic French Jacket  as she found it had a nicer line and much less fullness over the bust and less ease in the pattern altogether, so this pattern winged it's way to me.

The pattern envelope only contains 2 pages of pattern tissue, one for sizes 4-14 (bust sizes) and 16-24 (bust sizes). I started with a size 6 (e.g. bust 35") which was closest to my high bust measurement.

However when I checked:
  • my measurements + ease
  • minus the flat pattern measurements 
  • it showed I needed to add quite a bit extra. 
Now most of you will know that I have been using TNT patterns for quite a while now, so starting from scratch took a bit of thinking.

During one of the Craftsy sales I purchased the "Fitting Solo - From Measurement to Mulsin with Linda Lee" class and this showed me a very logical way to make the necessary adjustments to the width.

The following adjustments were made to my pattern pieces:
  1. Neck line gaposis of 1cm
  2. FBA of 2.5 cm
  3. Added 0.4 fromt the waist to 1cm at the hip for each seam
  4. Full Bicep Adjustment of 5.5 cm across the 3 piece sleeve which was very well explained in Fit For Real People on page 172.
  5. The back pattern piece can either be on the fold or seamed.  I chose to seam it as I like the look of the back with the extra seam.
I then made up my jacket toile and headed to Studio Faro where I had booked a Sunday Afternoon Studio Session to work on my own project for some fitting help with Anita.

The following adjustments were then made:

1.  Lowered front neckline by 1cm
2.  Lengthened the sleeves by 1.5cm
3.  Shortened the length by 6cm
4.  Added more width to sleeves - 2cm at Biceps and 1.5cm at my foreaem, with nothing at the wrist
5.  Broadback adjustment of 1cm
6.  Dropped armhole and sleeve arms centre by 1.5cm 
7.  Added 5mm to centre back from neck edge to nothing at the waist.

and here are the pattern pieces ready for my 2nd toile:

Side front and centre front

Centre back and side back
Three piece sleeve
Which was ready for Susan to view on our first day of class, but which I forgot to take a photo of!

More to follow shortly.

Saturday, August 12, 2017

Cream top and other news

When I showed you my Skewed Cowl top, I mentioned that I had made 2 other tops prior to this one during our weekend away.

This is the first top that I had partly made but needed some fitting help with.

Now I'm not too sure why it has taken me quite so long to replace my cream knit top I made back in 2014 as this top is proving invaluable in my current winter wardrobe.

Again I have used KS 3740 with a further two adjustments:

  • a centre back seam to try and remove some of the excess fabric in the middle of my back, sometimes I think it works others not so sure.
  • forward shoulder adjustment that I have been doing to my TNT woven blouse pattern.


I did use my Coverstitch binder for the neck band.

Twisted sleeve - what now!
Now you may have noticed my accessory on my right hand, it is an Exos splint to keep my wrist and thumb still as I have de Quervain's Tenosynovitis which is a result of all the fine handsewing I did back in February.  This has only been on for 2 weeks (I do remove it 4 times a day to do exercises and shower) but I'm not sure how much longer it will take to reduce the inflammation.

So not much sewing, knitting or jewellery making is happening here at the moment but I do have a few more blog posts to catch up on.

On a much brighter note, please meet Tomba who joined our family at 11 weeks of age and is now 19 weeks old.  We are off to his 2nd dog obedience class tomorrow.


Our household was just too quite after Roscoe left us and Tomba (who will be a very similar size to Roscoe) is making our life very interesting.

******************
2017 Stash Out: 7.6 m
2017 Stash In: 4 m