Sunday, April 24, 2016

Taupe shell top

I found myself very short of summer tops for work this year, and the paisley rayon's I purchased recently had been earmarked for this hole in my wardrobe.


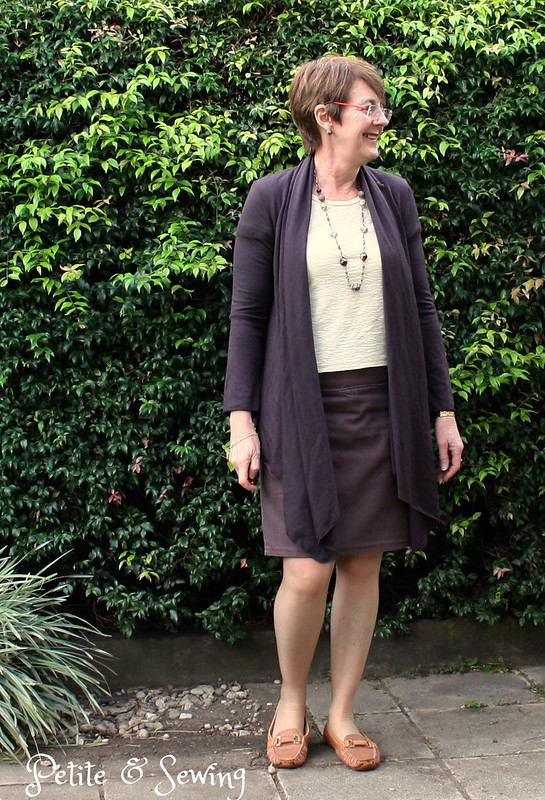
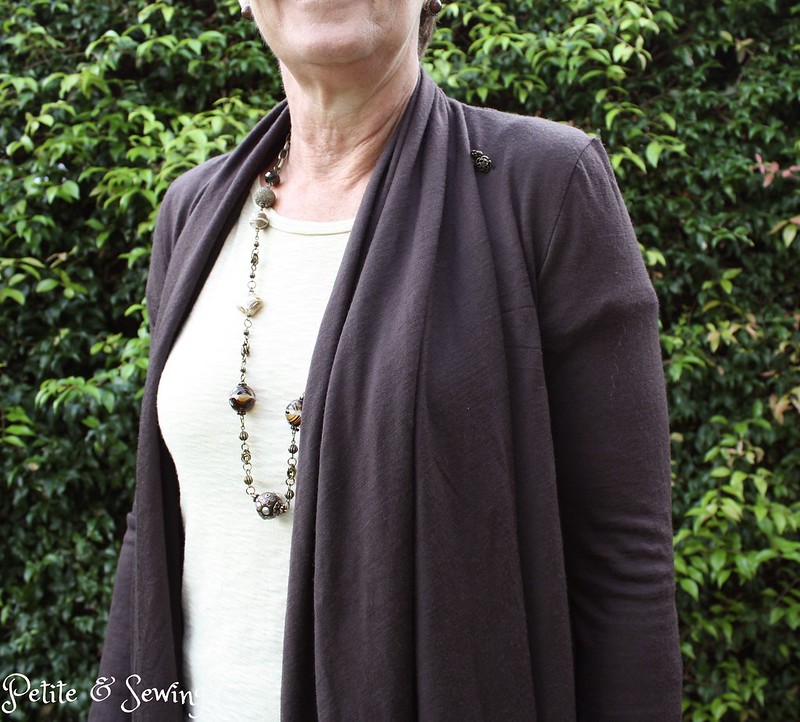
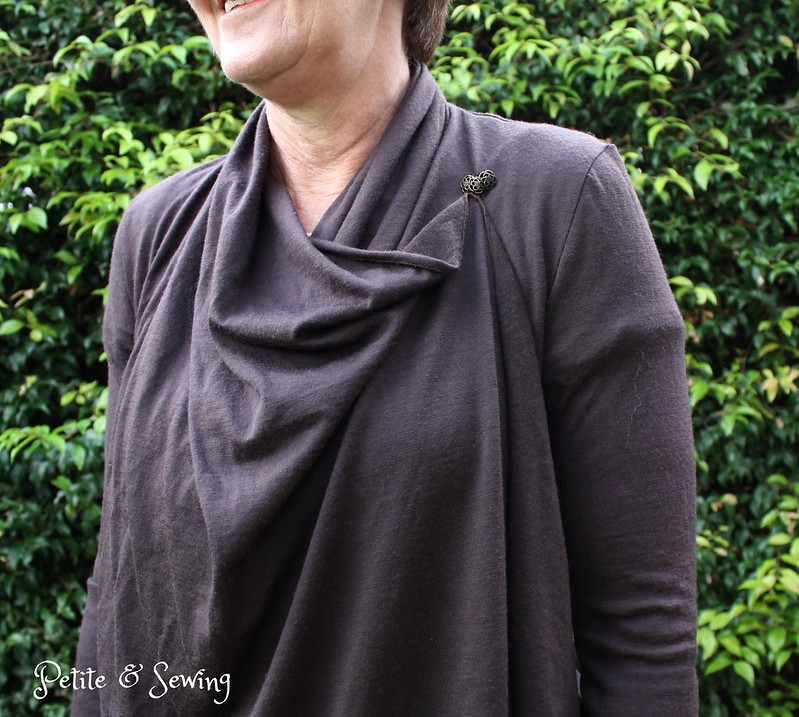
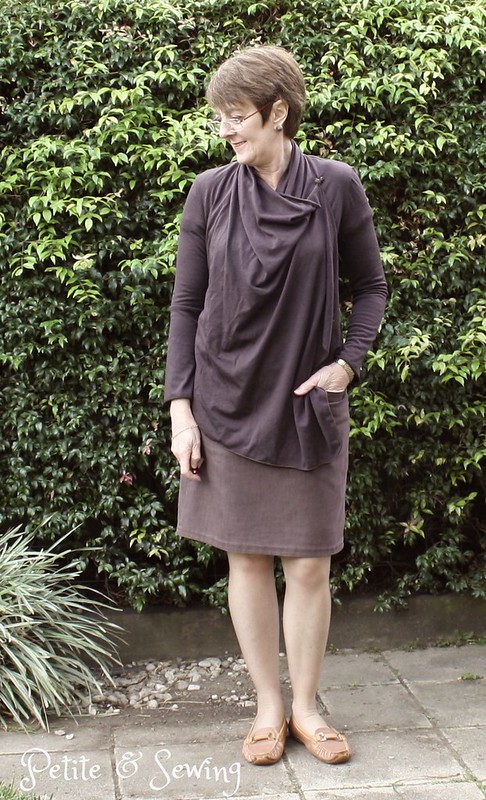
The first one is using my TNT top pattern, Vogue 8752 (OOP) which I am still fine tuning as my body changes as the years go by.

 The last lot of changes happened after a workshop at our ASG group back in July last year about armscye/sleeves by Anita McAdam who owns Studio Faro.

Anita suggested we bring/wear a top/blouse that we wanted help with, so I chose to use my TNT top and wore this yellow top.


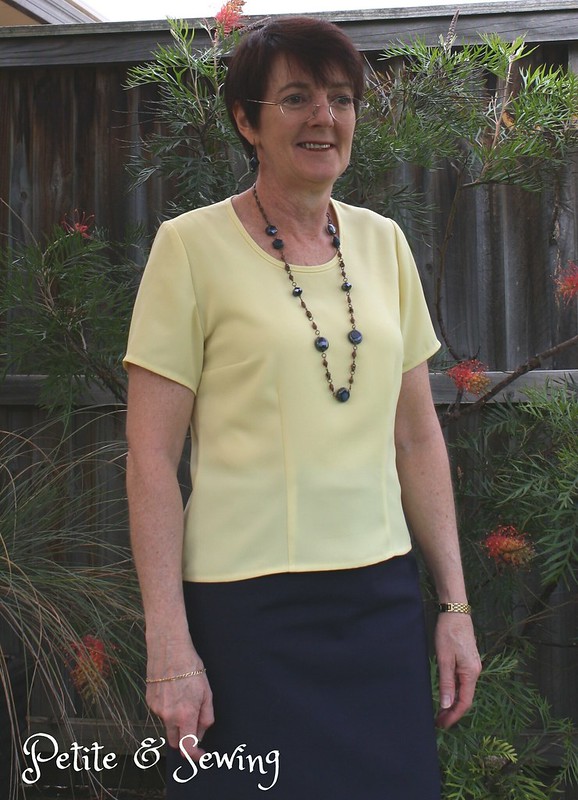
Over the  years I have made a number of adjustments and it was the cream silk version that I made the round shoulder adjustment to my sleeve pattern and I was pretty pleased with that but I still get some stress lines around the armscye.

Anita suggested I also needed a forward shoulder adjustment and I have gone about it as follows:

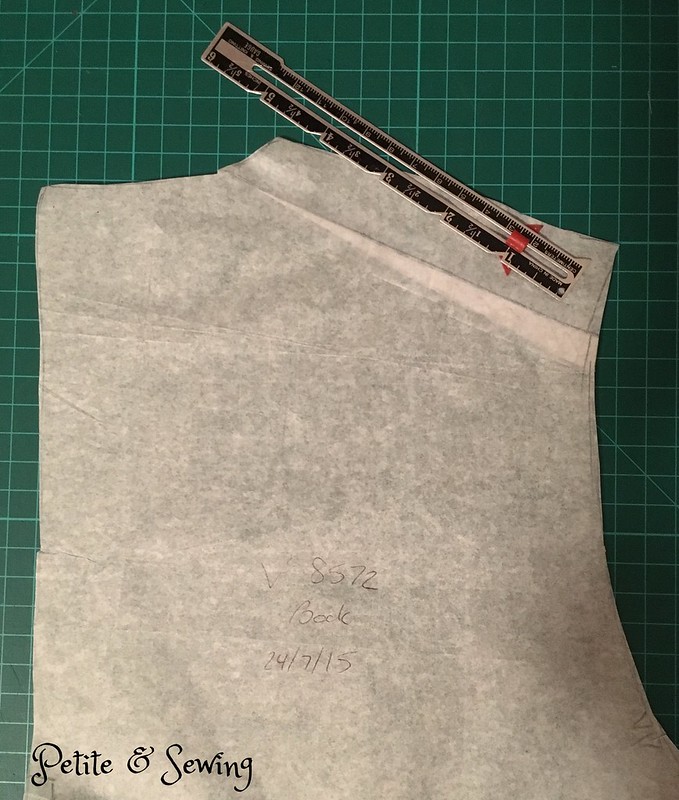
1.  On the sleeve pattern I folded out 1.2cm on the back armscye and added 1cm wedge to the front armscye.


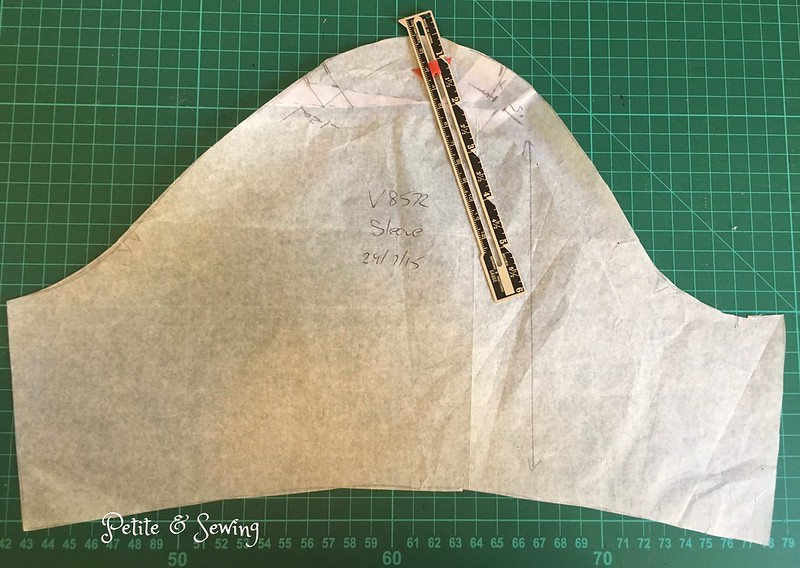
2.  I then did the corresponding adjustments to the front and back pattern pieces.

Front

Back
I didn't expect this fabric to fray like it did after I put the invisible zip in, so


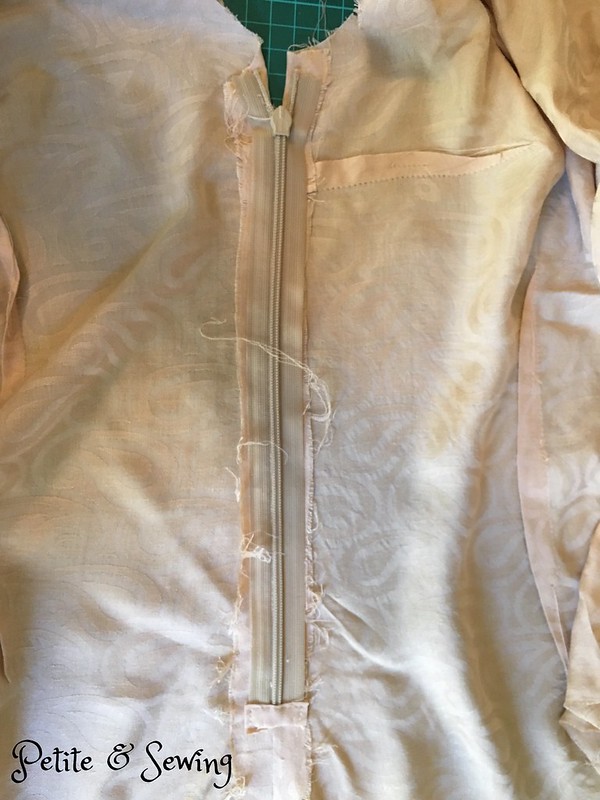
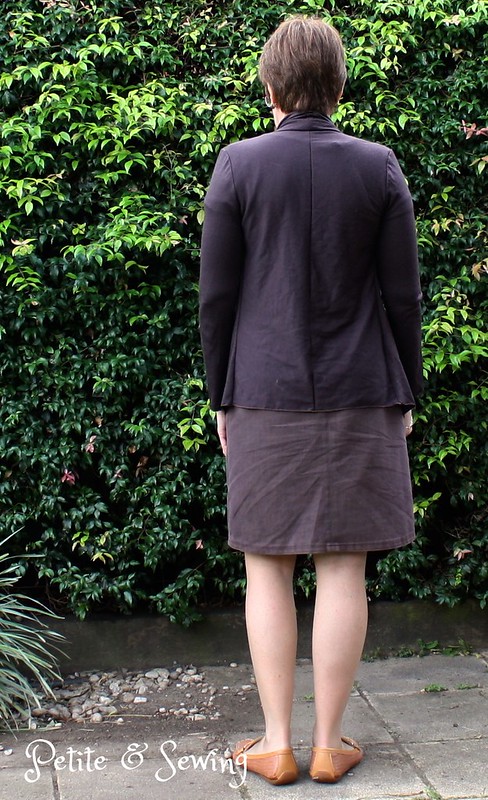
I did a Hong Kong finish on the seam allowances


and then did French Seams for the shoulders and right side seam.

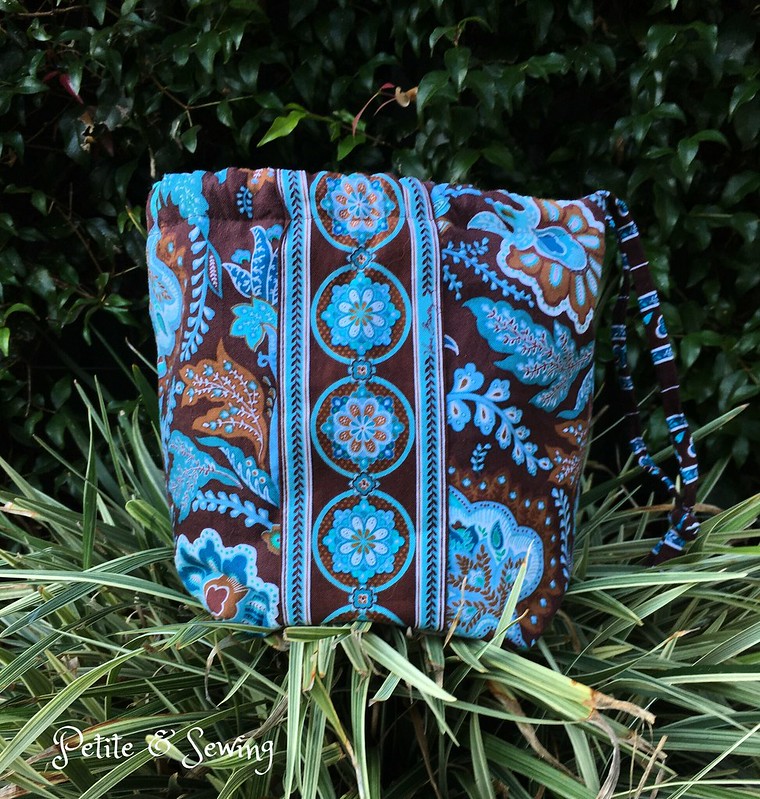
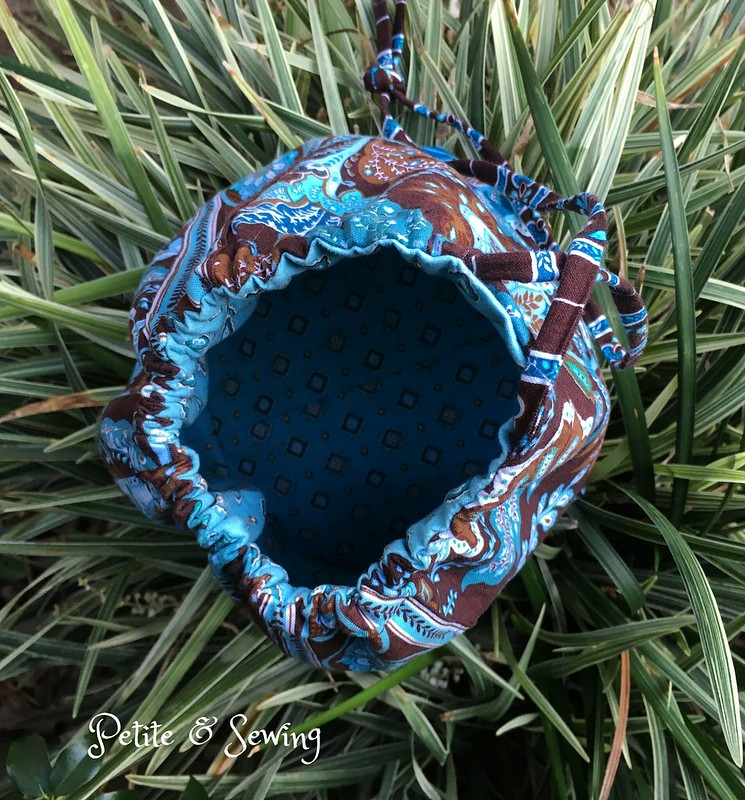
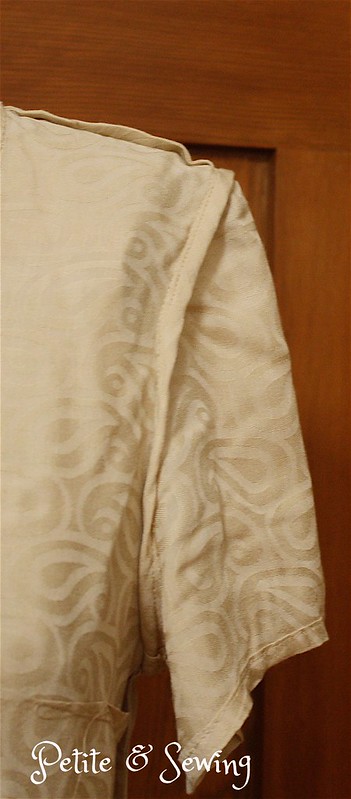
I told a sewing friend that I used bias strips of organza to insert my sleeves, so thought I would try and explain it here.

*  After doing French Seam on the sleeves, I

*  took a 4cm wide bias strip of organza and placed this on the wrong side of my sleeve cap, starting at the dot and lowered the needle, with my machine on baste stitch, I put pressure on the bias strip as I stitched it around to the other dot,


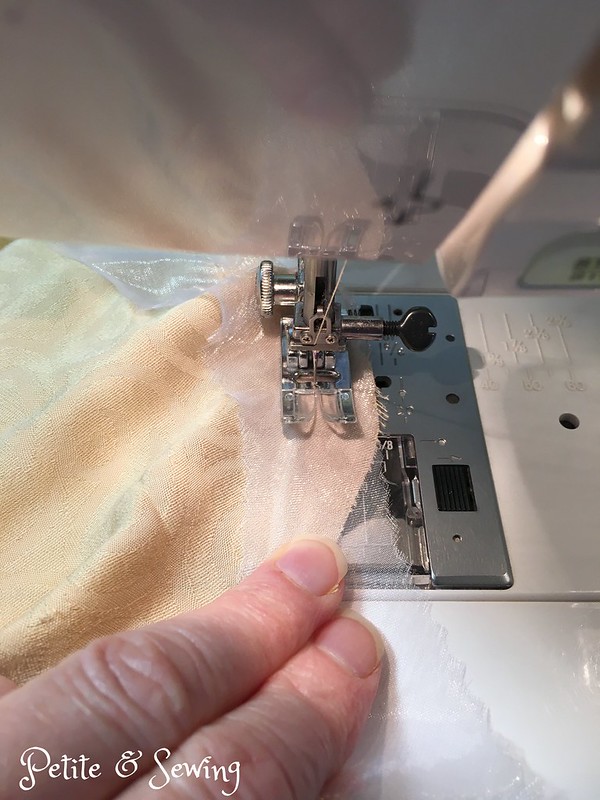
and when you finish your sleeve already has a very nice shape to the sleeve cap.


*  and you can also use the basting stitches to put in more ease or reduce as necessary.

*  once the sleeve is in place, I cut out the silk organza bias strip.

Then to finish off the sleeve I added a Hong Kong finish to this seam.


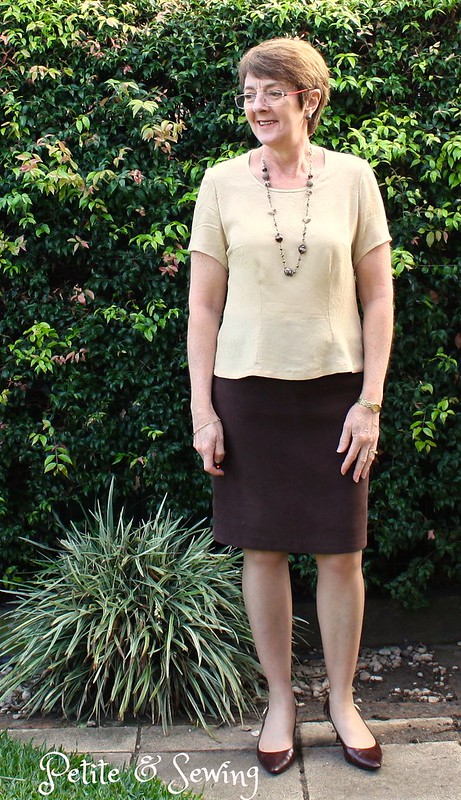
and here is the completed top.


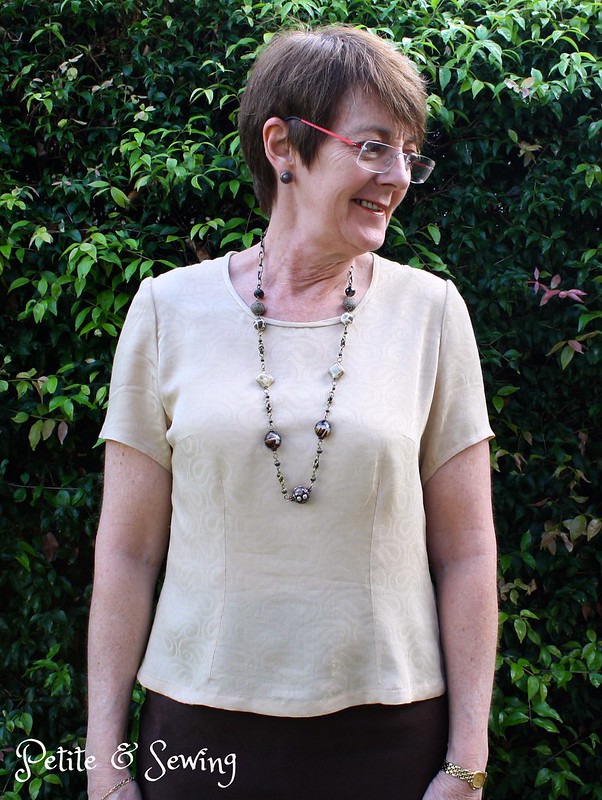
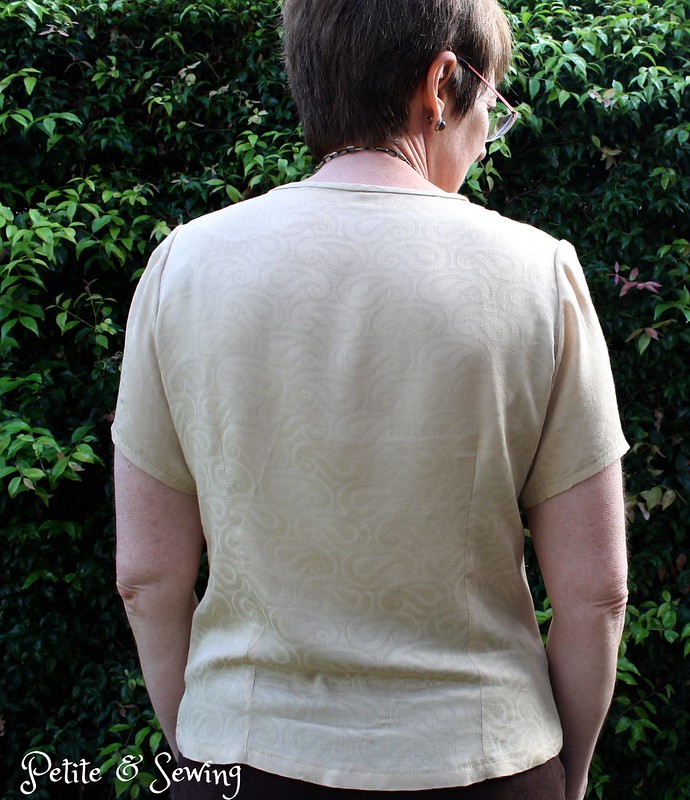
I'm not sure what is happening to the sleeve, even though I took out a wedge from the back armscye, it looks like there is still too much fabric.

Oh and I forgot to shorten the back darts, that would have given me just that bit more room at the back.  The pattern is now noted for next time.

Now off to work.


******************
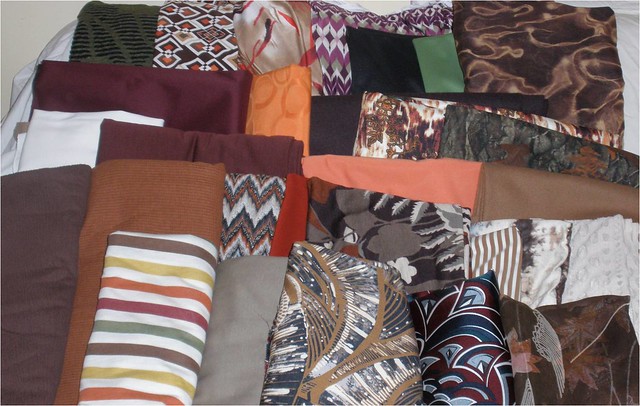
2016 Stash Out: 6.1 m
2016 Stash In: 15 m

Monday, April 18, 2016

Winter Cardigan

During my trip back home from Tamworth back in May last year, at one of our stops I managed to loose my Merino cardigan that I had made back in 2011.

This was a great piece that could be worn open or wrapped around me to add an extra layer when it was necessary.

So the next time the Fabric Store had a sale, I was there to purchase enough Merino wool to specifically make another cardigan.

It then took me to January this year to finally get around to making it for our trip overseas.

I again cut the front drape halfway between the short and long versions but what I didn't take into account was the different drape of the merino wool.

Short sleeves aren't a good look under the cardigan.
The drape was not quite as long, so I couldn't flip it over my shoulder and the sleeves were rather snug.


Thankfully the back covered my hips which was good.

So I added 3 small metal buttons to the upper chest on the left hand side


and sewed a thread chain about halfway along the other drape


so I could create another layer


that looks like this.  The side of the drape with the buttons on it is tucked into the back waistband of my skirt.


Even though the sleeves are snug and this is quite obvious with a short sleeved top underneath, when I wore it with long sleeves there are no other lines on the sleeves.

This was worn nearly every day I was away, it works with all of my tops and provided the extra layer I needed.


******************
2016 Stash Out: 5.3 m
2016 Stash In:  15 m

Sunday, April 10, 2016

New knitting bag

When I can't sew I take my knitting and have been using a large knitting bag for many years.

Besides it looking very tired it was too large for my trip overseas so when Andi Satterlund from Untangling Knots posted about Knitting at Parties, she shared a link for the perfect little knitting bag.

The Reversible Sock Knitting Project Bag  by Very Shannon.

I have quite a bit of the Vera Bradley fabric in my "bag stash" and have used it previously making a Spice of Life bag which unfortunately stays in the cupboard.  I've realised that even though I love the fabric I will enjoy it a lot more making accessories for my knitting.

I have used both the large floral and added the large border to add some interest to the side of the bag.


For the lining I used the smaller patterned fabric.


I cut a strip of the large floral and used the smallest Fasturn tube to make the cord.


This was the perfect size bag for my trip.  I did take the cotton facecloth that I was knitting and a skein of wool as well as 2 pairs of interchangeable needles for my circular needles for the knitting class I did at the Sewing & Stitchery Expo


The facecloth is now finished and although not perfect I am feeling a lot more comfortable with the "continental style" of knitting.

******************
2016 Stash Out: 3.4 m
2016 Stash In: 15 m

Wednesday, April 6, 2016

Shorts for the man

Every now and then I plan to make a garment for Mark and seeing I had already made him two Strathcona Henely t-shirts and had purchased the Jutland Pants from Thread Theory, I thought a new pair of shorts was in order.

Mark does own a pair of red shorts so I didn't feel that purchasing this burnt orange would be too much except my sewing buddies keep telling me it is my colour.

I then had some fun finding some manly cotton fabric for the pocket bags, waistband lining and bias binding.


My madness is based on the fact that Mark has a 30" waist and last year I found it extremely difficult to find pants/trousers in this size and as he prefers not to wear a belt it looks like I could have a new job.

So I cut out a size 30" and then couldn't make up my mind if I was going to do patch pockets or welt pockets.

Welt pockets won, but it has been a long time since I have done these and I'm glad his RTW shorts have the bar tacks at the end of the pockets as this has helped cover my overcutting.


Even though I wasn't completely happy with the welt pockets I decided to still make these as I wasn't sure that the pattern 30" waist would be equal to Mark's real waist.

All seams are flat felled and I have used bias strips for around the edge of the fly.


Again my sewing machine didn't like the buttonhole so I have again used the tutorial I used for my Jeans.

I found this button in my button jar and think it works perfectly for these shorts.


Mark found the waist to be very comfortable but did comment that these are a slim fit in the legs.  So next time I will add a some extra width in the front leg and see how that goes.

This is at the end of the day.


Now the fabric for these shorts were counted in the 2015 totals, but I attended the Sydney Spoolettes Fabric Destash event last Sunday and donated the green/black mesh knit that you can see at the top left hand of the picture below.  This was purchased during our trip to the USA back in 2011 and now I can only see the black in it so I am very happy it has found a new home.


******************
2016 Stash Out: 2.9 m
2016 Stash In: 15 m