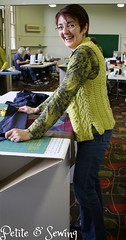
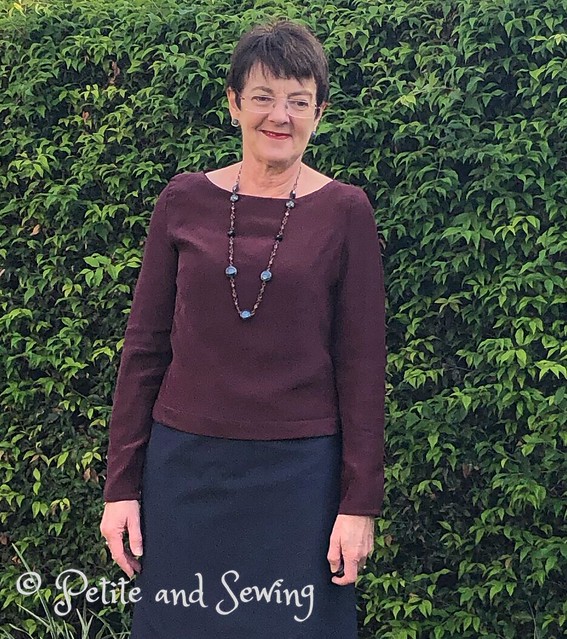
I am finally wearing my new silk boatneck top that I started in 2018 with Susan Khalje.
 |
| That tuck disappeared during the day. |
When we heard that Susan was coming to Australia again in 2018 I realised that my wrist was still not 100% and I didn't think all the tailoring involved in this project would be a good idea.
Talking to my sewing friends about a suitable project, Wendy mentioned Susan's new Boatneck top that CissieW had mentioned on a Pattern Review that she had worn when she reviewed Susan's Skirt. Once I read the description of the top I emailed Susan and she organised for the pattern to be sent to me to prepare my toile for the class.

Susan made some adjustments to the neck and shoulder and felt that this was the best starting point.
For the class I had purchased some gorgeous burgundy silk from Tessuti Fabrics.
One of the design challenges we had was that I wanted long sleeves but not a zipper down the centre back, but on the left hand side of my top. This is not an issue if you have short sleeves, but as I wanted long sleeves Susan came up with the use of a placket.
When sewing the left sleeve, I stopped 2" from the top. At this stage I basted a strip of silk organza selvedge along the stitching line on one side only. This then gets folded back so the press studs can be sewn to it.

For the 2nd side a placket is sewn to the seam allowance.

Then the the clear press studs are sewn in place along both edges.


The sleeve has a large dart at the sleeve head which gives it a beautiful shape.
The neck facing had been sewn, trimmed and pressed and then it was time to trim the neck facing and armhole excess fabric. I trimmed this on my tailors ham and then basted the neck facing edge and armsyce edges together. When I tried it on there was something not quite right so I undid the basting and got out my shoulder stand and realised that I had trimmed off too much of the neck facing, so the edges weren't meeting up evenly. I was only able to stitch 3cm together along that edge, whereas the other side I could stitched 5cm on each side of the shoulder seam together.

I also left the armhole on the shoulder stand to baste the seams together so it was all sitting correctly.
Then it was the small bias binding on the sleeve hems.

Another feature Susan and I had decided on was to put a 7.6 cm (3") French Bias on the hem of my blouse to give it some weight. The challenge was that when I measured one of my tops that I have finished, I am 29.5cm on the left hand side and 31 cm on the right hand side. So I marked these spots on the top's hem and drew a chalk a line from each spot and then basted this line so I could try it on and get my friends to fine tune it for me during one of our weekends away.
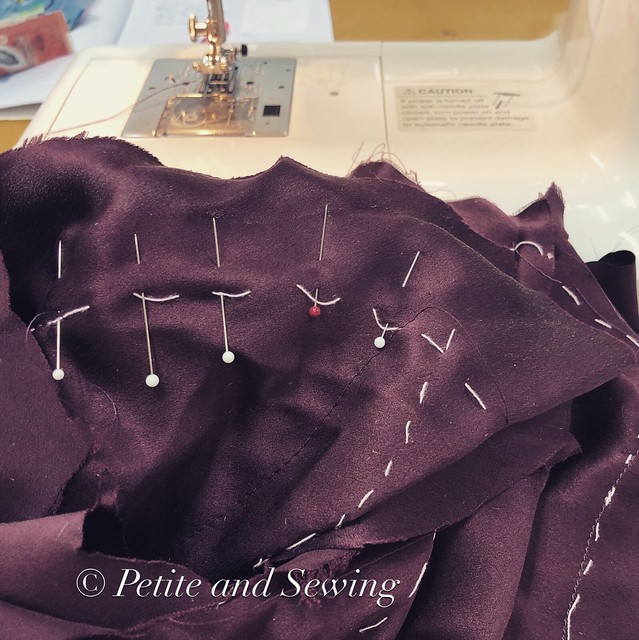
The photo below shows the re-basted (adjusted line) and cutting off the excess fabric. Now the basted line is the finished edge of the top. I will need to mark up another 7.6 cm (3") and baste another line as this is where the French bias will have it's first stitching.

So to prepare for this next step I have made the bias binding and have it rolled on a toilet roll to stop it from being creased.

During another sewing weekend away the 2nd basting line was sewn in place,

and the bias was machine stitched along the blue basting thread, pressed, the excess fabric was cut away and the bias was folded to the inside to be slip stitched in place.
 |
| Thank you Jenny for the sparkles! |


 |
| oops forget to pull it down |

Now to find time to finish the 2 x Little French Jackets and Couture Skirt.
******************
2019 Stash Out: 3.3 m
2019 Stash In: 3 m