Wow February was an exhausting month and the dress isn't finished but I thought I'd share my preparation for this course.
In our detailed pre-class notes Susan asked us to bring to class "a fitted muslin/toile" and as I shared my plans for this course I did have my 4th toile ready for Susan to fit on our first day of class.
The reason for the 4 toiles is that all of my sewing of late has been using TNT patterns so it has been a very long time since I have tried to get a pattern to fit me.
Therefore this is a very long post about pattern adjustments.
1st ToileIn our detailed pre-class notes Susan asked us to bring to class "a fitted muslin/toile" and as I shared my plans for this course I did have my 4th toile ready for Susan to fit on our first day of class.
The reason for the 4 toiles is that all of my sewing of late has been using TNT patterns so it has been a very long time since I have tried to get a pattern to fit me.
Therefore this is a very long post about pattern adjustments.
In preparation for my first fitting with Anita from Studio Faro I started with size 6 using my high bust measurement as the starting point.
Then I did the following adjustments:
- FBA of 2cm
- Raised the hips by 5cm
- Raised back neckline by 9.5cm
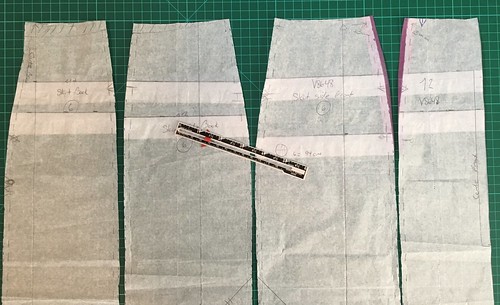
- Added 0.5cm to each of the seams of the skirt and back to zero at the bodice.
2nd Toile
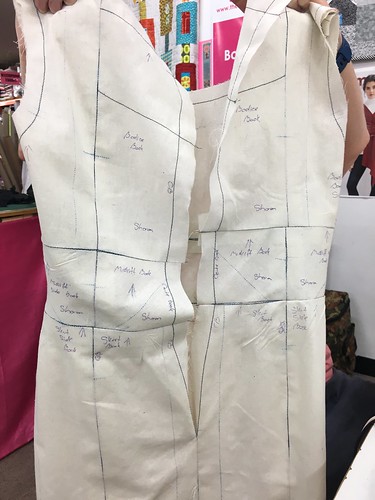
So the width was added to all the vertical seams for my 2nd visit with Anita on 8 January 2017 and Anita marked the following adjustments:
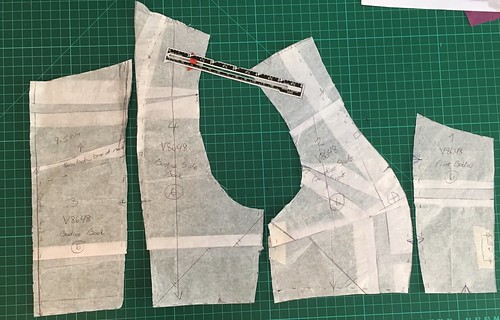
- Took 1cm out of the width of the centre front bodice
- Smoothed out the bust curve by 7mm
- Took a tuck from the bodice side front side seams of 11mm to nothing at the bust curve
- Took a tuck of 7mm above the bust on bodice side fronts
- Dropped armhole by 1cm
- Bodice back side took 7mm tuck right across
- Added 3mm at waist edge of Midriff Front and Midriff Side Front taking to zero at bodice edge
- Took 1cm from bodice edge of Midriff front to zero at waist seam
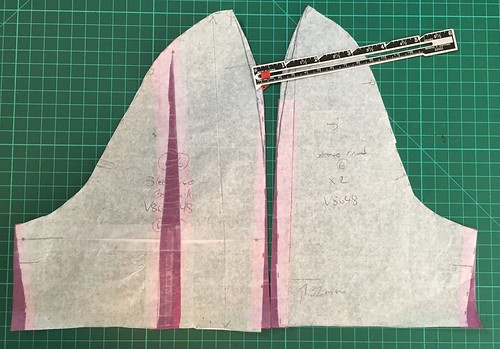
- Biceps adjustment on sleeve back of 1.5cm at hem edge using Fit For Real People on page 171
- Added 9mm at back side and front side seams
- Added 6mm to sleeve centre seam starting at the sleeve hem taking taking back to zero level at the underarm for both front and back patterns pieces
- Shortened the sleeve 3.2cm
- Dropped the armhole by 1cm
- Added 3mm on the front and side front seams from the waist back to zero 13.5cm below
- Took off 1.5 cm from the front centre back to 1cm at side seam
- Took off 1cm at side back skirt to zero at side seam
3rd Toile
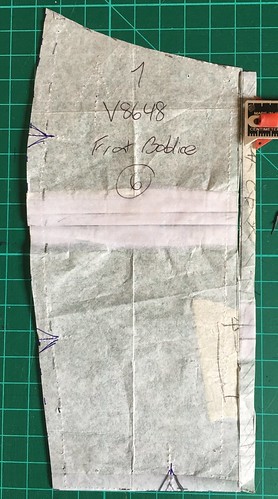
At my final fitting on 22 January 2017 Anita took a further 0.6cm from the centre front bodice,
and for both the bodice side front and back, reshaped the armsyce and adjusted the shoulder seams.
4th Toile
Finally my 4th toile was ready for my fitting with Susan Khalje on 6 February 2017.
More to follow.
At my final fitting on 22 January 2017 Anita took a further 0.6cm from the centre front bodice,
and for both the bodice side front and back, reshaped the armsyce and adjusted the shoulder seams.
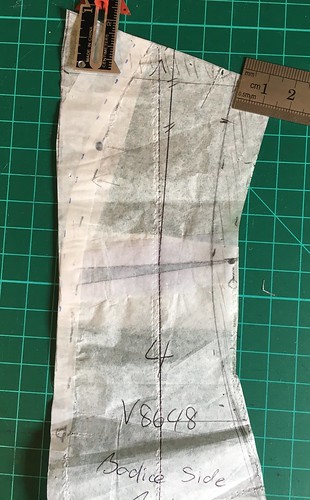 |
| V8648 Bodice Side Back |
4th Toile
Finally my 4th toile was ready for my fitting with Susan Khalje on 6 February 2017.
More to follow.






6 comments:
I've been hanging out to hear how your classes went. Looks like you have put a lot of work into getting the fit right.
It looks like your dress will be perfection! I wish I had somebody to help me fit.
You are putting a lot of love and energy into this project! Looking forward to the finished product.
This is all amazing. I can't even imagine being able to see where a 3mm adjustment is required! What happens when you recreate the dress in anything other than calico? That's a fabric that, in my hands at least, fits like no other fabric I ever sew with! 🤔
This is a fairly epic journey you've been on and I'm looking forward to seeing the final product.
Post a Comment