Sunday, April 24, 2016

Taupe shell top

I found myself very short of summer tops for work this year, and the paisley rayon's I purchased recently had been earmarked for this hole in my wardrobe.


The first one is using my TNT top pattern, Vogue 8752 (OOP) which I am still fine tuning as my body changes as the years go by.

 The last lot of changes happened after a workshop at our ASG group back in July last year about armscye/sleeves by Anita McAdam who owns Studio Faro.

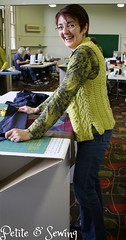
Anita suggested we bring/wear a top/blouse that we wanted help with, so I chose to use my TNT top and wore this yellow top.
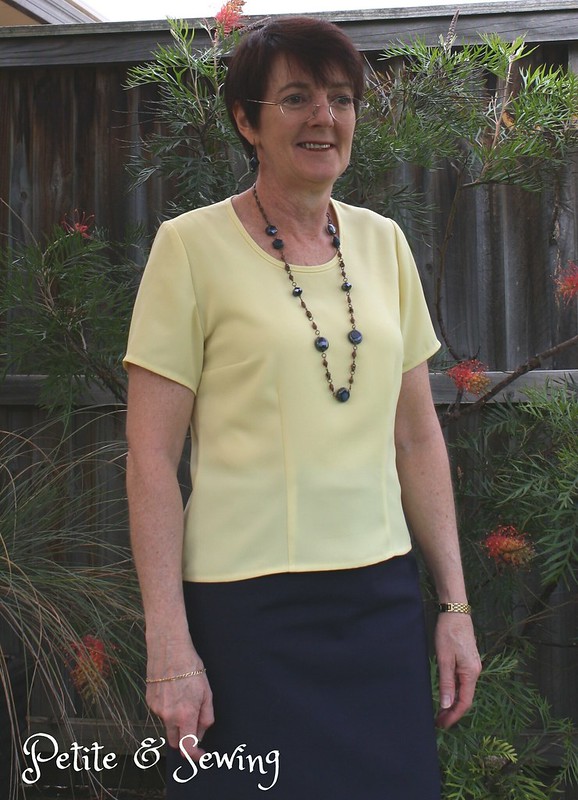

Over the  years I have made a number of adjustments and it was the cream silk version that I made the round shoulder adjustment to my sleeve pattern and I was pretty pleased with that but I still get some stress lines around the armscye.

Anita suggested I also needed a forward shoulder adjustment and I have gone about it as follows:

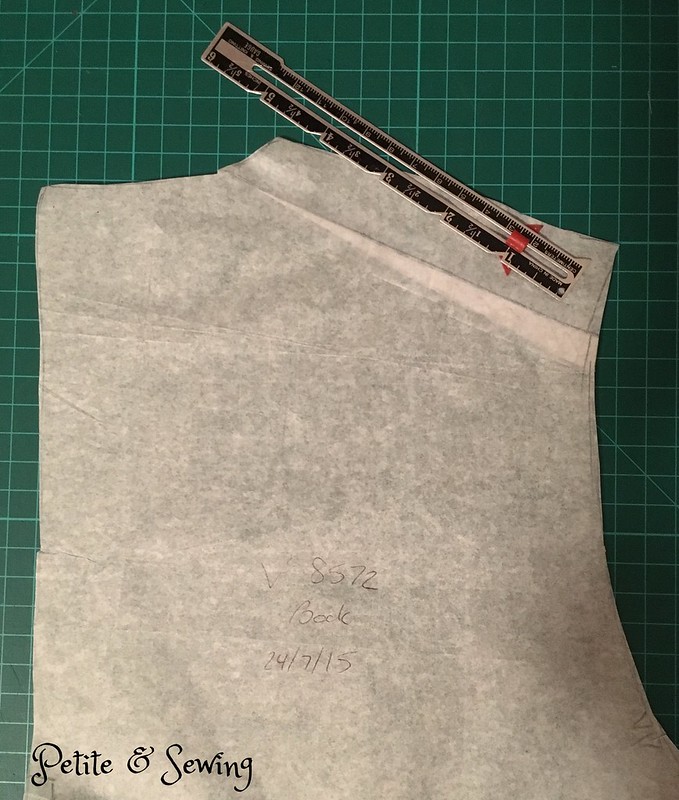
1.  On the sleeve pattern I folded out 1.2cm on the back armscye and added 1cm wedge to the front armscye.
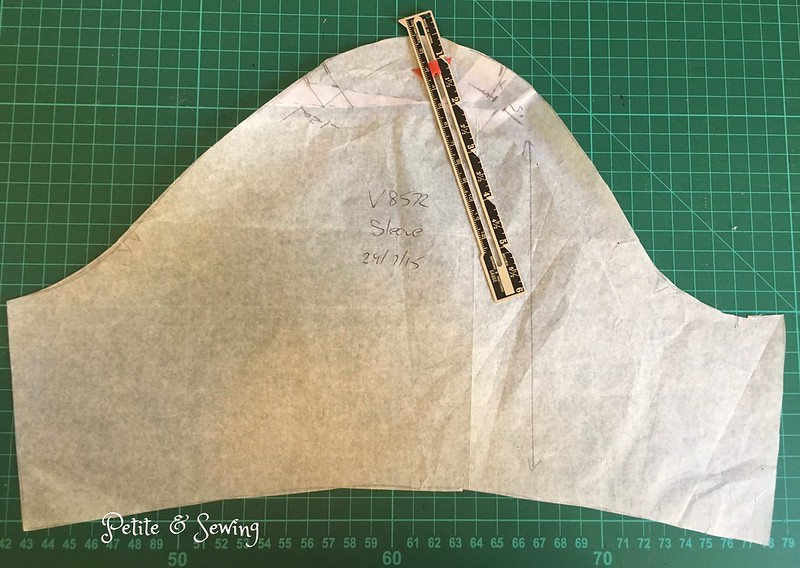

2.  I then did the corresponding adjustments to the front and back pattern pieces.

Front

Back
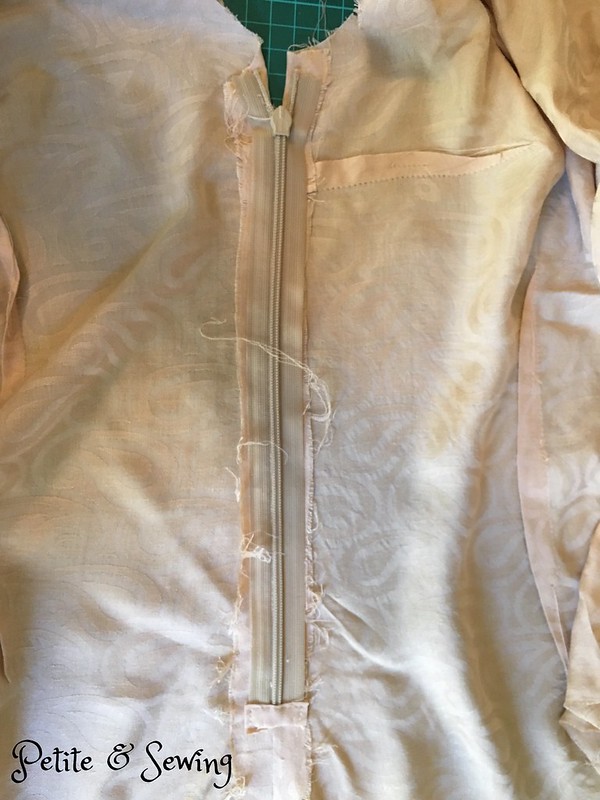
I didn't expect this fabric to fray like it did after I put the invisible zip in, so


I did a Hong Kong finish on the seam allowances


and then did French Seams for the shoulders and right side seam.

I told a sewing friend that I used bias strips of organza to insert my sleeves, so thought I would try and explain it here.

*  After doing French Seam on the sleeves, I

*  took a 4cm wide bias strip of organza and placed this on the wrong side of my sleeve cap, starting at the dot and lowered the needle, with my machine on baste stitch, I put pressure on the bias strip as I stitched it around to the other dot,
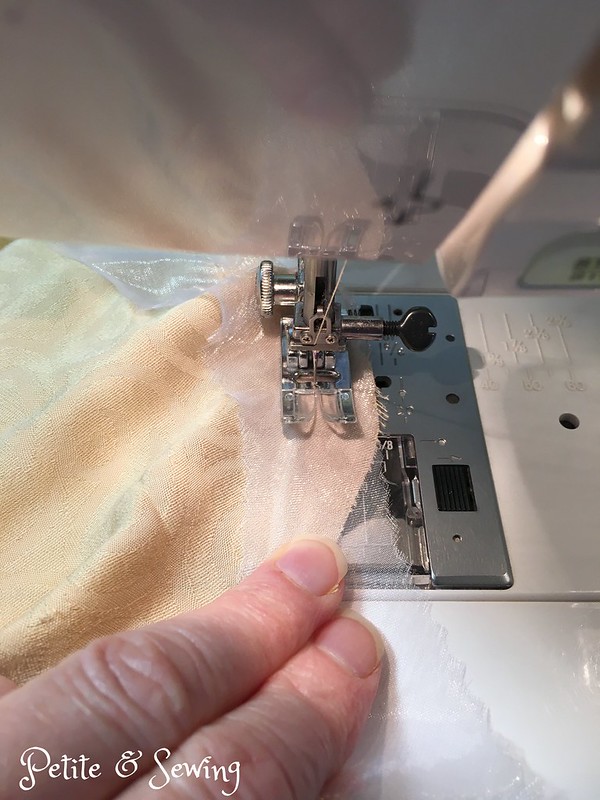

and when you finish your sleeve already has a very nice shape to the sleeve cap.
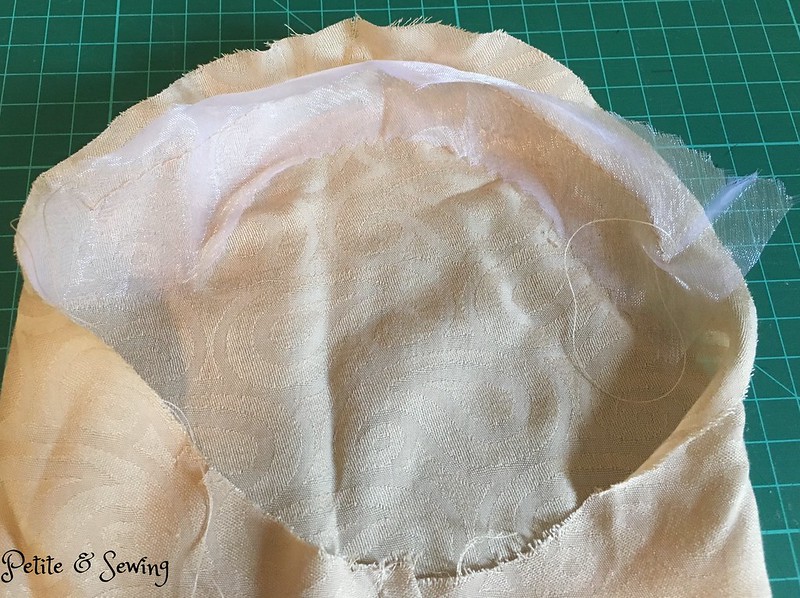

*  and you can also use the basting stitches to put in more ease or reduce as necessary.

*  once the sleeve is in place, I cut out the silk organza bias strip.
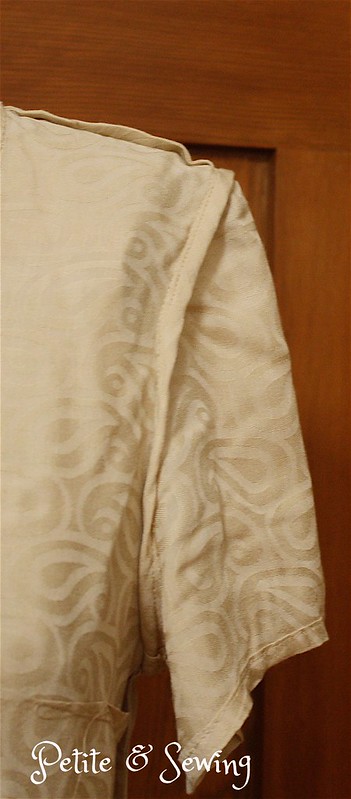
Then to finish off the sleeve I added a Hong Kong finish to this seam.


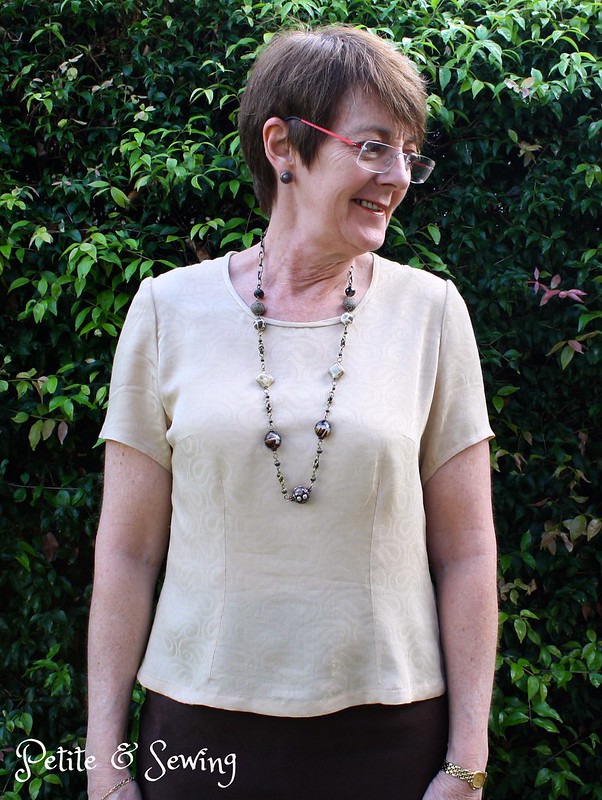
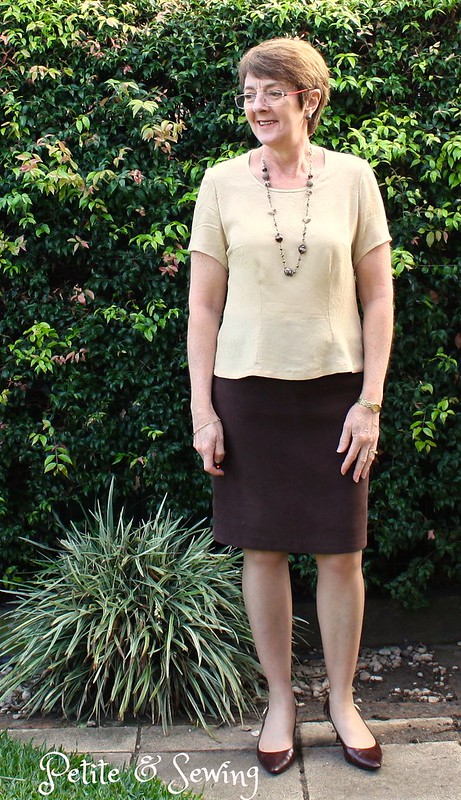
and here is the completed top.


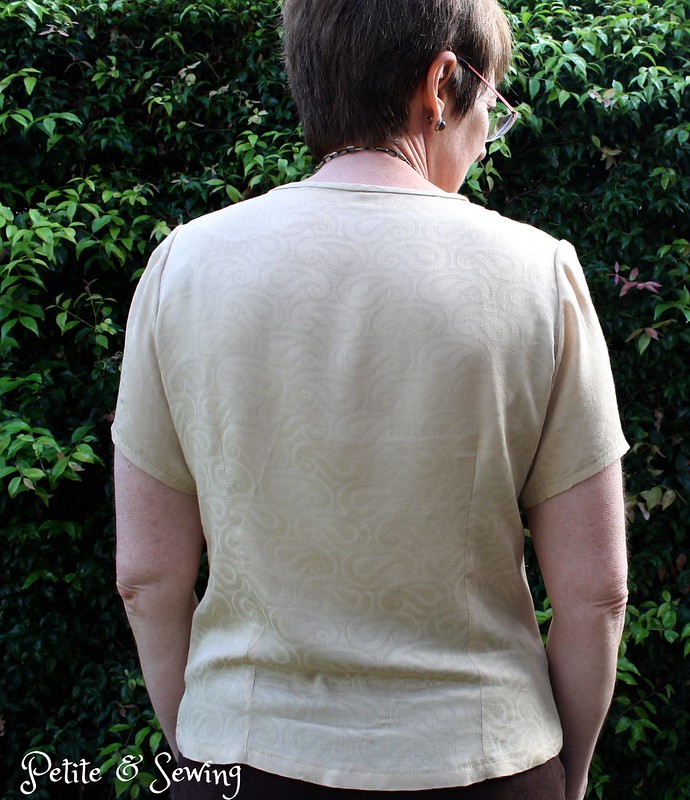
I'm not sure what is happening to the sleeve, even though I took out a wedge from the back armscye, it looks like there is still too much fabric.

Oh and I forgot to shorten the back darts, that would have given me just that bit more room at the back.  The pattern is now noted for next time.

Now off to work.


******************
2016 Stash Out: 6.1 m
2016 Stash In: 15 m

Monday, April 18, 2016

Winter Cardigan

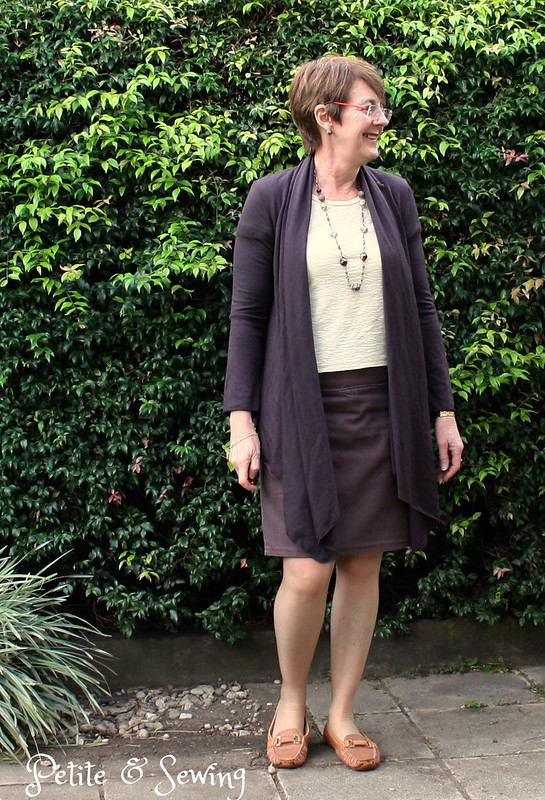
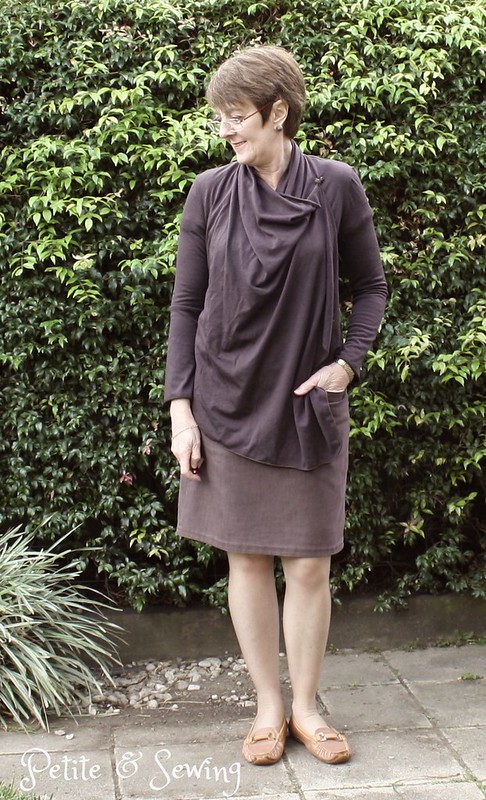
During my trip back home from Tamworth back in May last year, at one of our stops I managed to loose my Merino cardigan that I had made back in 2011.

This was a great piece that could be worn open or wrapped around me to add an extra layer when it was necessary.

So the next time the Fabric Store had a sale, I was there to purchase enough Merino wool to specifically make another cardigan.

It then took me to January this year to finally get around to making it for our trip overseas.

I again cut the front drape halfway between the short and long versions but what I didn't take into account was the different drape of the merino wool.

Short sleeves aren't a good look under the cardigan.
The drape was not quite as long, so I couldn't flip it over my shoulder and the sleeves were rather snug.


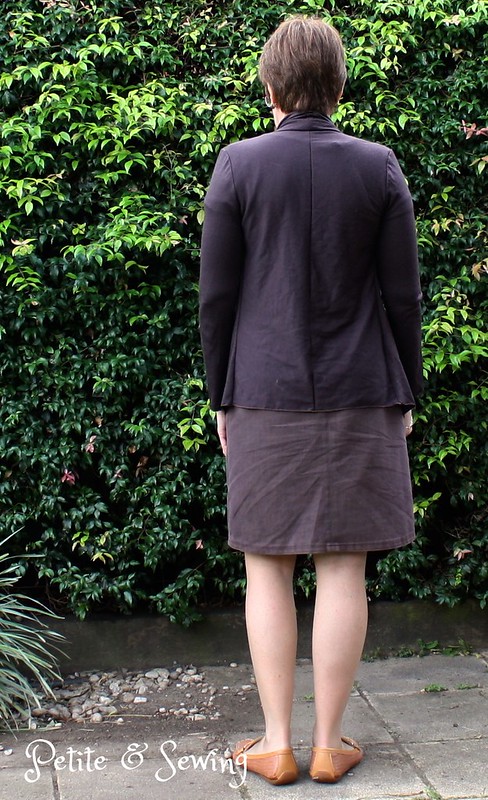
Thankfully the back covered my hips which was good.

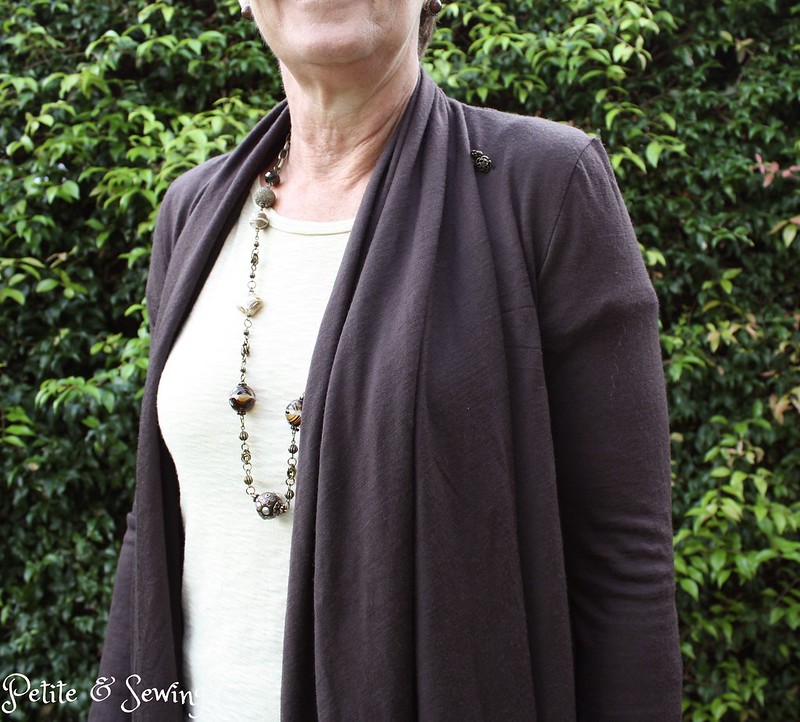
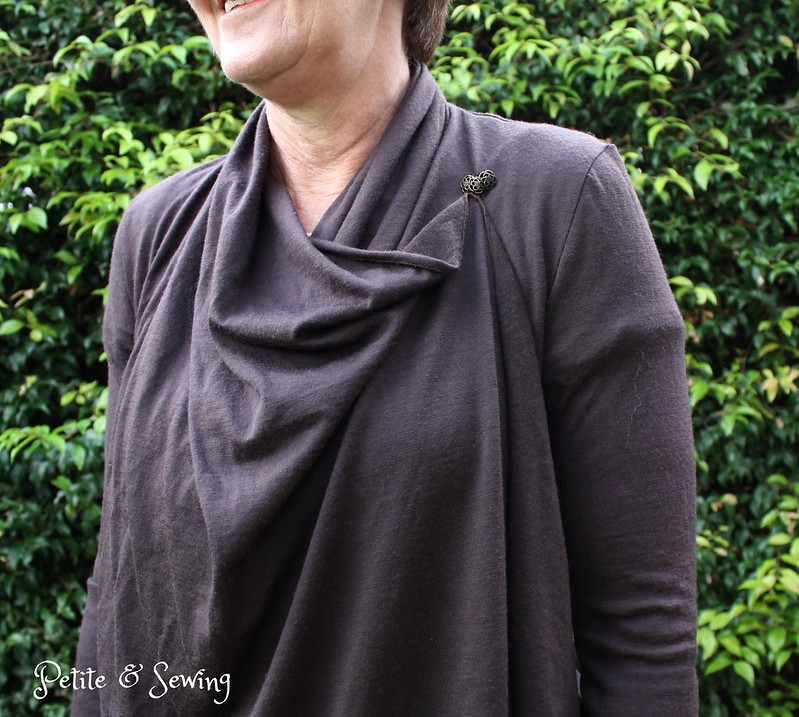
So I added 3 small metal buttons to the upper chest on the left hand side


and sewed a thread chain about halfway along the other drape


so I could create another layer


that looks like this.  The side of the drape with the buttons on it is tucked into the back waistband of my skirt.


Even though the sleeves are snug and this is quite obvious with a short sleeved top underneath, when I wore it with long sleeves there are no other lines on the sleeves.

This was worn nearly every day I was away, it works with all of my tops and provided the extra layer I needed.


******************
2016 Stash Out: 5.3 m
2016 Stash In:  15 m
Sunday, April 10, 2016

New knitting bag

When I can't sew I take my knitting and have been using a large knitting bag for many years.

Besides it looking very tired it was too large for my trip overseas so when Andi Satterlund from Untangling Knots posted about Knitting at Parties, she shared a link for the perfect little knitting bag.

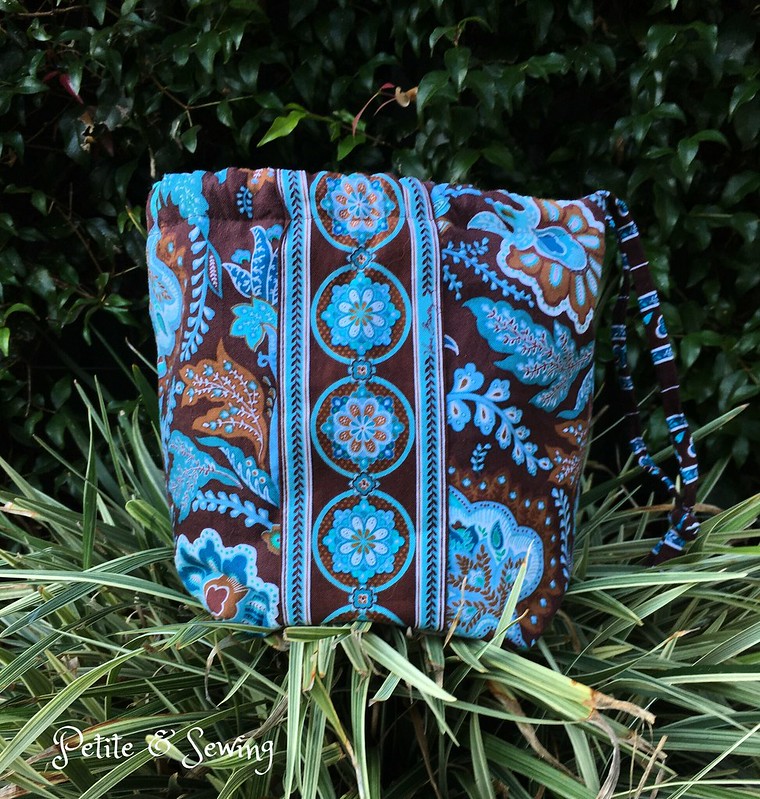
The Reversible Sock Knitting Project Bag  by Very Shannon.

I have quite a bit of the Vera Bradley fabric in my "bag stash" and have used it previously making a Spice of Life bag which unfortunately stays in the cupboard.  I've realised that even though I love the fabric I will enjoy it a lot more making accessories for my knitting.

I have used both the large floral and added the large border to add some interest to the side of the bag.


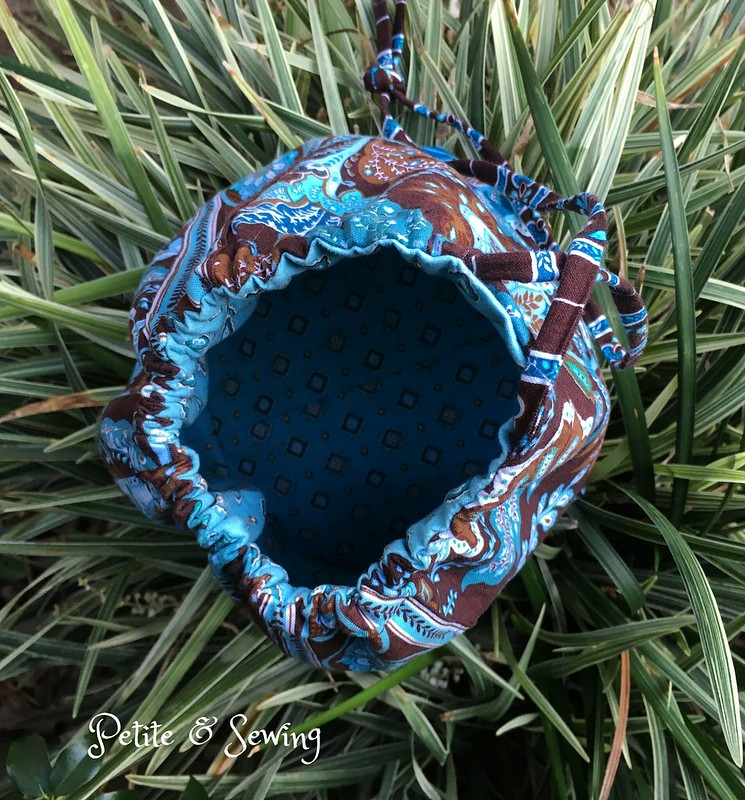
For the lining I used the smaller patterned fabric.


I cut a strip of the large floral and used the smallest Fasturn tube to make the cord.


This was the perfect size bag for my trip.  I did take the cotton facecloth that I was knitting and a skein of wool as well as 2 pairs of interchangeable needles for my circular needles for the knitting class I did at the Sewing & Stitchery Expo


The facecloth is now finished and although not perfect I am feeling a lot more comfortable with the "continental style" of knitting.

******************
2016 Stash Out: 3.4 m
2016 Stash In: 15 m
Wednesday, April 6, 2016

Shorts for the man

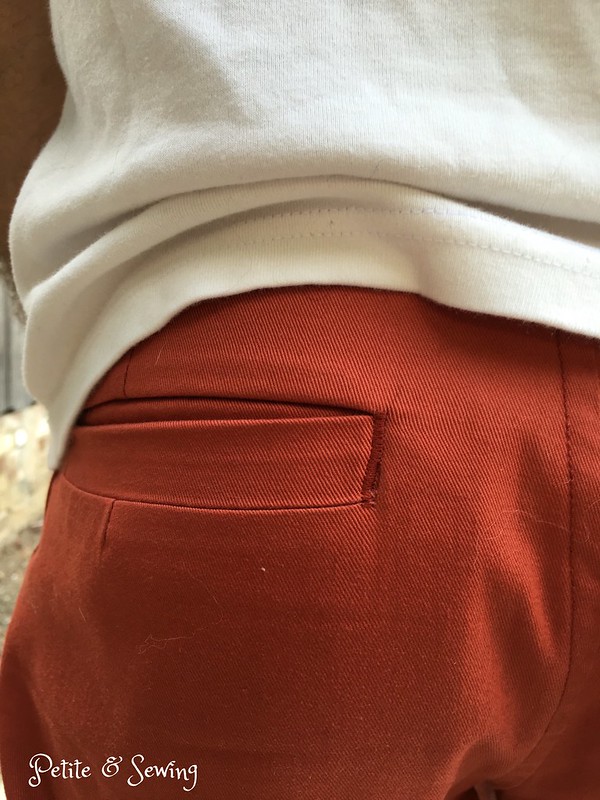
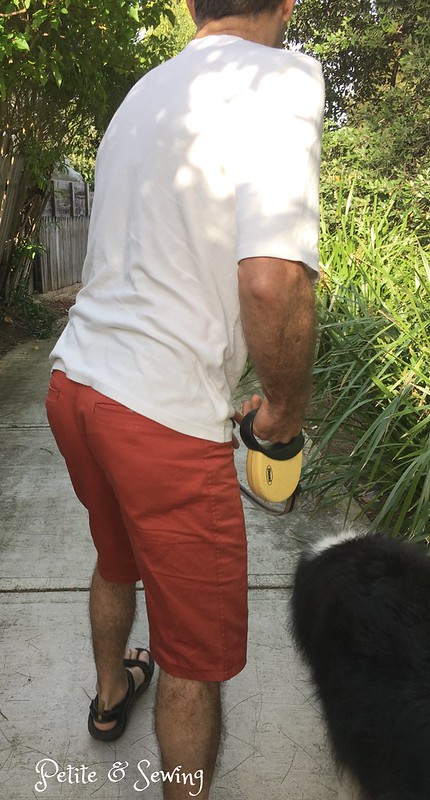
Every now and then I plan to make a garment for Mark and seeing I had already made him two Strathcona Henely t-shirts and had purchased the Jutland Pants from Thread Theory, I thought a new pair of shorts was in order.

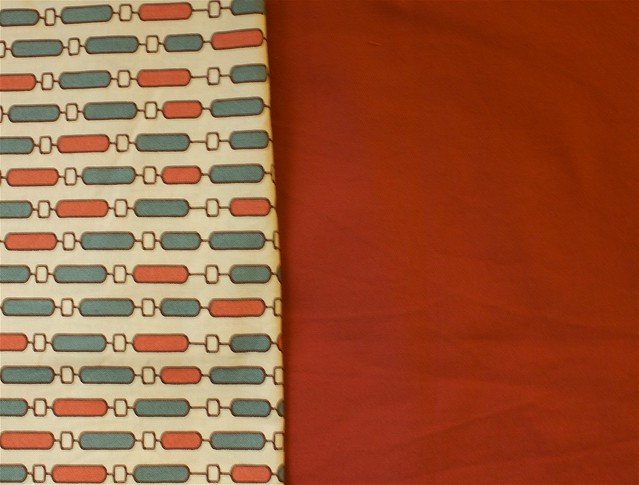
Mark does own a pair of red shorts so I didn't feel that purchasing this burnt orange would be too much except my sewing buddies keep telling me it is my colour.

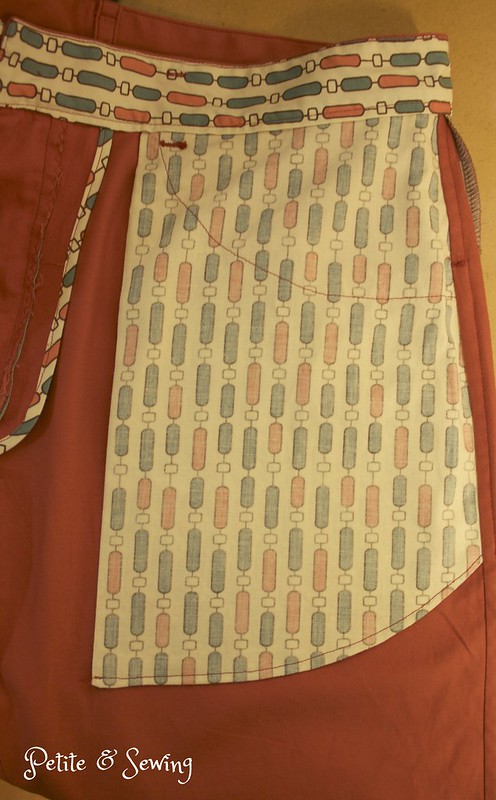
I then had some fun finding some manly cotton fabric for the pocket bags, waistband lining and bias binding.


My madness is based on the fact that Mark has a 30" waist and last year I found it extremely difficult to find pants/trousers in this size and as he prefers not to wear a belt it looks like I could have a new job.

So I cut out a size 30" and then couldn't make up my mind if I was going to do patch pockets or welt pockets.

Welt pockets won, but it has been a long time since I have done these and I'm glad his RTW shorts have the bar tacks at the end of the pockets as this has helped cover my overcutting.


Even though I wasn't completely happy with the welt pockets I decided to still make these as I wasn't sure that the pattern 30" waist would be equal to Mark's real waist.

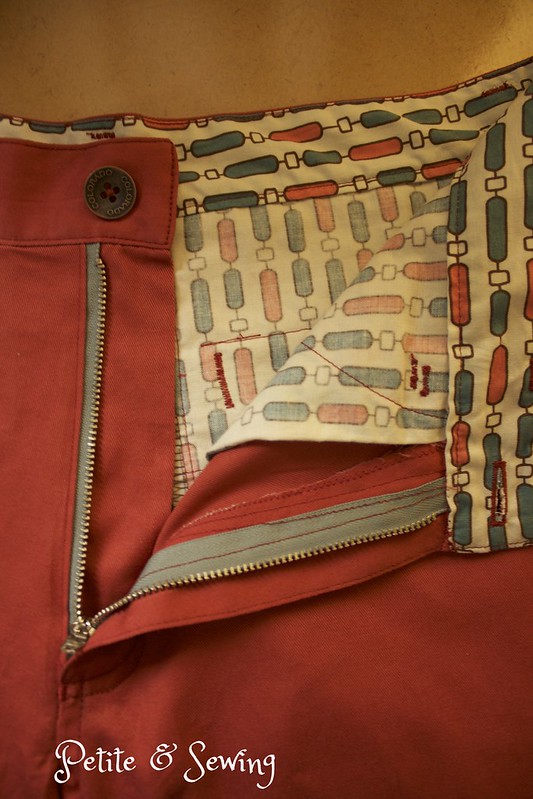
All seams are flat felled and I have used bias strips for around the edge of the fly.


Again my sewing machine didn't like the buttonhole so I have again used the tutorial I used for my Jeans.

I found this button in my button jar and think it works perfectly for these shorts.


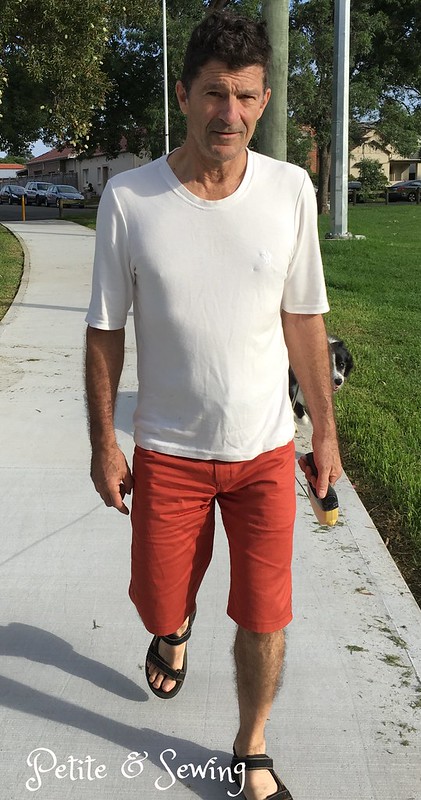
Mark found the waist to be very comfortable but did comment that these are a slim fit in the legs.  So next time I will add a some extra width in the front leg and see how that goes.

This is at the end of the day.


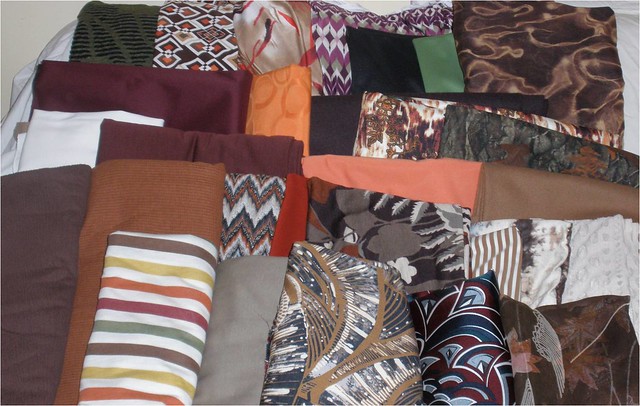
Now the fabric for these shorts were counted in the 2015 totals, but I attended the Sydney Spoolettes Fabric Destash event last Sunday and donated the green/black mesh knit that you can see at the top left hand of the picture below.  This was purchased during our trip to the USA back in 2011 and now I can only see the black in it so I am very happy it has found a new home.


******************
2016 Stash Out: 2.9 m
2016 Stash In: 15 m
Sunday, March 27, 2016

What happens when you travel

you have parcels waiting for your arrival at your accommodation!

Our first stop was at Fife, in Washington State which was 10 minutes from the Sewing & Stitchery Expo.

When we checked in the front desk has 3 parcels for me which I had ordered before leaving home and knew I would not be able to easily source them myself during my 3day stay in the USA.

Parcel No. 1
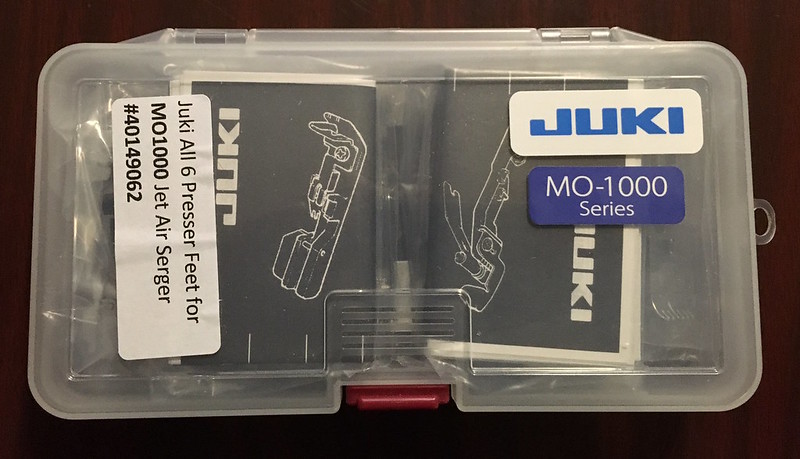
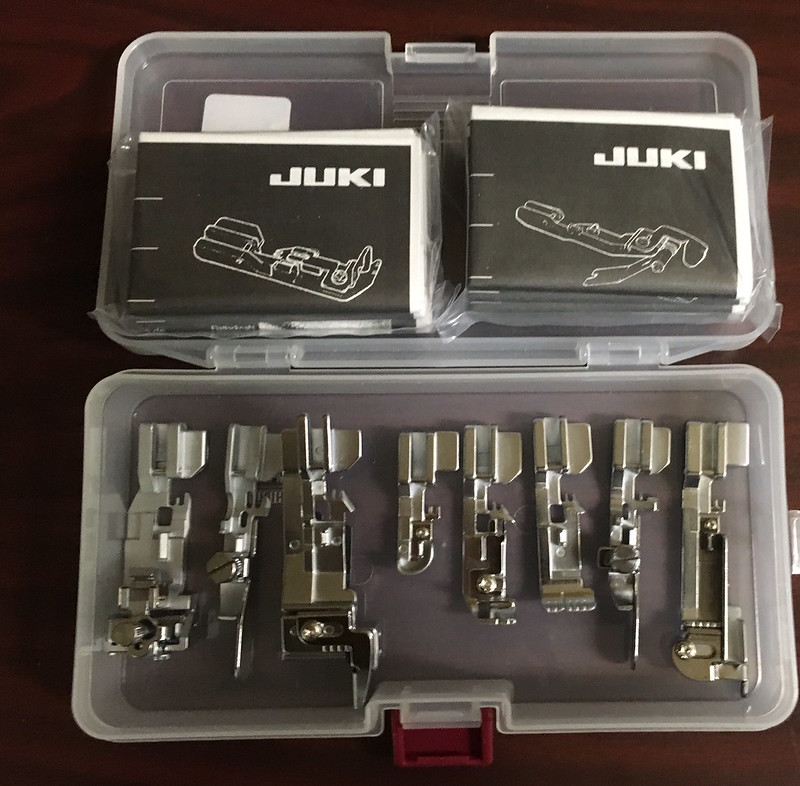
You know about the purchase of my Juki M0-1000, well I also learnt that like the Bernina oerlocker it has a number of specialty feet available.  I can purchase them here in Australia, however the cost is pretty high so for the cost of say 3 feet here, I have


but wait,


There are actually 8 feet,

  • Blind Stitch Presser Foot Part No. 40138091: (for Right Needle) for making blind hems.
  • Elasticator Elastic Metering Presser Foot Part No. 40138095: To attach elastic tape to stretch fabrics
  • Cording Presser Foot Part No. 40138099: For attaching nylon string or wire on edge of fabrics.
  • Piping Presser Foot Part No. 40138103: For sewing piping.
  • Beading Presser Foot Part No. 40138106: For attaching pearls and beading with overlock stitching,
  • Gathering Presser Foot Part No. 40138121: For gathering and sewing with differential feed
  • Universal Blind Stitch Presser Foot: For making right/left needle blind hems and flatlock.
  • Curved Beading Presser Foot: For attaching pearls, sequins and beading with overlock stitching

  • Now I need to do so some serious playing.


    Parcel No. 2
    This next parcel might seem a bit odd, but one of my Christmas presents was the Dk-93 Manual Snap Press which I just had to have after reading about it on Lena's blog.

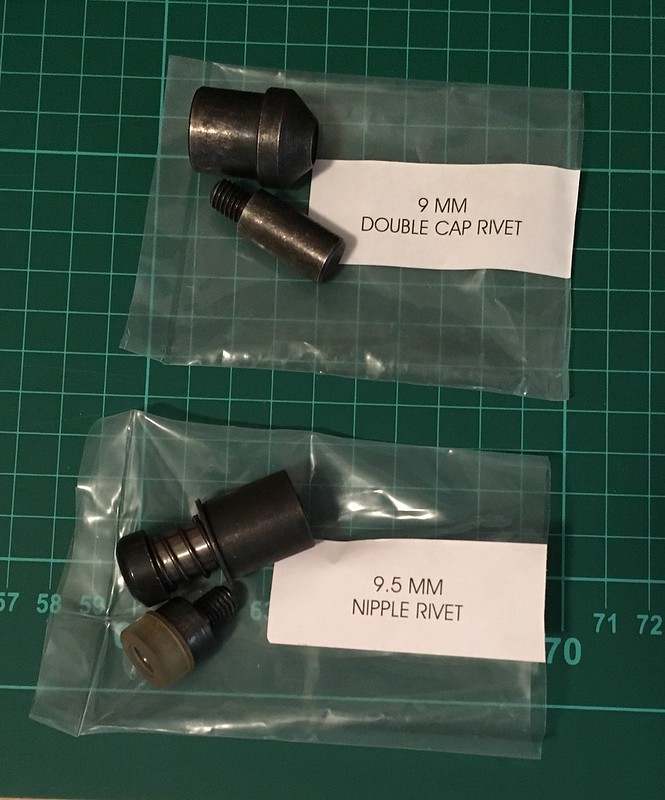
    So this parcel from Minkus Margo (at Etsy seller) was 2 sets of dies - a 9.5mm nipple rivet die and 9mm cap rivet die. This is the actual size of the rivets.


    Parcel No. 3
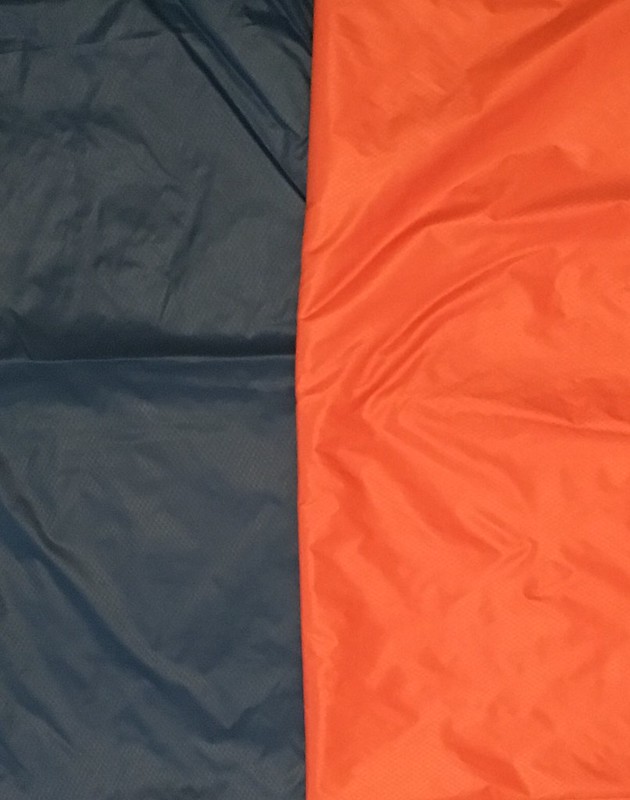
    Two pieces of 1oz HpyerD Diamond Ripstop in Moroccan Blue and Burnt Orange.


    The ripstop I purchased for my Minoru is not water proof and after reading about Morgan's Denali Vest  over at Thread Theory I decided to place an order with Ripstop by the Roll and purchased enough of the blue for another Minoru and the burnt orange for a vest.

    Now I have them home, they are very light so my plans may change.

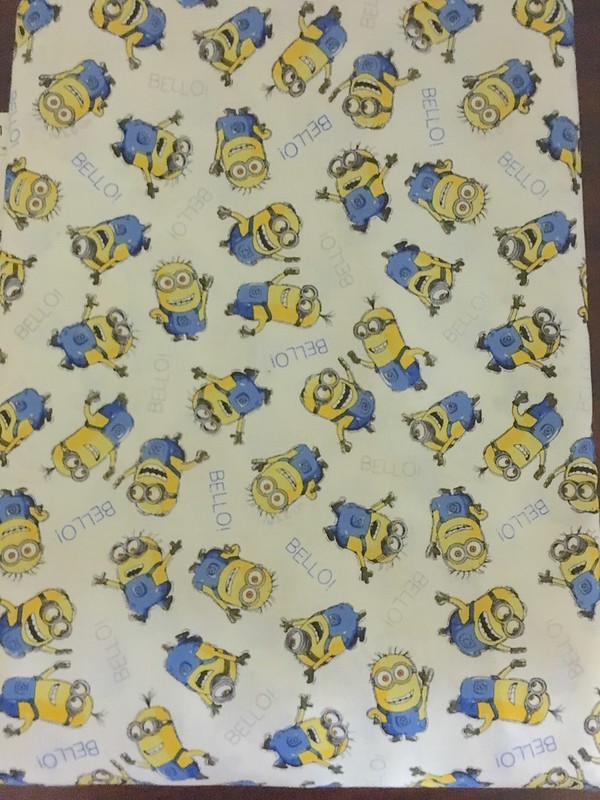
    I also dragged Mark along to Jo-Ann's to have a look around and this is what followed me home


    Not my normal fabric, but a pair of Carolyn Pajamas will make me smile every time I wear them.

    Then we headed to visit family and friends in Canada, so two more Canadian suppliers packages were waiting for me.

    Parcel No. 4
    I have dabbled in bra making with a Watson and really want to make my own bras for various reasons.  I already have the three  current Beverly Johnson's Bra Making Classes on Craftsy and had heard that her manuals were very good.


    Parcel No. 5
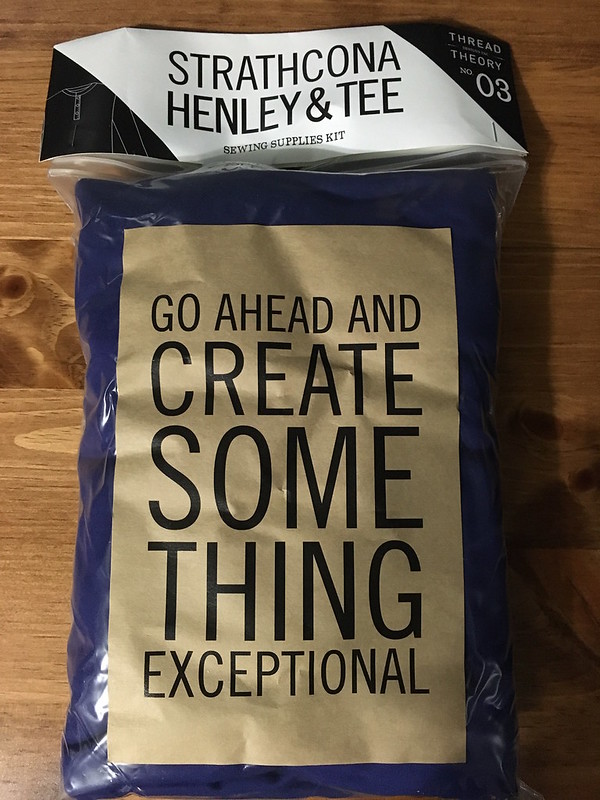
    I have made Mark two versions of the Strathcona Henley t-shirt by Thread Theory and Morgan had talked about this luscious Canadian-made 100% cotton interlock fabric so I thought I would purchase a kit to see what Mark's thinks of it.


    Of course since I have returned home there were a few more packages I could have had organised but there will be a next time I'm certain.


    ******************
    2016 Stash Out: 0 m
    2016 Stash In: 15 m
    Sunday, March 20, 2016

    Sewing & Stitchery Expo, Puyallup

    When Mark first mentioned our ski trip to Canada he didn't quite understand my enthusiasm as the dates worked out perfectly for me to spend the weekend at the Sewing & Stitchery Expo at Puyallup in Washington State, which I had last visited back in 2011.

     I booked myself in for 4 classes over the 2 days:
    • Best Tools & Notions of the Trade.
      I just love this sort of thing you always find out about a new notion or two.
    • The Three Crotch Figure!
      Wow this was amazing!  One of them is the one we are all familiar with but the front and back armscye are the other two.  Lorraine Henry is an amazing teacher and she spent more time with me after the class which was very generous.
    • The Sheath Dress and Upper Body Fit.
      Again a lot of information that I need to take some time to review.
    • Sheila's Knitting Techniques and Tips.
      This was an informative class and again have quite a bit of information to review, however there were 50 attendees which was just too many.  I did submit this feedback to the event management.

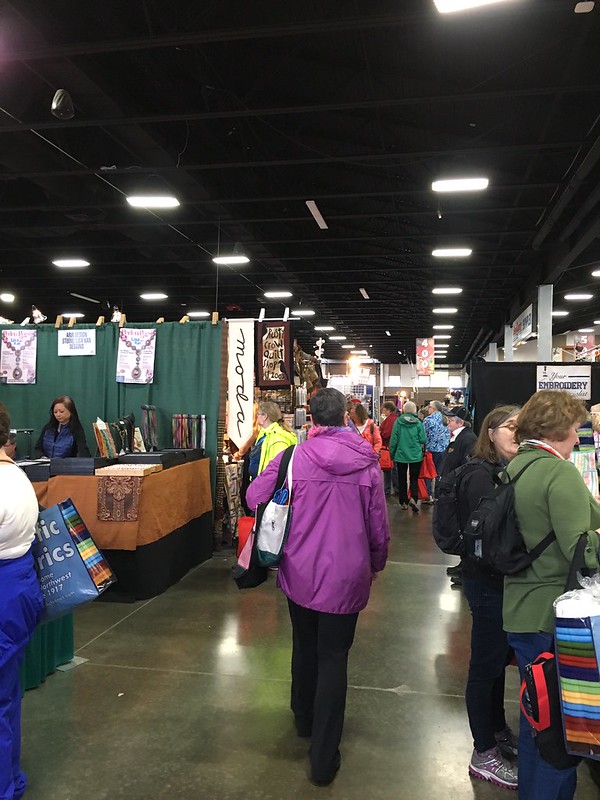
    This venue is huge and I did find that I needed to plot who I wanted to see to make sure that I managed it in the time frame I had.


    This is late in the afternoon, and I am standing at one end of Row 4 (8 Rows in total plus some stands like Vogue Fabrics that are at the very end) with approximately 70 exhibitors.

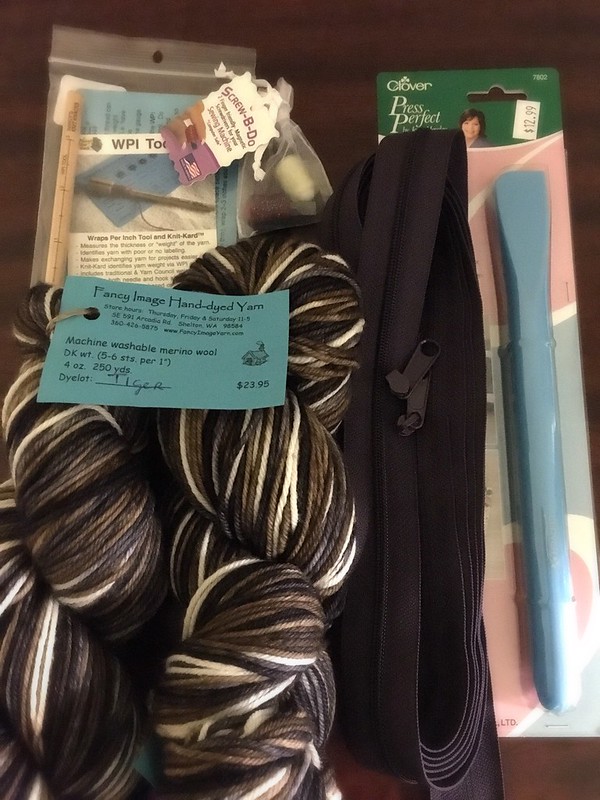
    Now for the goodies that followed me home.


    Wraps Per Inch Knit-Kard and WPI Took Kit
    Magnetic screwdrivers for your sewing machine- computer safe
    2 skeins of Tiger Merino wool Fancy Image Hand-dyed Yarn
    4 yards of Eggplant zipper chain with 16 pulls from byannie.com
    Clover Press Perfect by Joan Hawley


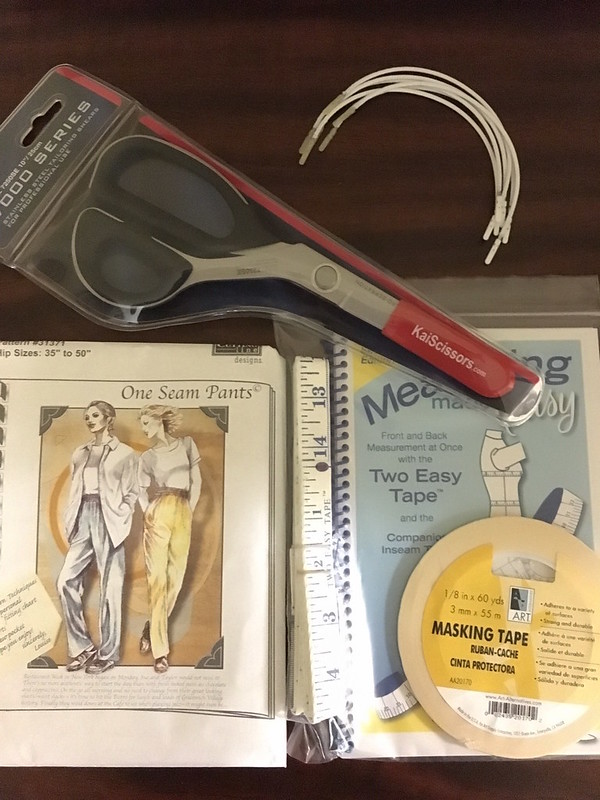
    Kai Scissors Model 7250SE 10"/25cm Tailoring Shears
    Cutting Line Designs - One Seam Pants
    and My Hearts a'Flutter arrived home separately
    BravoBella underwires
    Lorraine Henry Measuring Made Easy
    3mm masking tape

    I attended the Cutting Line Designs fashion parade and have always thought this pattern line was a little bit too boxy for me.  Louise had very cleverly selected a range of models and one was a slim petite lady who looked very stylish in these designs, so I thought I would try them out.

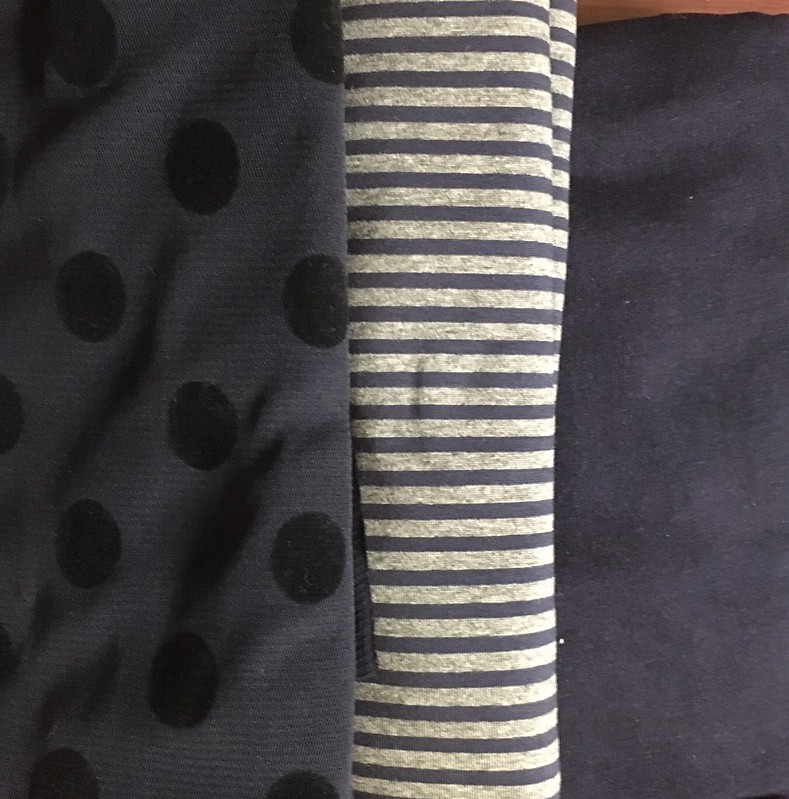
    I also purchased a 3 pack of fabric from Marcy Tilton in a dark navy colourway.


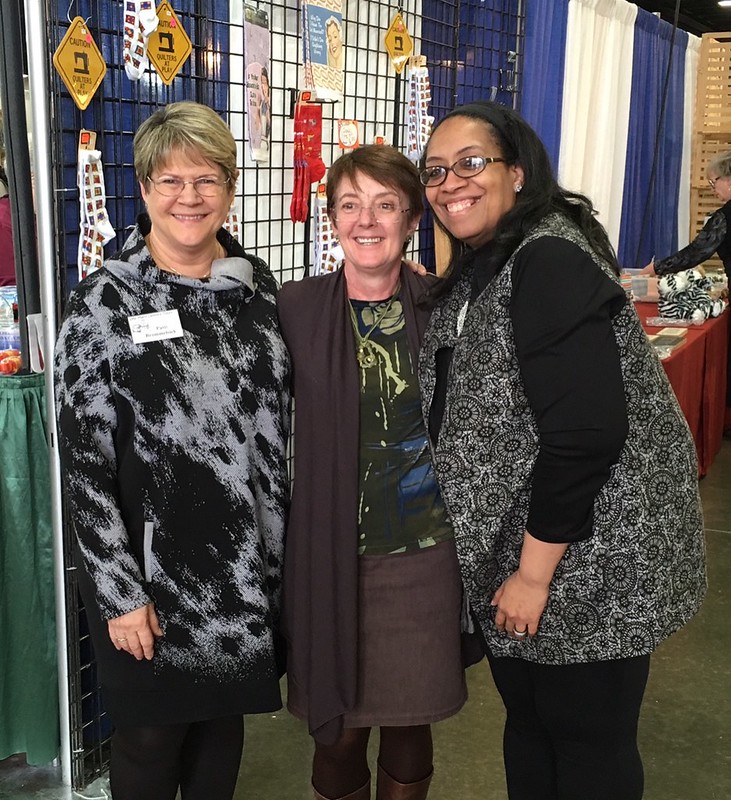
    Before leaving Australia I had been in contact with PattiB from PatternReview who I had met up with previously in 2001 and we organised to meet up again this year.

    Whilst Patti and I were sitting and chatting I spotted Carolyn, Dairy of a Sewing Fanatic who had told me she was attending and said she would like to catch up.

    PattiB, me, Carolyn
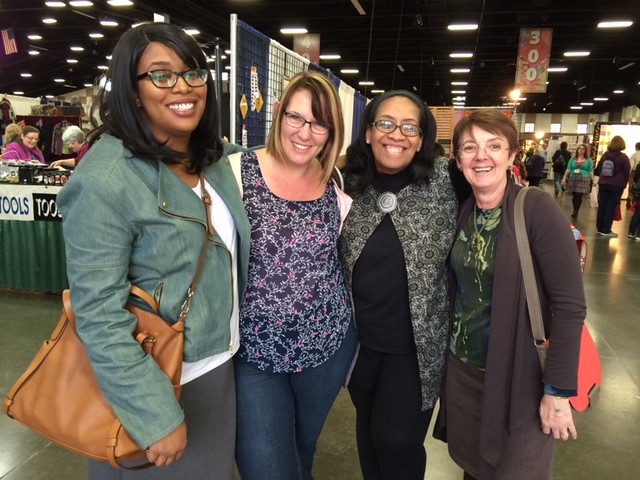
    The photo was taken by either Niema or Gaylen

    Niema, Gaylen, Carolyn and I
    It was a such a treat to meet them, I have followed Carolyn's blog for many years and it felt like friends catching up, we all chatted and laughed and now I have two more blogs to follow.  Oh and you can see what Carolyn got up to here.


    ******************
    2016 Stash Out: 0 m
    2016 Stash In: 4.5 m

    Saturday, March 12, 2016

    Canada and the USA - travel wardrobe

    We have just arrived home from our trip to Canada and the USA and thought I'd share my wardrobe as this time I had to pack ski gear as well.

    Time away:
    16 days

    Where to:
    Canada and Puyallup in the USA.

    Season:
    Winter heading into Spring, however it was still snowing in Silver Star and Revelstoke when we visited and I planned for a temperature range of -2c to 17c.

    Activities:
    For the first two days I got to explore Vancouver checking out the various fabric shops that I could find, before meeting up with Mark and then driving the 2 hours south crossing the border into the USA to spend the weekend at the Sewing & Stitchery Expo, at Puyallup, Washington State.

    Then it was back across the border to Silver Star where we stayed with Mark's sister. Unfortunately I had a skiing accident which thankfully only resulted in a bruised calf but this put a stop to my skiing activities.  Mark had plenty of runs both at Silver Star and Revelstoke with family and friends.

    Colour scheme:


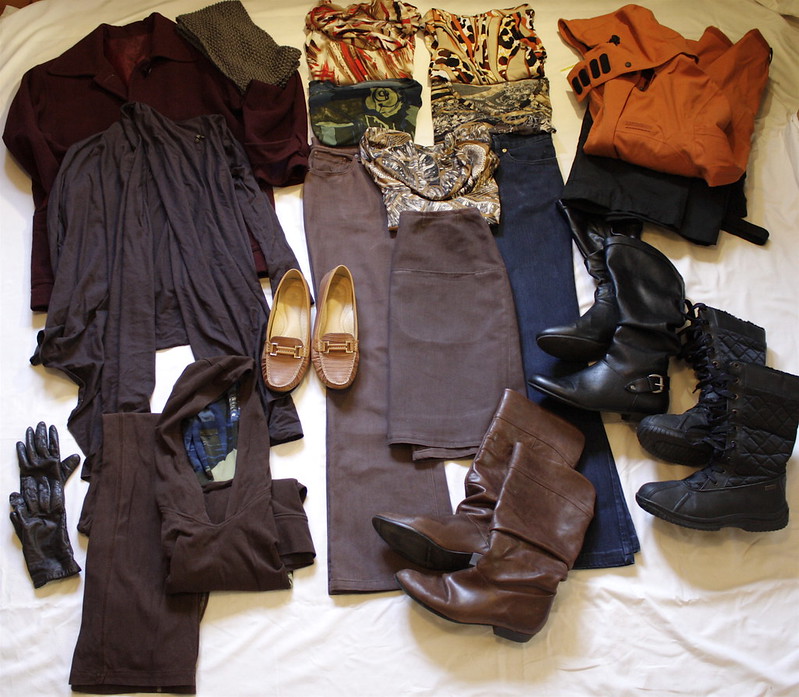
    What I packed:
    (each garment is linked to its original construction post - left to right, top to bottom)


    McCalls 8522 coat in aubergine wool (never blogged)
    Simplicity 2603 cardigan in brown merino wool (to be blogged)
    Grey leather gloves
    Taupe loafers
    Brown boots
    Orange gortex ski jacket
    Black ski pants
    Black boots
    Black snow boots

    Not pictured are my pyjamas, lingerie and my thermals for skiing.
    I also had a separate boot bag for my ski boots and helmet.

    Oh and I did purchase a puffy jacket on sale which turned out warmer than my McCalls Coat.

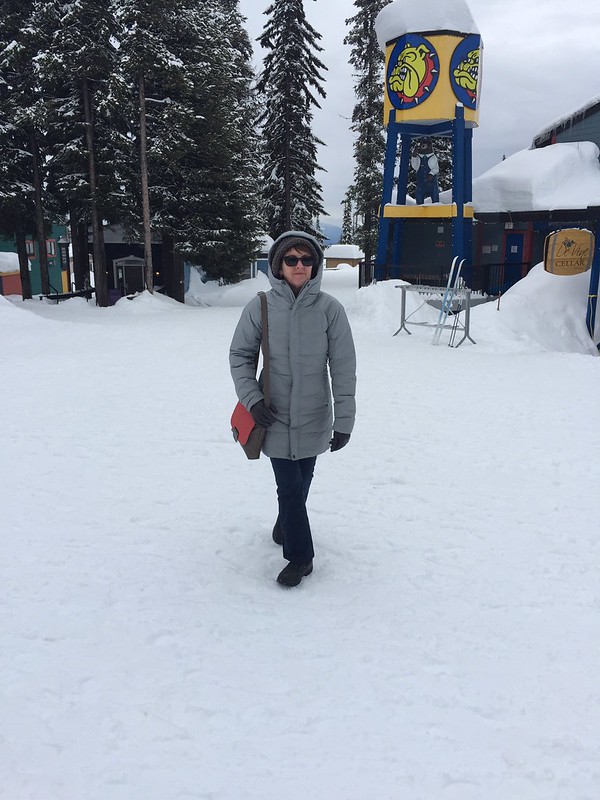
    Silver Star Village, look at the snow depth!

    Verdict:
    Again this wardrobe worked very well for me, all tops went with the bottoms and the yoga pants and hoodie were perfect for breakfast in the morning with family and friends and good to get into after a day out to wind down after a full day.

    We did wash twice whilst we were away and this is part of our trips so no bother at all.

    A selection of jewellery did accompany me and feel this changed the look of some of the combinations.

    Vancouver:
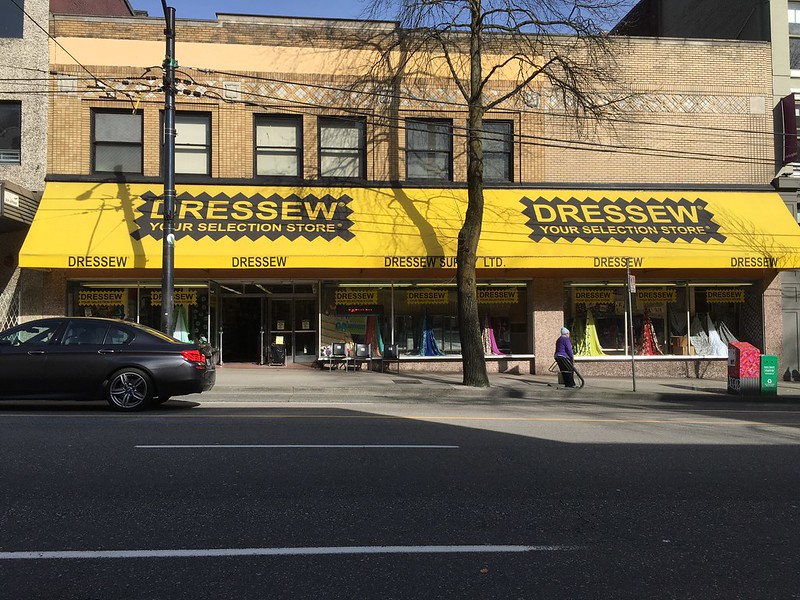
    Before I left I found The Sewaholic Guide to Fabric Stores in Vancouver  and had this printed out for my 2 days in Vancouver before Mark arrived.

    Some of them were a bit further afield for public transport but I did manage to find:


    and these two pieces of paisley rayon followed me home:


    and across the road was Atex Fabric Store which had some gorgeous wools but I did behave myself trying to remember all the wools in my stash at home.

    Then around the corner was Button Button,


    where some special buttons came home with me, you will have to wait for these.

    I will be back soon to share the rest of my trip.

    ******************
    2016 Stash Out: 0 m
    2016 Stash In: 3 m