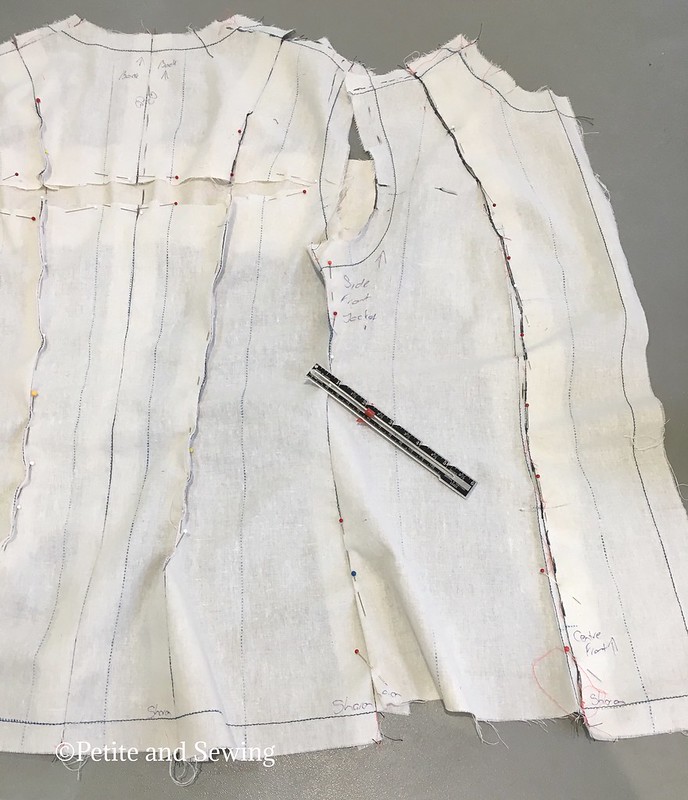
Even with my various toiles, Susan made a few more adjustments to my jacket.
Namely:
- High round back
- Took in the back princess seams slightly.
- Shaved a bit off under the arm back to nothing at the waist and another reduction to the hips.
- Flattened out the princess seam on the front and then letting it out from the waist down to the hips.
- The shoulders were changed slightly but this changed again during the last fitting.
- The sleeves haven't been looked at at this stage, this isn't done until the bodice is pretty much together.
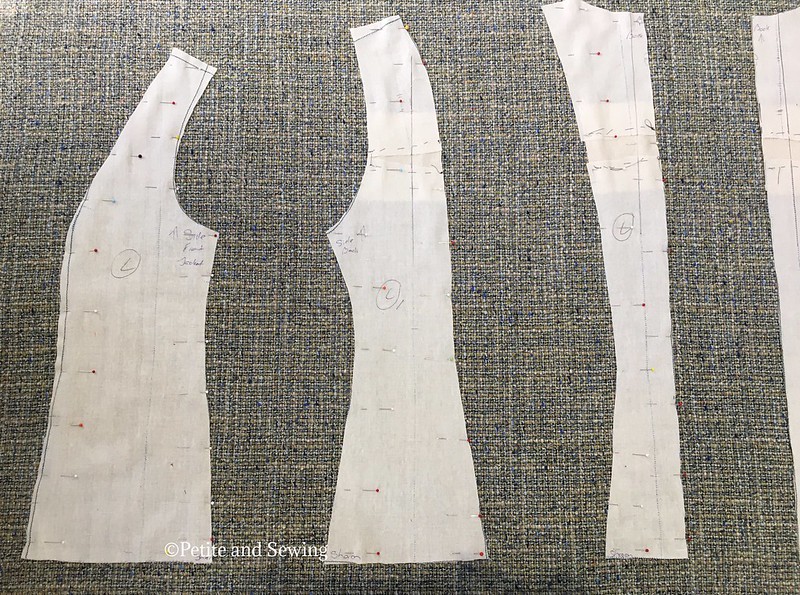
I then took apart my toile, stitched in my adjustments making sure that everything lays flat and then cut off those huge seam allowances to get ready to start positioning the jacket pieces on the fabric to cut out.
Luckily my fabric didn't have a major repeat or nap that I had to worry about.
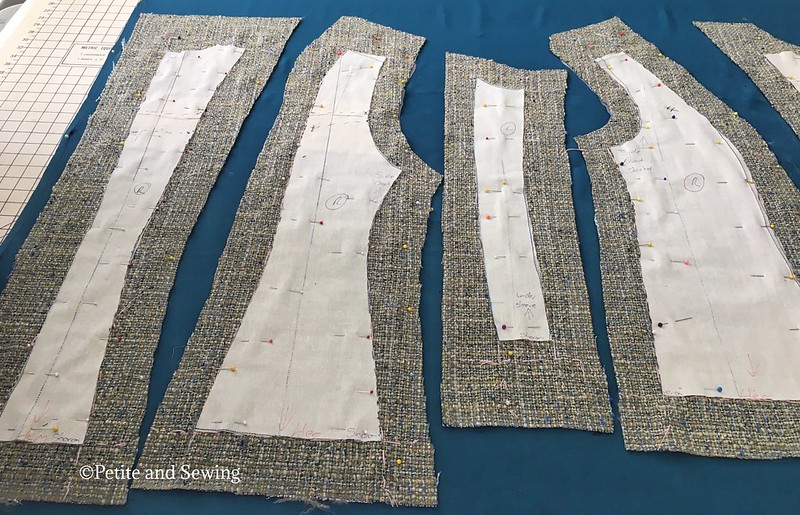
The hardest part was to make sure that I had the 2" of seam allowances on each side of each piece, this lets you handle your fabric without it disappearing in your hands. I tripled checked it all before taking a deep breath and cut it out using my Kai shears.
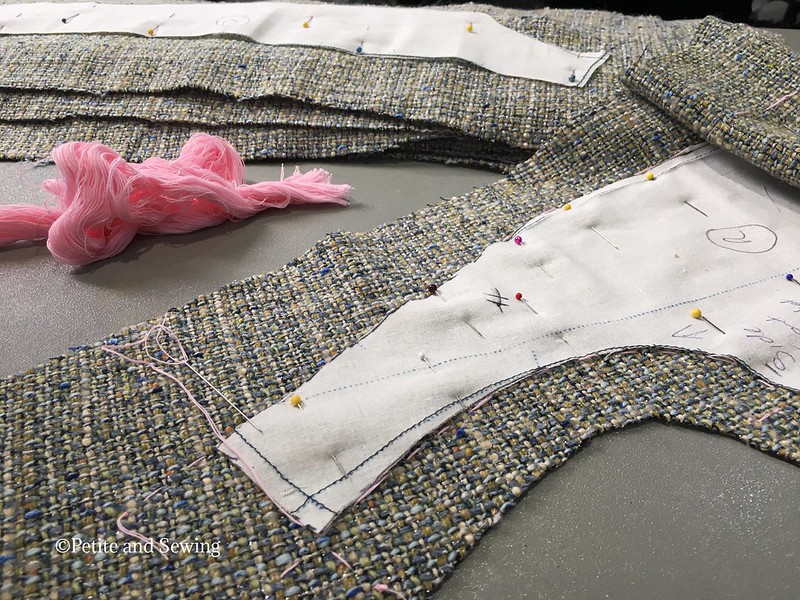
Then it was time to baste all the stitching and grainlines in place using the Japanese cotton basting thread that I purchased during my week of Couture back in May 2015.
Once I finished all the basting the jacket pattern is removed (I still kept each piece together as they all started to look alike with the huge seam allowances) I then reinforced the "peninsula" of the side front pattern piece above the armscye with silk organza for stablisation and support.
Cutting out my silk lining is next, laying my fabric on top of the silk, getting my grainlines correct and then again cutting it all out.
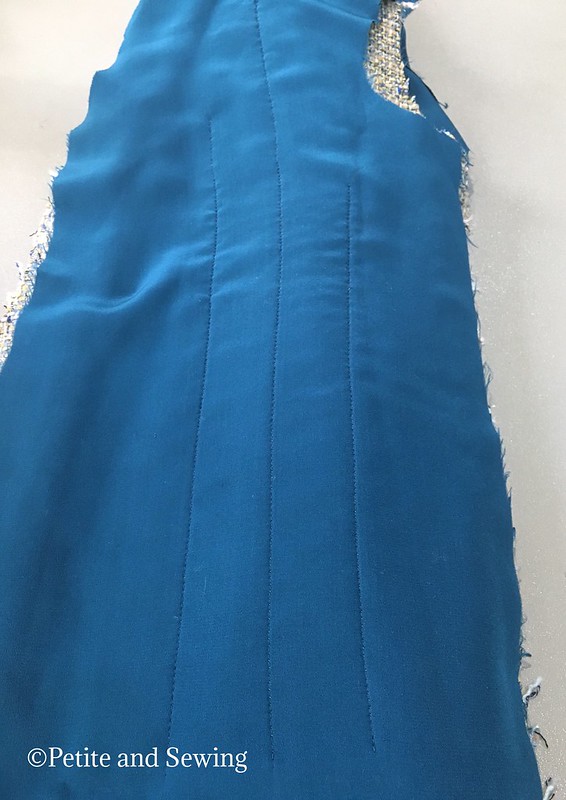
Finally I got to set up my sewing machine to start quilting all 8 jacket pieces (normally 7 but I have a centre back seam).
Then I hand baste the main jacket pieces together (leaving the lining free) for my second fitting.
Again a few more changes were made to my jacket, only slight and this is where I was thankful that I had different coloured Japanese cotton basting thread as it made it much easier to see what the new markings were.
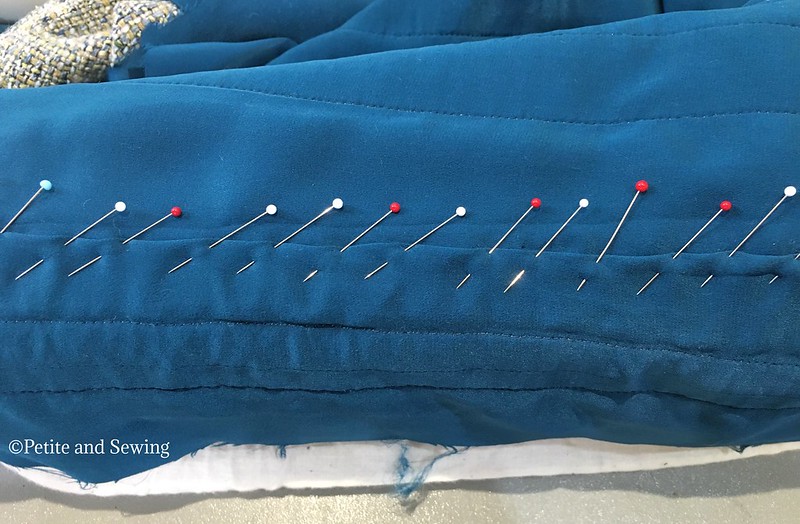
Next the 7 vertical seams are sewn by machine, pressed open, reduce the width of the seam allowances (not by much) of the main fabric. I then placed my seams over my sleeve board so I could pin the lining in place and trim if necessary and fell stitch the lining seams together.
This is where the jacket is really starting to take shape and the weight of it and the amazing fit still brings a smile to my face.
There is still quite a bit more I want to document, the sleeves and a fitting challenge that I didn't expect so I will be back next week with more.
See you soon.







6 comments:
It's looking amazing. Beautiful fit.
Oh, what a joy that jacket will be for you! The fit is stunning and your careful stitching is perfect.
Your jacket looks lovely- I can't wait to see it finished. I am making this jacket from the same pattern now, and your photos are very helpful. Any tips on fitting the shoulders? It is a bit overwhelming with all of the extra fabric!
Wow, this is inspiring in the extreme! Beautiful work.
Wow, such a great fit. Interesting to see how it is all put together.
This is such an interesting process, I am really looking forward to seeing the final fit, but it looks like it's going to be superb.
Post a Comment