Sunday, November 30, 2014

SWAP 2015

On 1 November the 2015 SWAP rules where posted on Artisan Square. 

It has taken me a while to figure out if I was going to participate as the twist this year is not anything that I have ever contemplated or had a desire to do!

Here are the rules for SWAP 2015:

So.... Let's return to the tradition 11-garment format, with all the tops working with all the bottoms, and wildcard garments that work with every other item.  

This year, we need to make:

5 tops
3 bottoms
3 "wildcard" items

For our "sewing" focus -and this year's twist- let's make at least one garment that is reversible, transformable, or upcycled from another garment. For instance: a dress that can be worn as a shirt, a pair of pants that can roll up to be worn as shorts, or a jacket that can also be a dress. 

 "Upcycling" includes remaking an older garment into something new, taking a vintage pattern and modernizing it into a more current style, or recycling the fabrics or notions from another item to incorporate it into something new.  The original item to be reworked does not need to be a garment; you can remake a dozen scarves into a skirt or transform an old handbag into a collar and cuffs -use your imagination.

The "wild card" options can be just about anything you like, but they must be "garments" not accessories (hats, bags, blankets, etc.)

A "top" will be any shirt or blouse worn on the upper half; a "bottom" will be any garment worn on the lower half, and it shouldn't be obscene to wear either without another layer. 

A "dress" will be any garment that covers both upper and lower halves, and again, it shouldn't be obscene to wear it without an additional layer.

An "outer layer" will any jacket or sweater that is intended to be a second layer, over a top or a dress. If it can also be worn alone, that is fine.

A "bib" garment will considered a bottom, unless it can be worn alone without a top under or over it.

One garment may be previously sewn; another may be purchased.  

If you have an item you're working on now, you may include it, OR you may stitch up one item from scratch before the official sewing date of December 26.   

"Sewing" is a blanket term; you may sew, knit, crochet, weave...whatever works.  If you can make 11 garments with a 3D printer, that's fine.

Sewing will begin December 26th, and all garments must be finished by April 30th, 2015.  Muslins, pattern fitting and cutting may be started whenever you are ready. 

Thankfully amongst all the discussion here it soon became clear that I would be comfortable with the "upcycling" twist using buttons from previously owned/sewn garments or if I can find some silk ties there can be Hong Kong finishes on my seams. 

You have all seen the pieces I needed to sew/knit/purchase from my "Starting from Scratch" wardrobe and there are quite a few more than 11, 
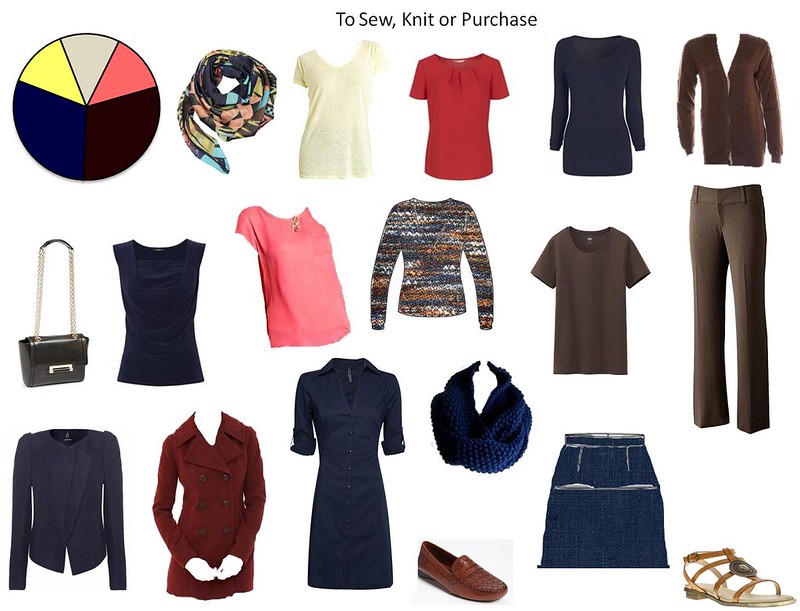


I have chosen the following 11 items adding another pair of trousers as I was short 1 bottom.
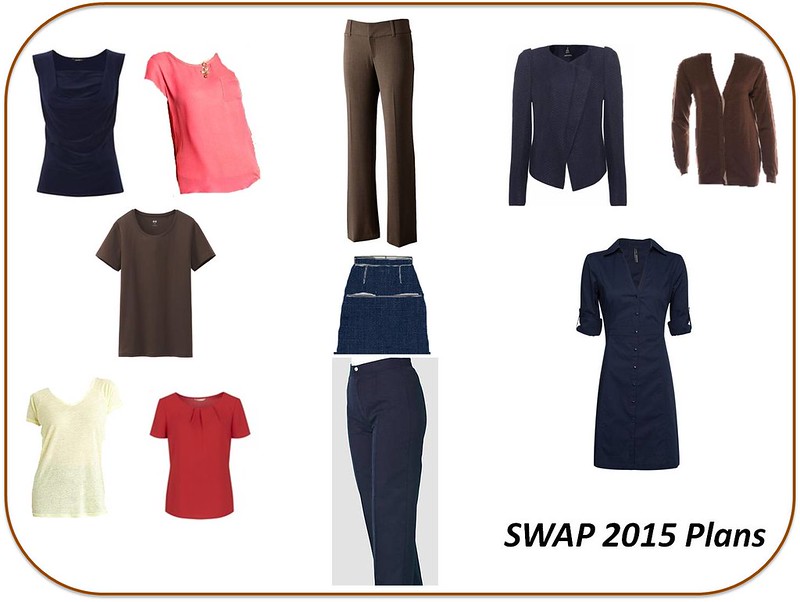

I need to take time to review the rules as my navy skirt would qualify under the previously sewn, but I'm not so sure with the navy shirtmaker as I was doing the final handstitching when the rules were announced.

Work has been extremely busy this month and I can't see it getting any better in the near future so I am having plenty of time to think about sewing!


Monday, November 3, 2014

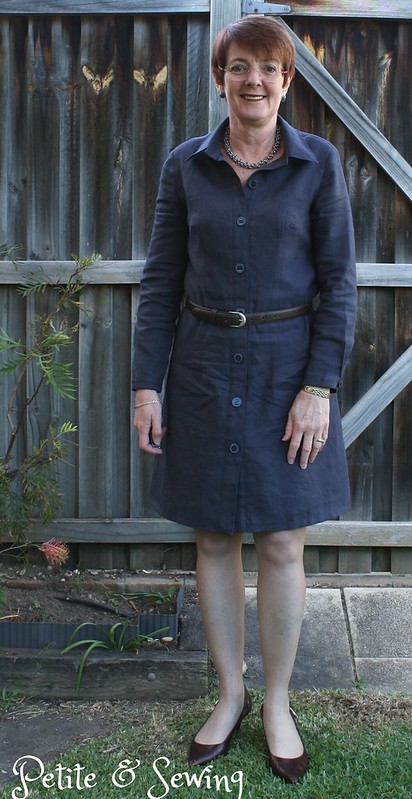
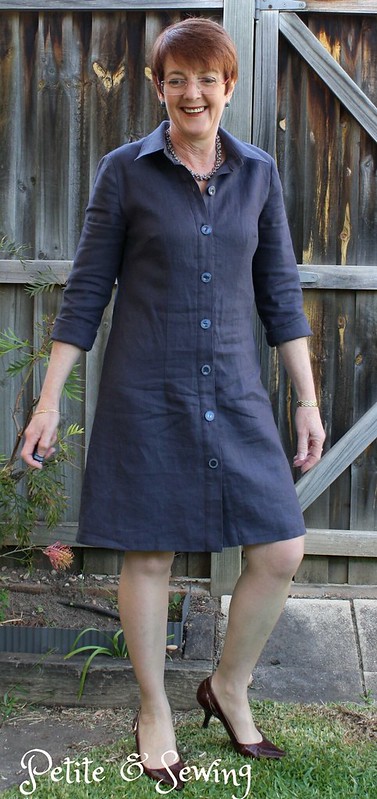
The Shirtmaker Dress Journey

It all started when I saw this outfit on Lori's blog, Girls in the Garden, about 2 years ago.


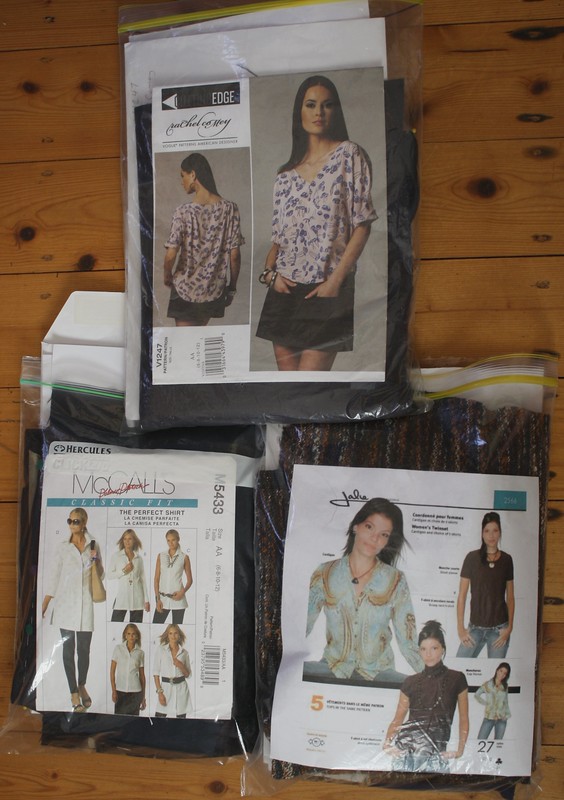
I used the same slate blue linen as my Navy skirt which I purchased from Tessuti in 2013 and seeing I had already made McCalls 5433 back here  my main patterns adjustments were already done.

Just before I cut this out, Louise, from Seams Like Fun (and I  had the pleasure of attending her class at the ASG Convention last month) posted Shirt Collars Made Easy.  Of course this had me downloading the instructions as I have only completed one other shirt collar and any tips to make it easier I was keen to try.

For this version I was looking for it to be able to be worn alone during Spring and Autumn and even Winter with a light layer (spencer) underneath.

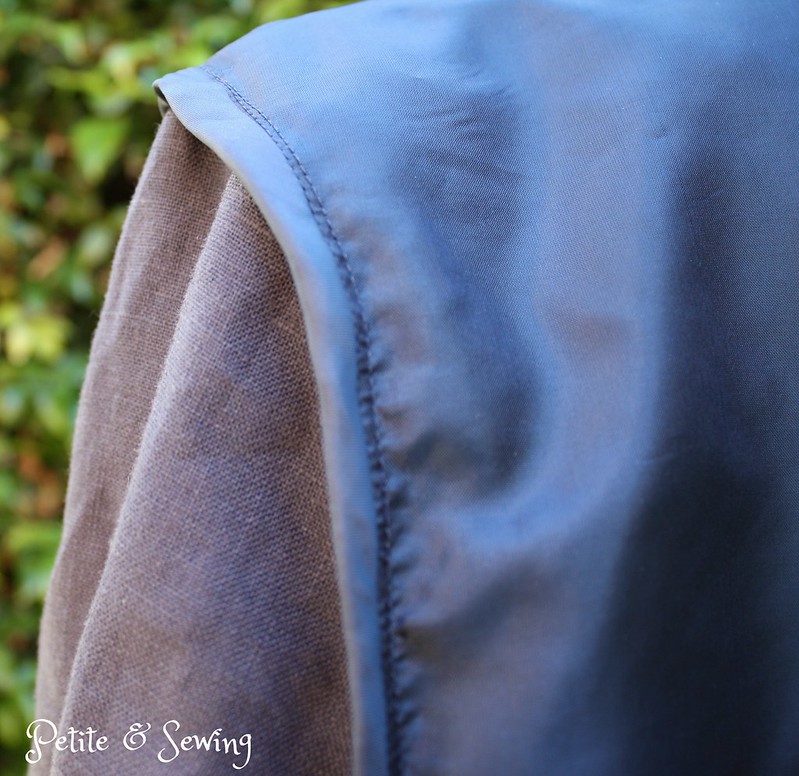
To give me a bit more warmth, I decided to line the body of the shirtmaker dress only as I wanted to roll up the sleeves so using the sleeves from view D I added 1.5cm to each side of the sleeve hem width as well as another 4cm to the length.

This was all cut out and fused (collar, collar stand and front bands) for our sewing weekend back in May.

For some reason I decided to go all out and do flat felled seams on the side seams, the shoulders and the sleeves.


The lining has French seams and this was attached to the body of the dress after the dress length was finalised and before adding the front bands, so I could encase the edges.


The lining was then basted to the neck edge so I could add the collar stand.

Louise's  instructions for the Shirt  Collars Made Easy has the ends of the collar and collar stand on the fold so you end up with a centre back seam and hopefully better points.

Oops not quite matching!
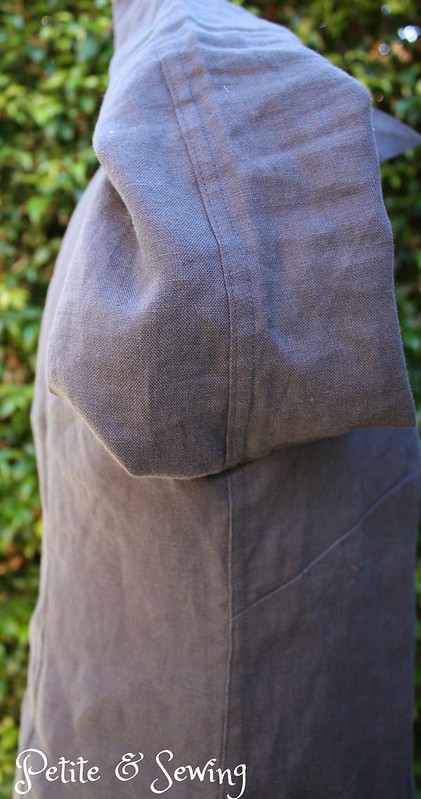
Once I inserted the sleeves, I basted the lining to the seam allowance and then added a Hong Kong finish to this seam as it was too tight to to a flat felled seam.


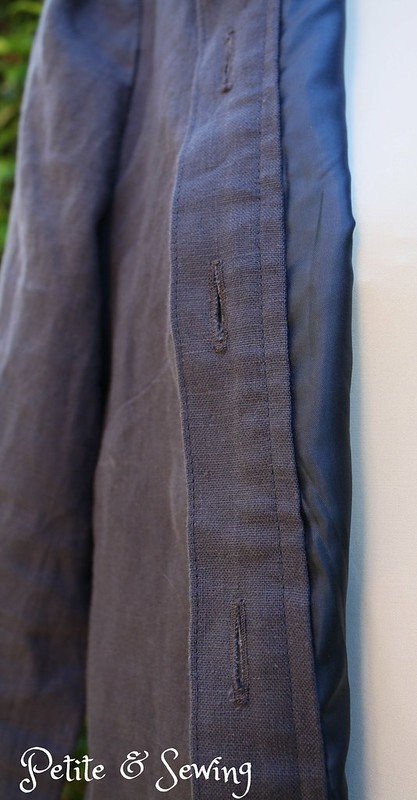
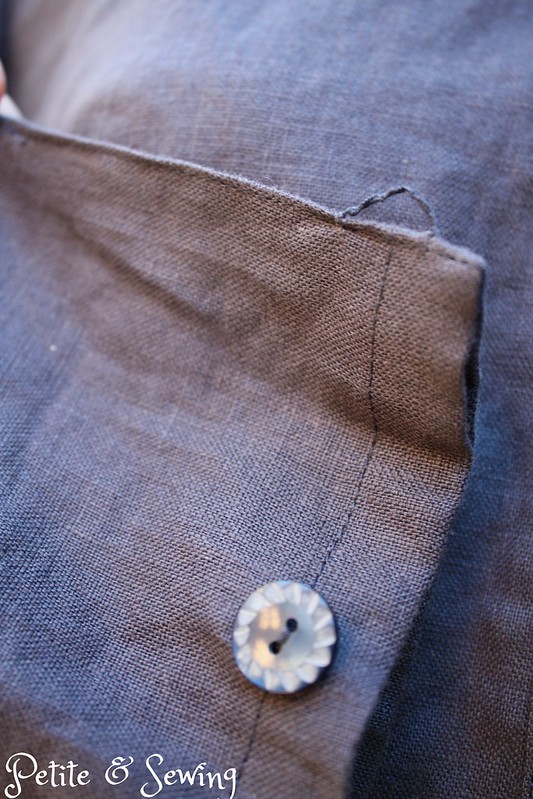
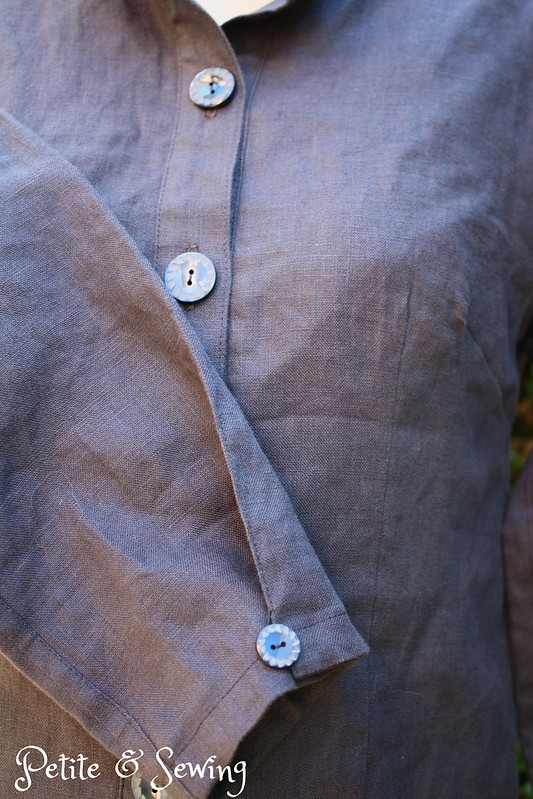
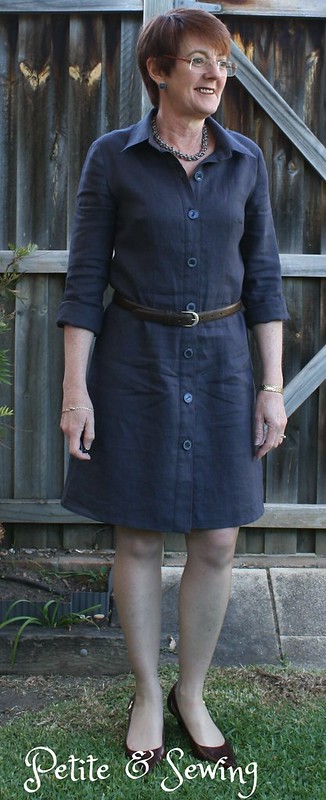
Now to be able to roll my sleeves up, the sleeve width at my cuff was not desirable.  This time I found this great Threads article on Shape a Sleeve with this Easy Fold-Over Placket that provided the perfect solution.

Threads do suggest you make the vertical fold for the placket about 1/3 of the way from the underarm seam, however this put the fold right on my wrist bone which I didn't like, so my sleeve width was 28.5cm and I put my vertical fold at the half way mark which makes the fold toward the back of my sleeve.


Again the wonderful ladies at All Buttons Great and Small helped me choose the buttons and I again purchased the buttonholes from Mick at Quick Buttonhole Service.


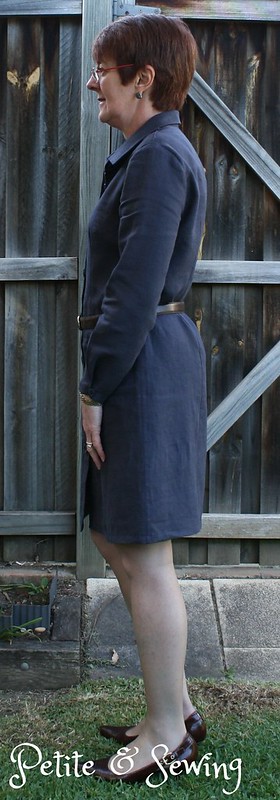
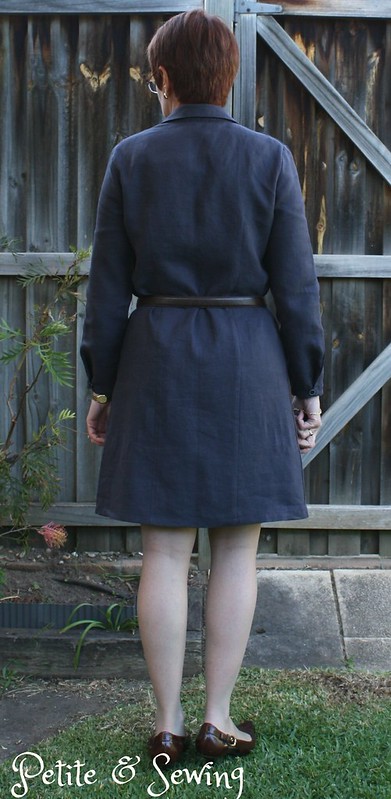
and now for some full length views:


I still might add some darts to the back!


It looks like I can have quite a few different looks with this shirtmaker dress depending on the sleeve length and whether or not I wear a belt and switch around my accessories!

Now to find a triple belt and animal print bag that are in the inspiration picture!


******************
2014 Stash Out: 34.95 m
2014 Stash In: 48.75 m

Sunday, October 26, 2014

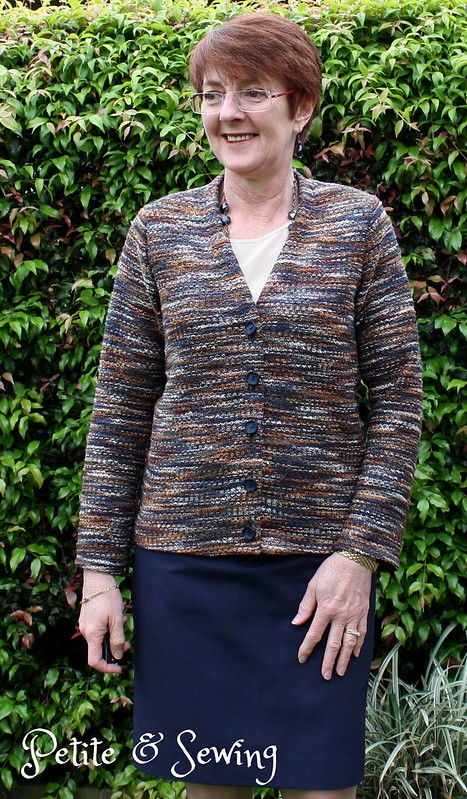
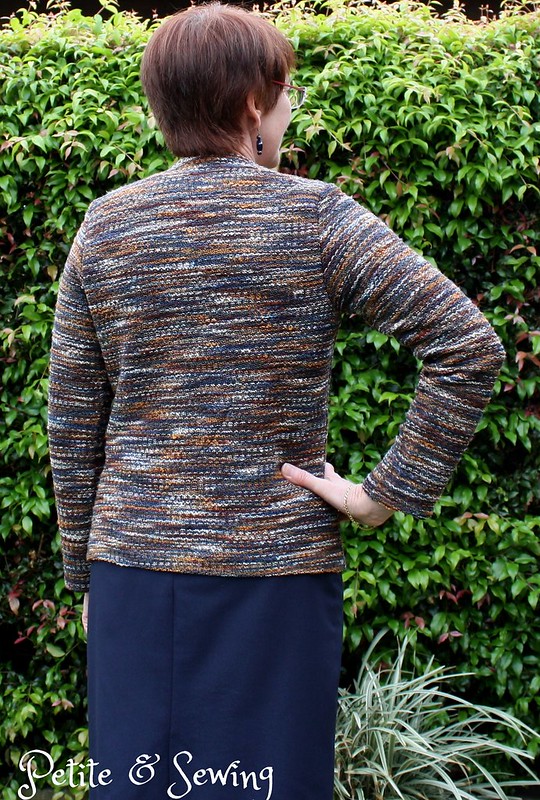
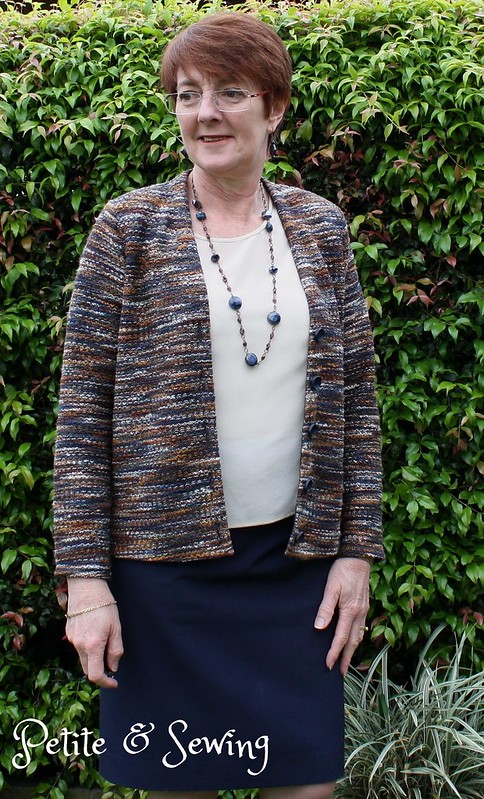
Accent Cardigan

I love cardigans and it so hard to find ones that I really like.

So when I saw this amazing sweater knit fabric in Adelaide in 2012 it just had to come home with me.

Blue, caramel, cream, rust, brown sweater knit
The next decision was how I was going to make this work with Jalie 2566 as my previous versions here and here are made from knits that are a lot thinner.

I decided to do the following:
  • Not add the neck band facing at this would be too bulky, so I added 3.5cm to the neck edge.
  • As this knit does not have a lot of stretch, I added 1cm to the side seams as well as the sleeve seams.
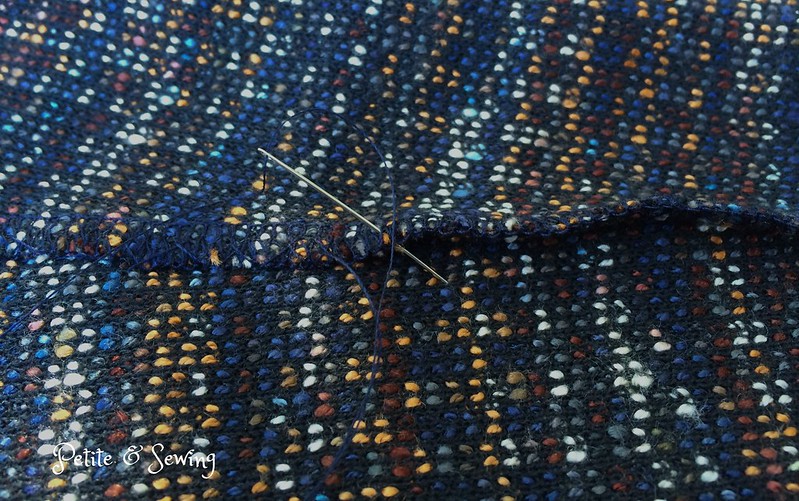
The cardigan was sewn with navy thread on my trusty 4 thread Singer Overlocker and to keep the seams flat I whipped stitched them down.

 the colour is really wrong in this photo!
and now they are almost invisible in the cardigan


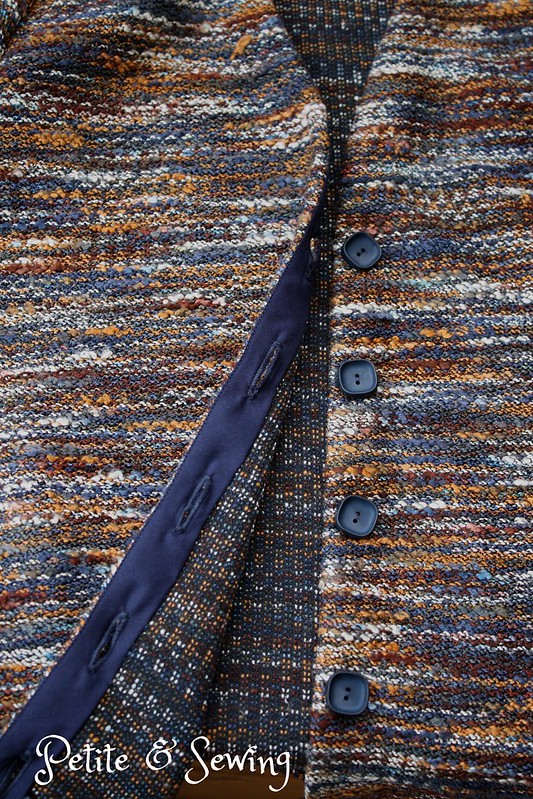
To finish the neck edge I fused some 2.5cm wide stabilising tape to the edge and then sewed some purchased bias binding, turning it to the wrong side and hand stitching it in place.


The lovely ladies at All Buttons Great and Small at Newtown found these gorgeous buttons for me and then I again purchased the buttonholes again from Mick at Quick Buttonhole Service at Alexandria.

and finally,


I've realised I need some new necklaces that will fill the "v" for when I want to wear the cardigan buttoned up.


This cardigan has turned exactly how I wanted it to.  I'm not sure how much wear it will get this year now that Summer has arrived with haste!


******************
2014 Stash Out: 32.2 m
2014 Stash In: 48.75 m

Sunday, October 12, 2014

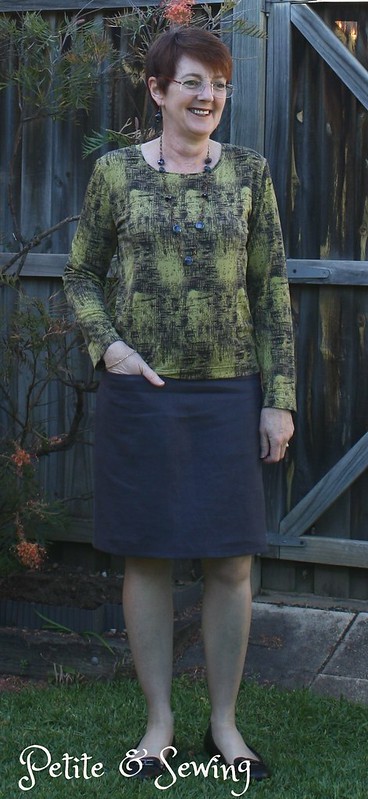
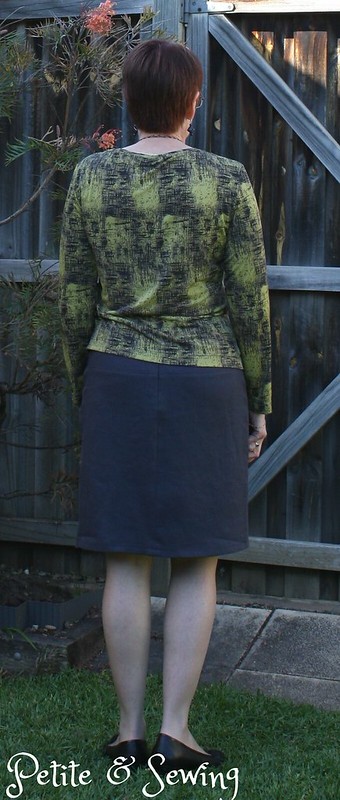
Navy linen skirt - Vogue 1247

As promised back here, here is the navy linen skirt that is part of my "Starting from Scratch Wardrobe".

This skirt was cut out, along with the shirtmaker and cardigan for the sewing weekend I attended back in May.  Both the shirtmaker and the skirt are from a gorgeous slate blue linen purchased from Tessuti in 2013.


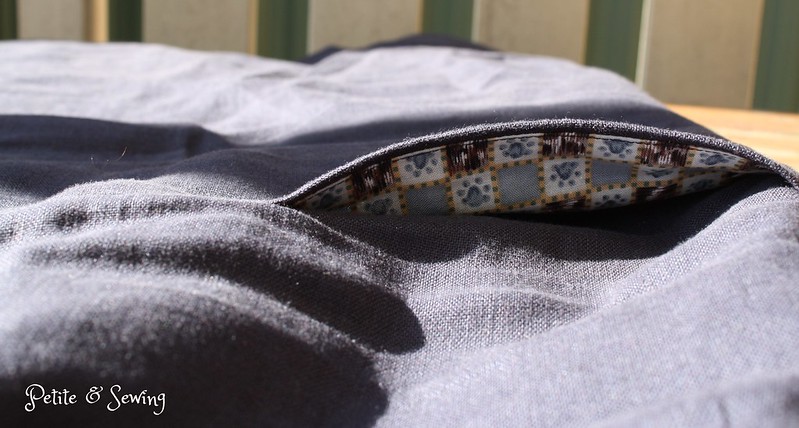
One of the things I like to look out for during craft shows are fat quarters that can be used for pockets and this one was perfect for this skirt.


I did manage to get the skirt sewn up to hemming during the sewing weekend, and it has been hanging around for a few months now waiting to be finished.


Oops I forgot to pull my top down!
The skirt is lined as well as using the twill tape for the waistband.

This is the third time I have used this pattern, the others are here and here and I imagine there will be a few more as it doesn't take too much fabric and the pattern pieces easily fit on those odd scraps left over from other garments.


******************
2014 Stash Out: 30.95 m
2014 Stash In: 48.75 m

Sunday, September 28, 2014

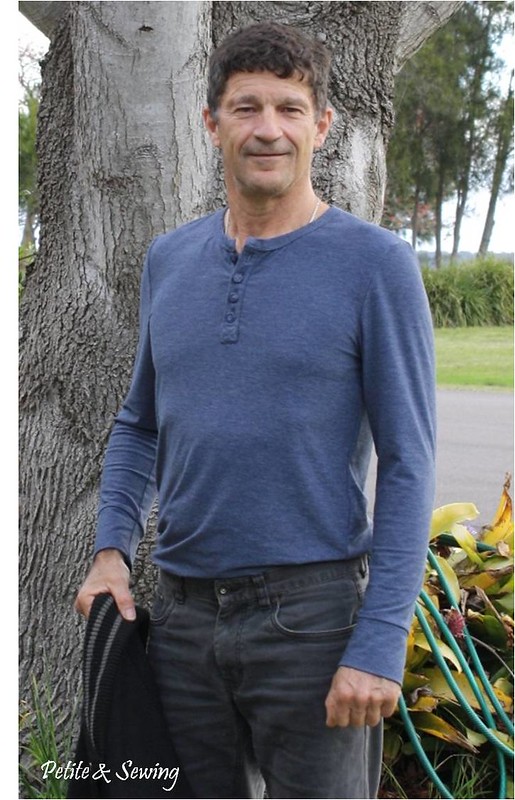
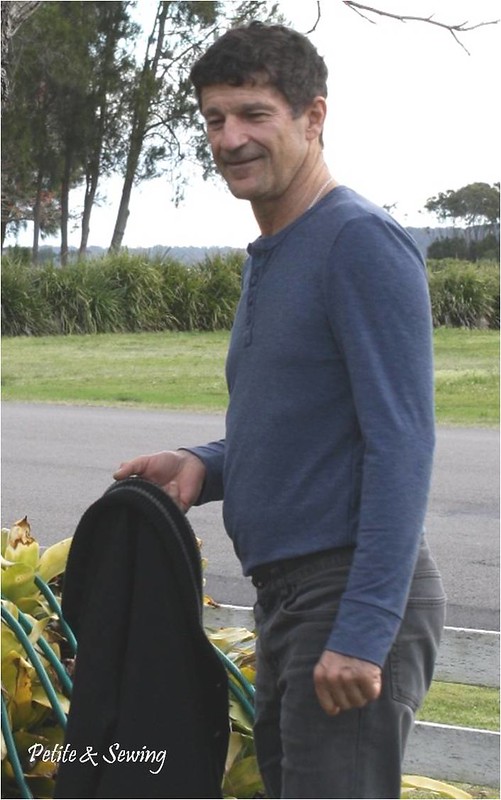
Steel Blue Strathcona Henley

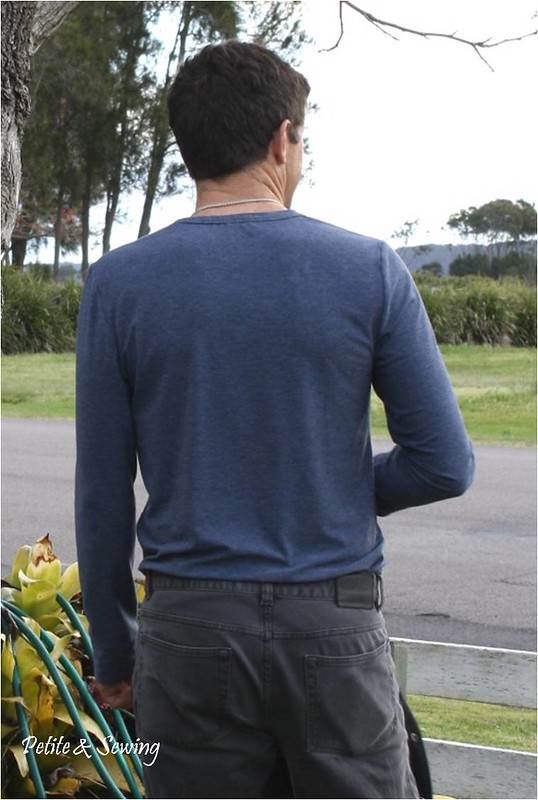
Another year and another wedding anniversary gift for Mark, my husband, and this year the modern gift guide suggested textiles, fur.

I did for a fleeting second think of making Mark a woven shirt, but once I spied this wool knit (that had been in my stash since 2010) and remembering that I had also purchased the Parkland Selection from Thread Theory, the Strathcona Henley was the winner.

Based on Mark's measurements I cut out a medium.

It wasn't until I sat down and started to sew this, that I realised I was doing my first buttonhole placket on a knit! Thankfully the instructions for this were quite good and using a lot of basting I was very pleased with how it turned out.

There was no way I was going to  do the buttonholes, so I again purchased them from Mick at Quick Buttonhole Service at Alexandria.  I couldn't believe my luck in finding the perfect buttons at Spotlight.


The Strathcona Henley is a "modern", "slim-fitting" t-shirt and I chose to make it with long sleeves seeing the fabric was a wool mix. I did have a bit of concern when I had all but the hem done that it was going to be too big, however when I measured it against one of his current t-shirts it was a slightly slimmer fit but the length seemed a bit long.  I did cut off 4.5cm from the length and that left me with a 2cm hem.


It looks like it's a winner, it has had a few outings already!

******************
2014 Stash Out: 29.35 m
2014 Stash In: 47.25 m

Wednesday, September 24, 2014

24 Garments = 377 outfits!

I am a visual person, and found this amazing to see.

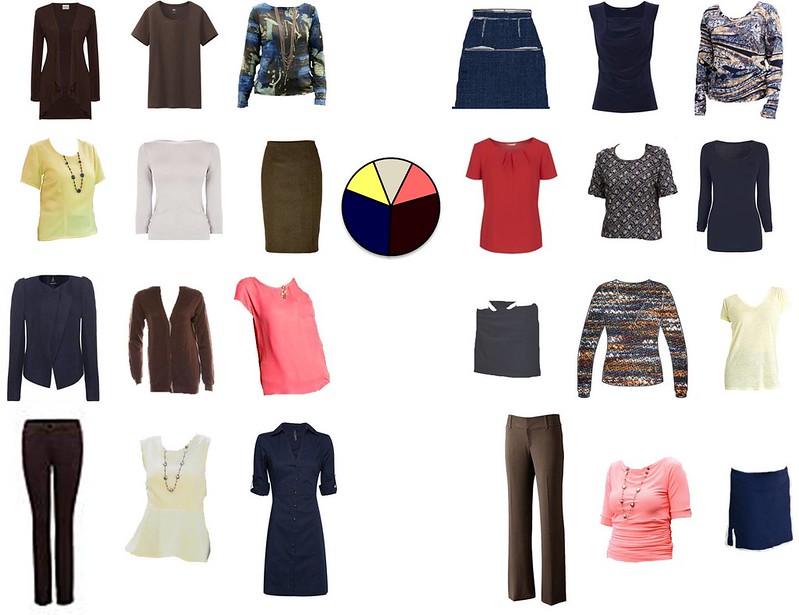
From this 24 piece collection,


I can have 377 different combinations!

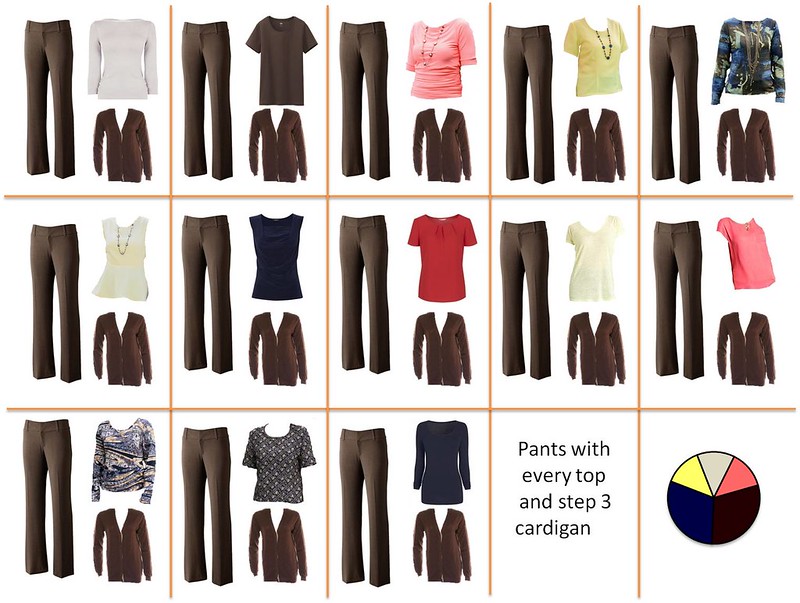
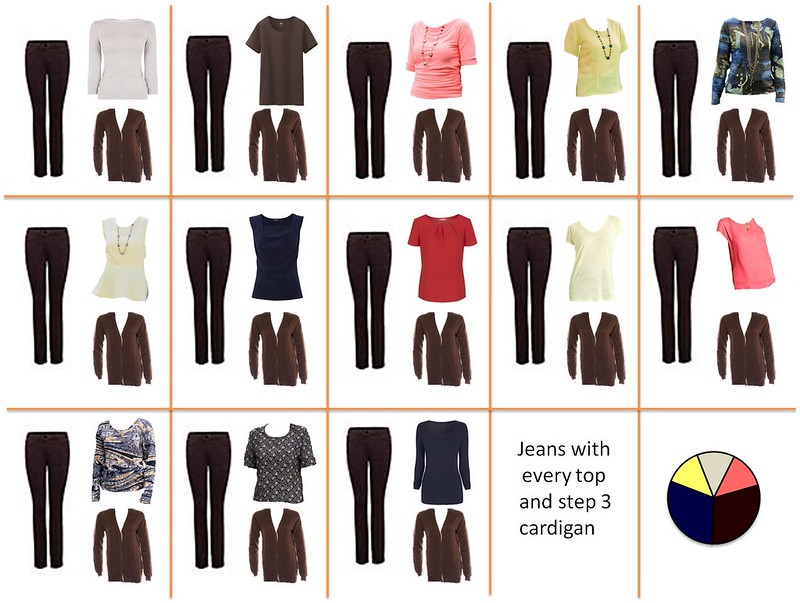
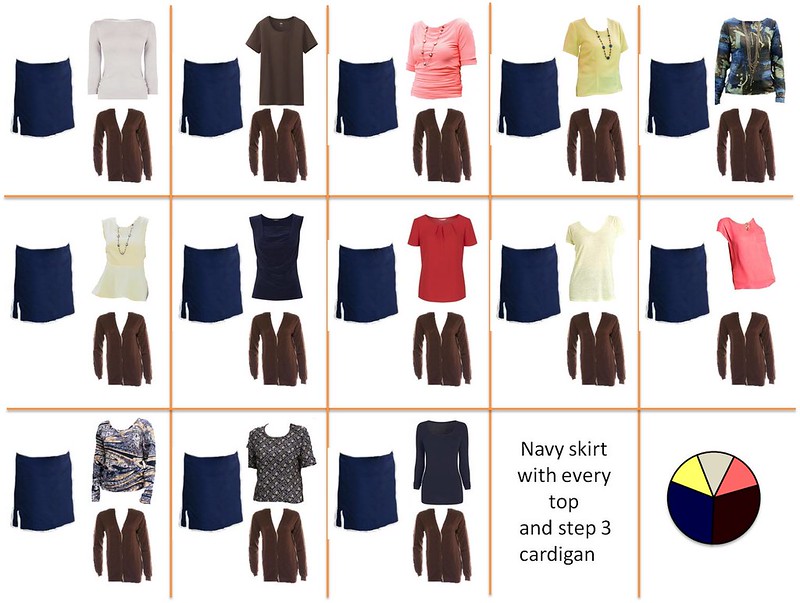
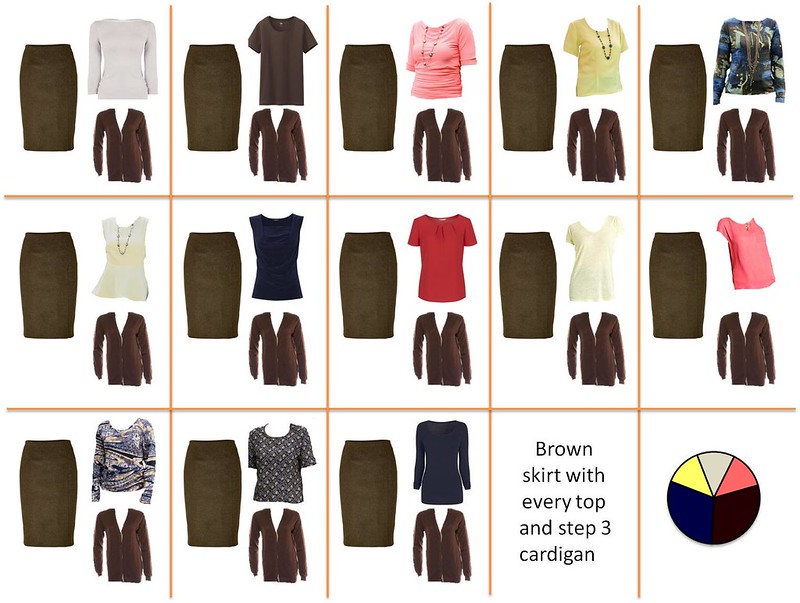
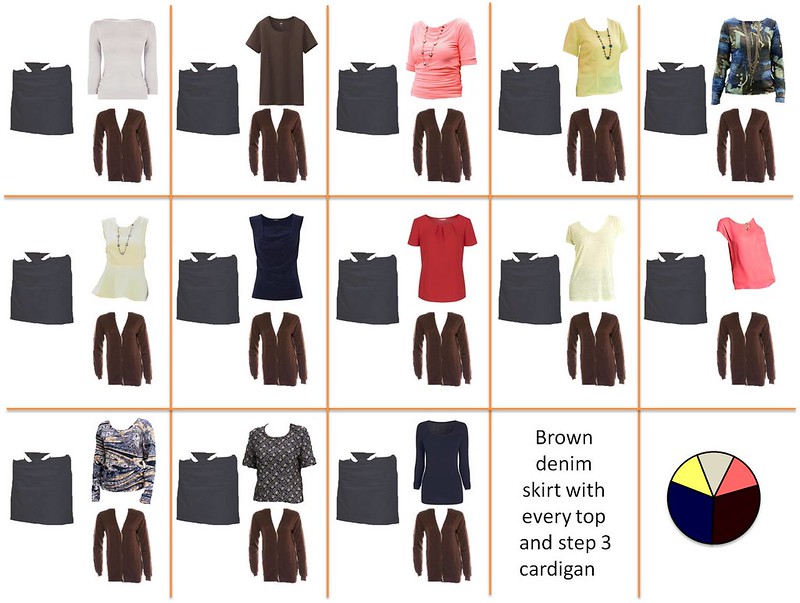
The following shows the 13 tops with the 6 bottoms and 1 of the cardigans, I haven't shown the same combinations without a cardigan or even with the other waterfall cardigan or the Marfy jacket!

This group alone lets you have 312 outfits!

Pants from Step 1.


Jeans from Step 4.


Navy Marfy skirt from Step 7.


Brown suede skirt from Step 9.


Brown denim skirt from Step 11.


Navy linen skirt from Step 17.


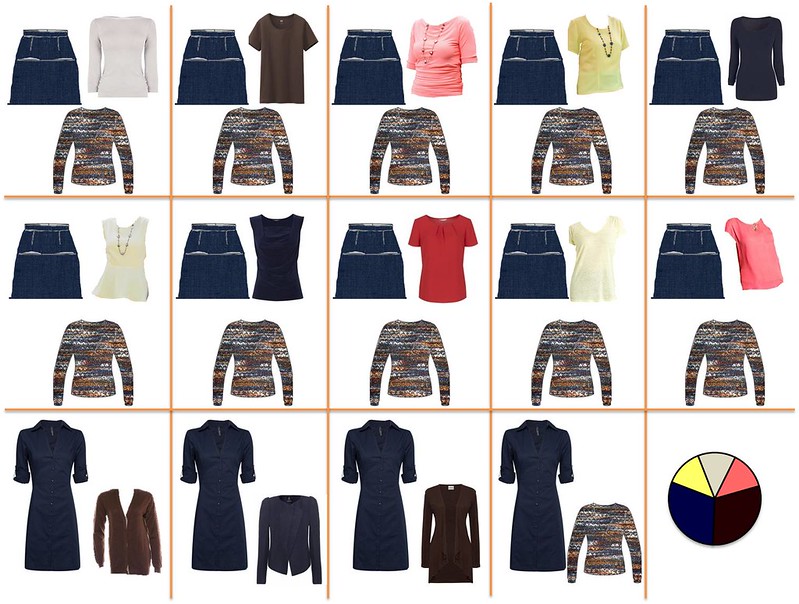
Now for the Jalie accent cardigan from Step 15.

I would only wear this with the plain tops, 10 in total, so with the 6 bottoms you have another 60 different looking outfits.


The dress from Step 15 goes with all the cardigans and the Marfy jacket, another 5 outfits!

I have realised that if the 3 patterned tops were plain it would add another 18 outfits.

I'm not sure that I wouldn't get tired of the tops, but this is where your accessories do play a major part in changing the look, especially when sitting at a desk.

Now back to some regular sewing, so I can see if I can make this work!


Sunday, September 21, 2014

Building a Wardrobe from Scratch - The Final Pieces

I have surprised myself thinking that I still needed to do a lot of work on my accessories, it was lovely to see that so far I have covered all sets so far!

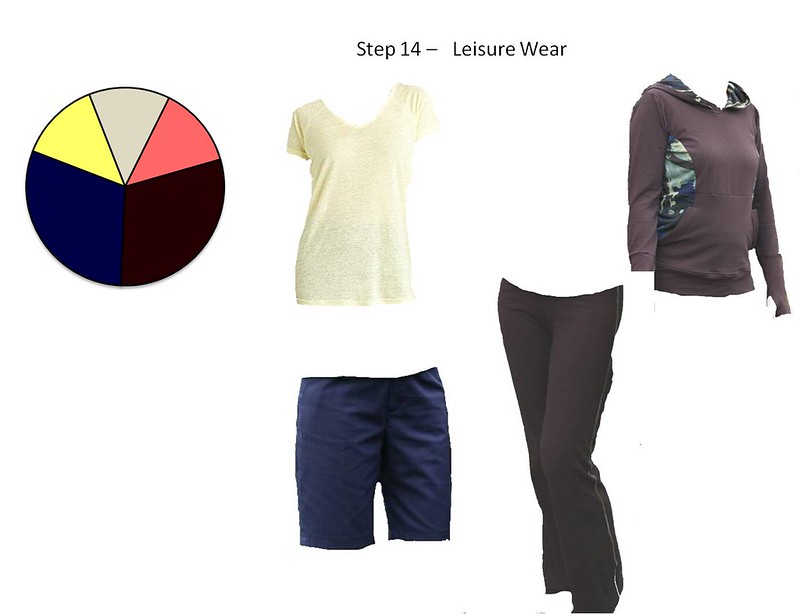
Step 14  for me is all about staying at home or clothes that we can be active in, walk the dog, or lounge around the house but still confident to answer the door!

So I have added my Jalie Yoga Pants, the Seamster Hoodie as well as my navy shorts.  The lemon singlet is one I have seen and I would love one, as this would be a perfect addition to my wardrobe.


Step 15 is a versatile dress, an accent cardigan and shoes.  I love my Navy dress with the pickstitching but I think it will only last for another summer, so I have been taking my time and making a navy linen shirtmaker and the cardigan I would pair this with are both near completion.

I've added a pair of Diana Ferrari Greneya sandles which I need to purchase soon.


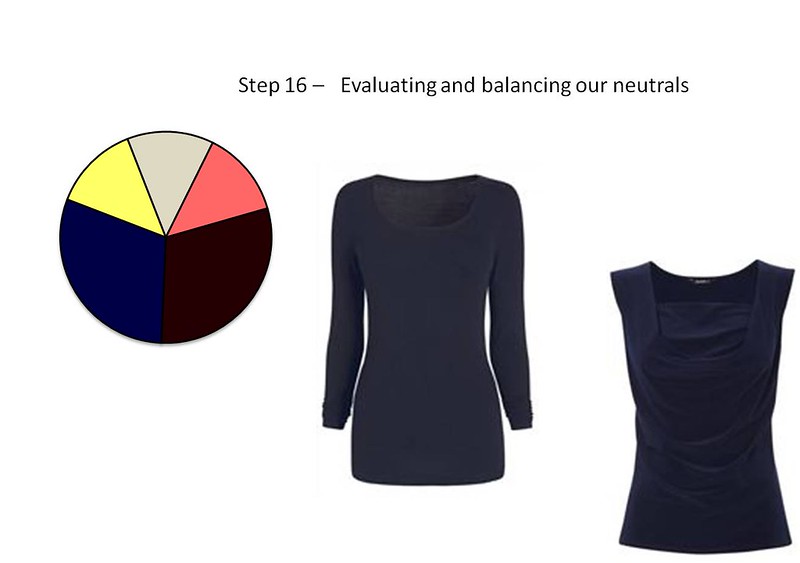
Step 16 is evaluating and balancing the neutrals.  With all the garments I have been adding to my wardrobe Janice has suggested that we make sure we have a "Core of Four" (two tops and two bottoms that will make 4 outfits) in each neutral.  You can see below that I don't have any navy tops!


I have chosen a long sleeved navy t-shirt and a sleeveless navy top , I don't own either of these so they are now on the sewing list.


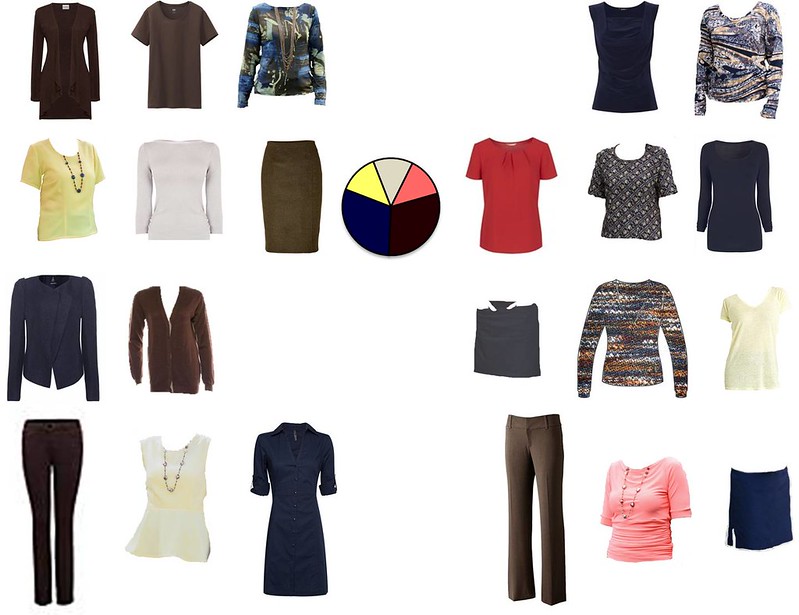
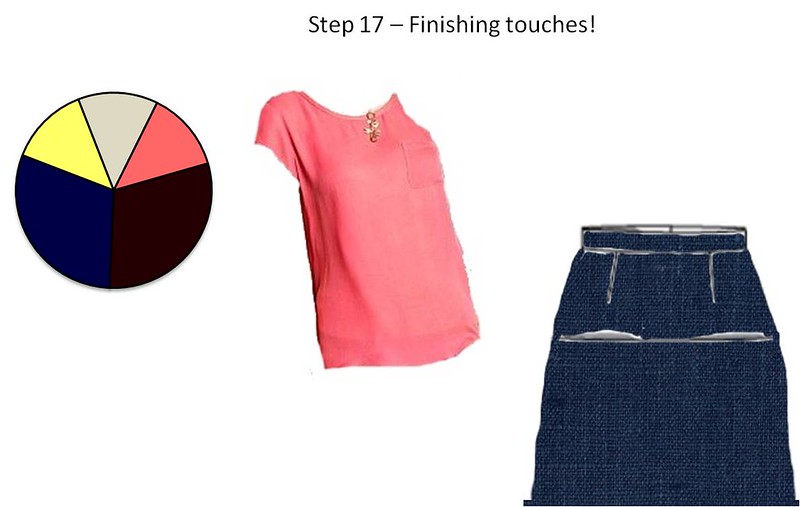
Step 17 we are just about at the end of the 24 piece wardrobe and may need to add some finishing touches. Note that Janice has deliberately kept out leisurewear and outerwear from this current collection and the focus is all on "street wear".

Looking at my collection below I am missing another casual skirt and think another coral casual top would round it out nicely.


I have just finished the navy skirt, it is another version of Vogue 1247 and will be revealed soon.  The fabric for the coral top is also in the stash.


Step 18 is the last review of our wardrobe , comparing it to Janice's Common Wardrobe and also "Whatever is Clean".  Here we can add a "denim shirt" and two basic tops, but looking at my collection below I am very happy with where I am at.

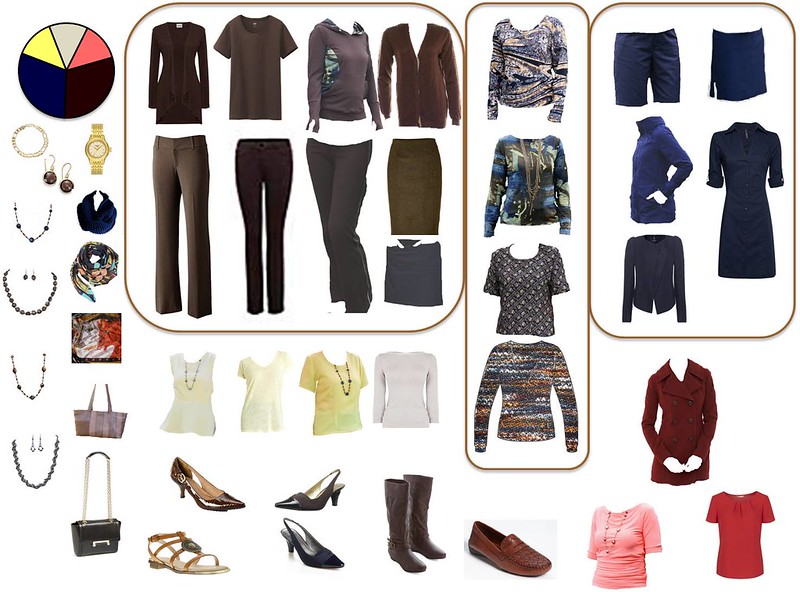
"Street Wear"

Accessories

Here is what I need to physically add to my wardrobe, a few of the pieces are very close to being finished, and some can wait until Autumn. 


If you take all combinations of outfits using the "street wear" items, I have calculated that I have 377 combinations!!! Now I need to see this.