Monday, September 9, 2013

Drum roll please ....

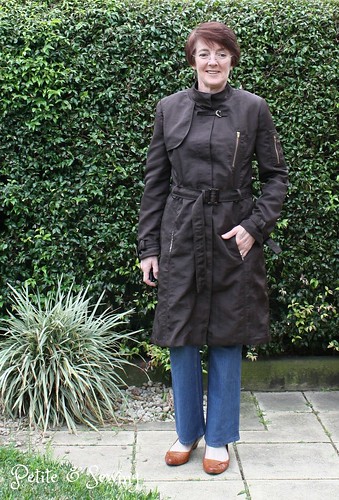
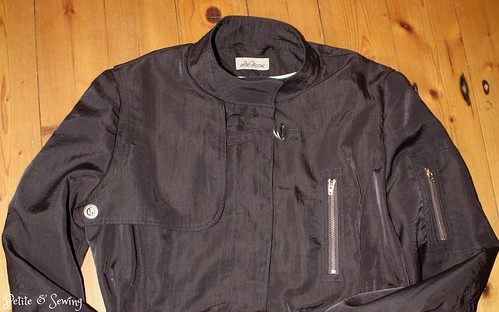
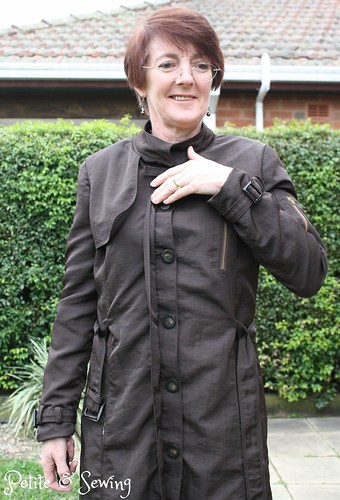
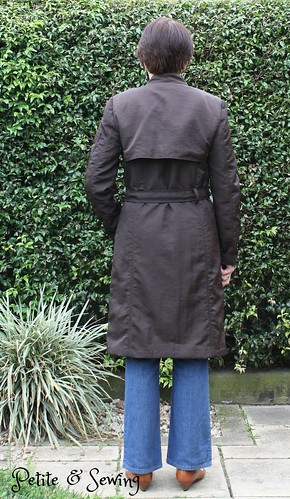
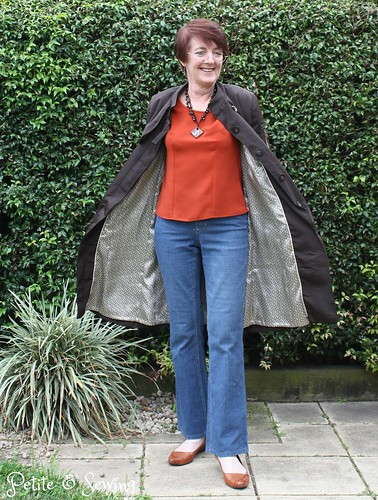
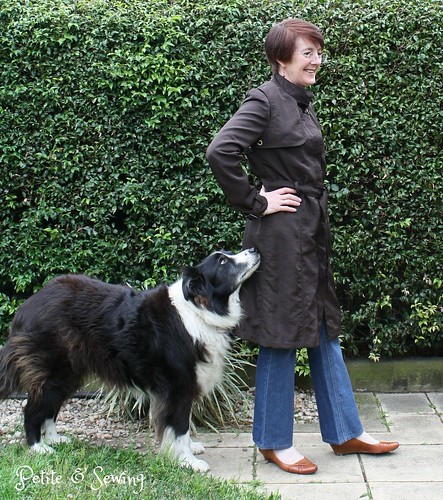
the Trench is finished Facebook smileys

It first started here, then the toile and pattern changes and lastly how it looked when you last saw it,

and now!

This has been one of the most challenging projects I have undertaken ever, but so worth it.

The rain coat fabric had its own requirements, but once I worked up the courage it was very easy to work with.
  •  I used fusible interfacing, Sheerweft TM for the facings and this fused very well using my Singer Magic Press, 
  • I used a Sharps needle,and increased the stitch length for my top stitching to 3.5 (previously using 3)
  • The fabric ravels quite a bit, so I over-locked/serged all the seams.

When you last saw the trench I had basted in the lining.  When I sat down again to work on the trench I realised I should have sat down a lot sooner and sorted out my to do list in a logical construction order as I hadn't,
  • added the hanging strap,
  • installed the eyelets on the storm flaps,
  • made or sewn on the belt loops,
  • made and sewn on the double d-ring closure at the neck edge
this meant I had to do a lot of "going back"!

Now for a lot of  detailed photos:

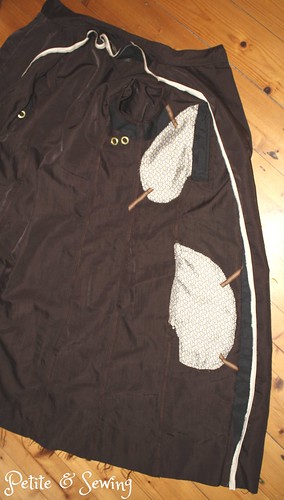
Pocket bags secured to seams
This is a great tip from my sewing buddy Dilliander which she has posted on Pattern Review.

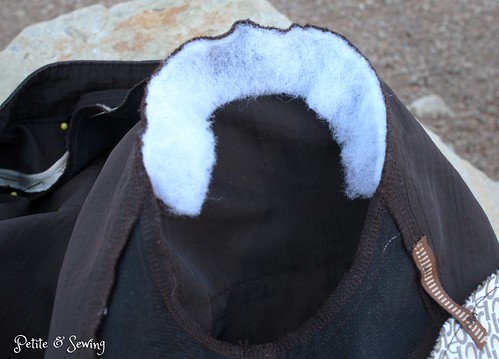
Batting used for sleeve cap

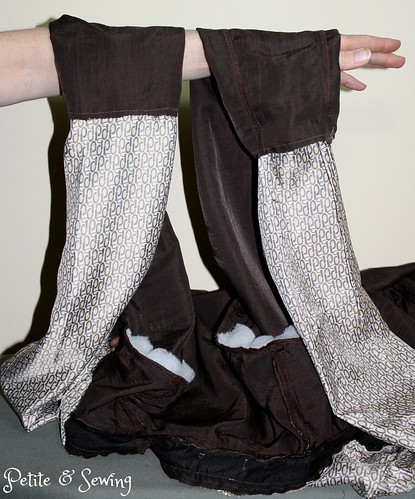
Bagged the sleeves using this great tutorial from Grainline Studio

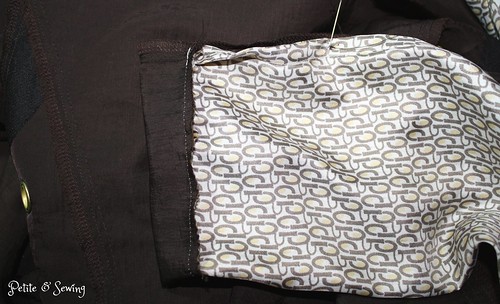
Caught the lining on the sleeve seams to stop the sleeves moving forward

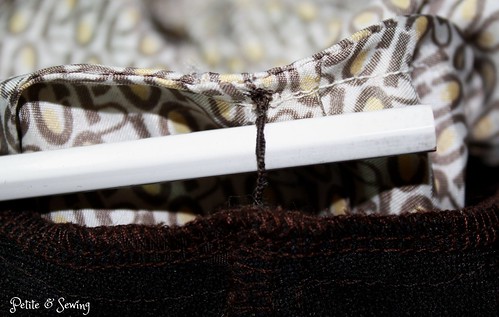
French Tacks from Couture Sewing Techniques at the shoulder and underarm seams

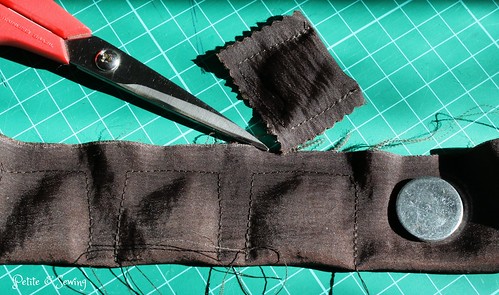
Pockets made for hem weights

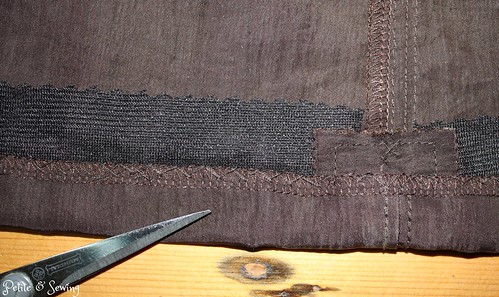
Interfacing fused at hem, weights in place and hems finished

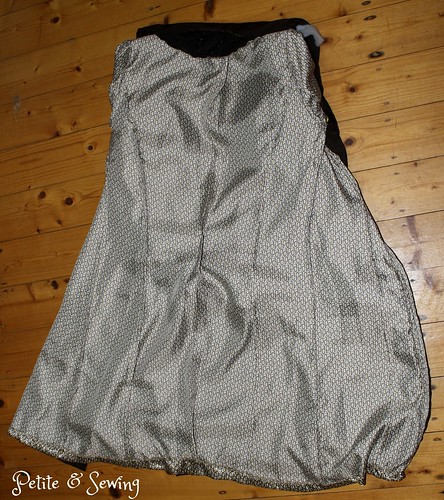
French seams used for the lining

Double D rings for neck closure, storm flaps have eyelets with washers installed using a Prym Kit
I purchased from the UK.

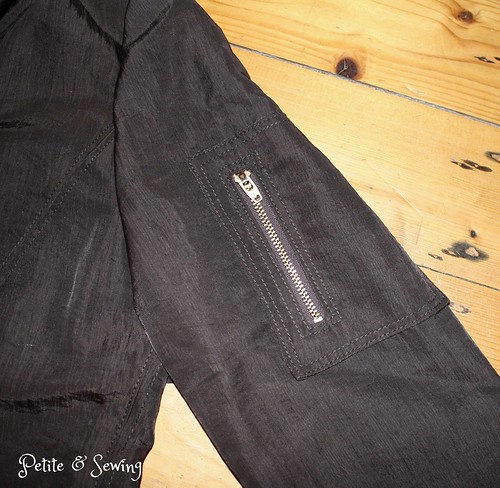
A closer look at the zippered pocket on left sleeve

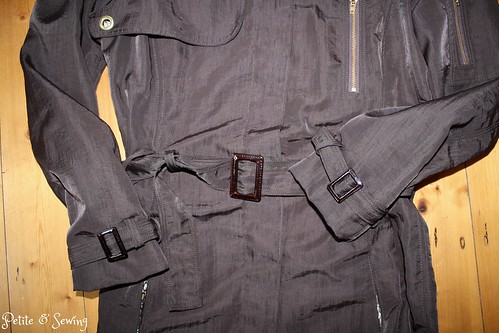
Belts and buckles.

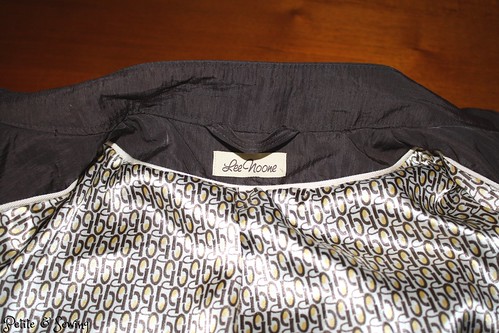
Lining with piping and hanging strap

Concealed buttons

oops, I missed a belt loop!


and last of all

can we go play now!
Even with the challenges and time this has taken I am thrilled with my Trench and look to forward to getting a lot of wear from it.

******************
Stash Out:  19.25m
Stash In:  3.3


Thursday, September 5, 2013

Dressmaking with Stitches - Housekeeping

I have received a couple of messages to say that the links for the Indexes for the magazines have not been working.

It turns out that the company I was using to host the files on has been sold but now the new company is providing an excellent service and I have today updated all the links for the Indexes.

I am slowly working on getting Volume 21 finished, maybe a Christmas present for us all!

Sunday, September 1, 2013

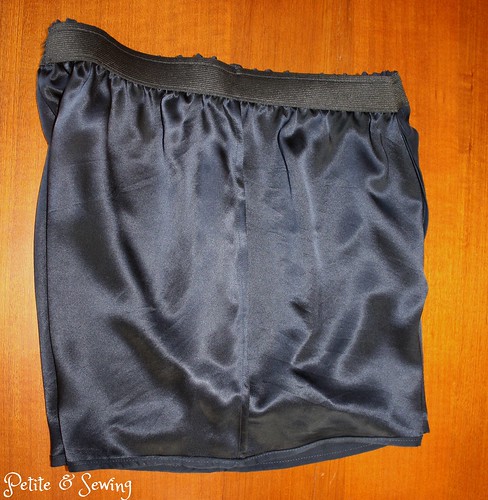
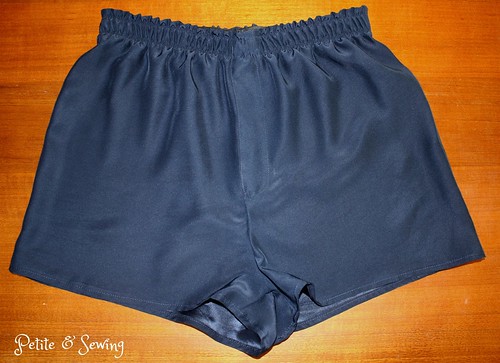
Silk Boxer Shorts

It was our wedding anniversary this weekend and I have always given DH a traditional gift each year, and this year it is linen or silk.

For some reason I left this to last week to organise so this would have to be the quickest project so far for me.

I purchased the silk from The Silk Shop on Monday, pre-washed it on Tuesday, finally found the pattern on Friday night and had it gift wrapped for DH for our wedding anniversary today!

I have again used Jalie 2326 but this time I referred to the great tips from Martyn Smith in Dressmaking with Stitches, Volume 18 No.12 and added 1cm (3/8") to the side seams and an extra 6mm (1/4") to the front in-leg and curved crotch seams which let me do French Seams throughout.


The silk had a shiny and matt side, so I used the matt for the right side.


The only thing I need to do now is add a button to the fly front which of course I didn't have a suitable one in the stash!

My lovely card contained a very generous offer to go fabric shopping!!

Now to get back to the Trench Coat!

Tuesday, August 6, 2013

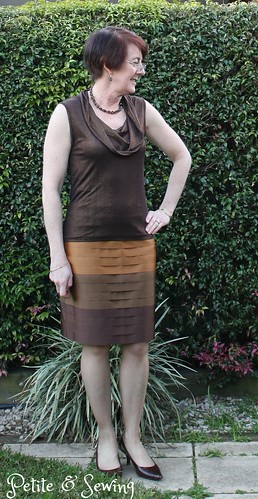
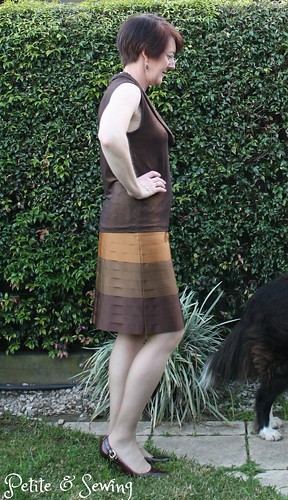
Ribbon Skirt

I am always drawn to sew-a-longs and had to join in the Julie Starr Ribbon Skirt Sew-a-long over at Goodbye Valentino especially when I saw one of my sewing buddies putting up her hand as well.

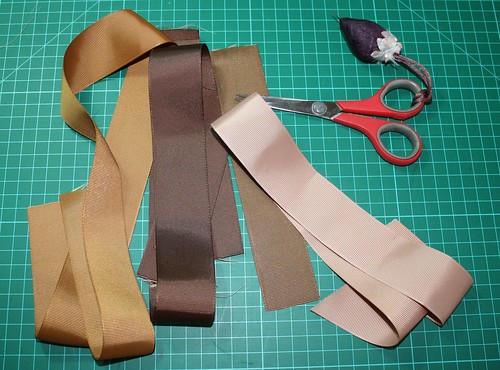
The biggest challenge was finding the 38mm (1 1/2") wide grosgrain ribbon that this skirt is made from in tonal shades in Sydney in quantities of 5m.

Thankfully this is where the Internet really comes in handy, a search revealed Sarah Lauren who has quite an extensive range of grosgrain ribbons here in Australia and then I found Crafts Now who ship to Australia free with a larger colour range of 38mm grosgrain ribbon.

I ordered the ribbons from both and the service was perfect.  The cotton for skirt backing is a brand called "A Day In the Country" purchased from The Remnant Warehouse.

The instructions for this skirt are very easy to follow and this skirt takes a lot of precision measurements to make sure that your side seams match.

This is the small amount of ribbon I had left over!

Golden Brown, Chocolate, Turftan, Natural

So here is the finished skirt ...


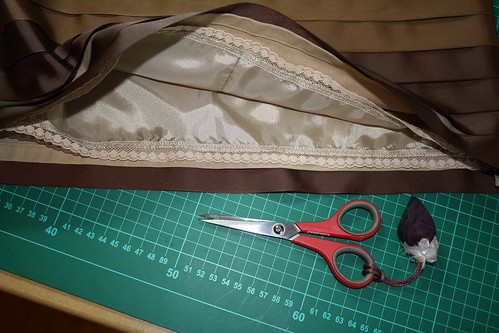
I am not a fan of waistbands so I have used cotton twill tape as my waistband stabiliser which is then hidden by the lining.


and then some lace for the finishing touch.


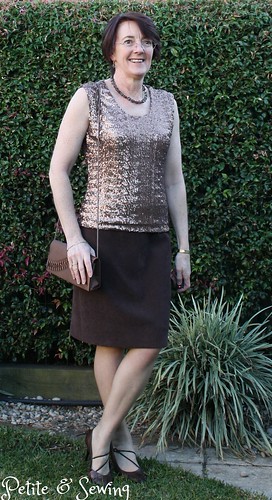
I can see this skirt working well with my evening tops I made for SWAP.

******************
Stash Out:  14.55m
Stash In:  3.3

Sunday, July 21, 2013

Plenty of sewing time

but nothing is completed as I seem to be working on a number of complicated garments at the one time Skype Emoticons

The trench and pants muslins are still progressing, and there is another project or two that I haven't yet disclosed, hopefully they will surface soon.

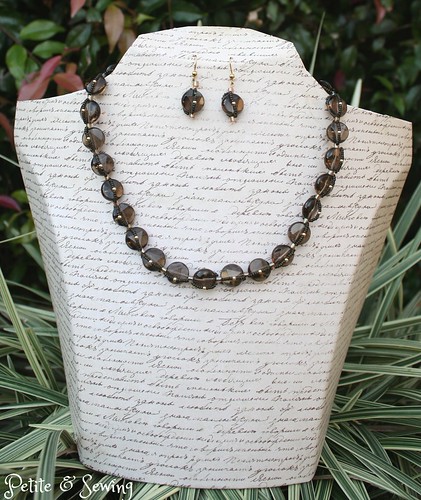
In the meantime, I thought I would share a stringing project that I have been meaning to share for a while. I purchased the smokey Quartz faceted beads from Bead Them Up at one of the Craft Shows in 2008 and they have been taunting me ever since.

One of my last classes with my beading teacher was to work on this project, and I used inspiration from a design by Lynne Soto from "Beading with Gemstones" a Beadstyle Special Issue magazine dated 2007.


and it was completed just in time for me to wear with my SWAP outfits


Fingers crossed that the next time you see me it is to share a completed garment!

Sunday, July 14, 2013

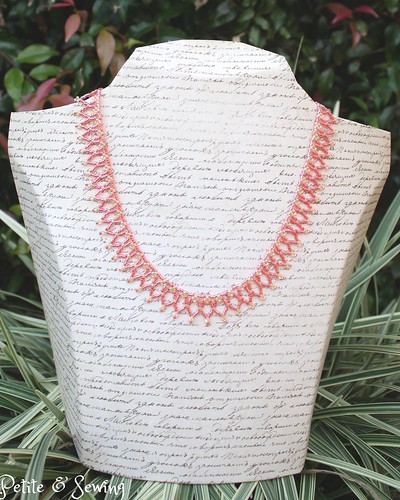
Please meet Cleo

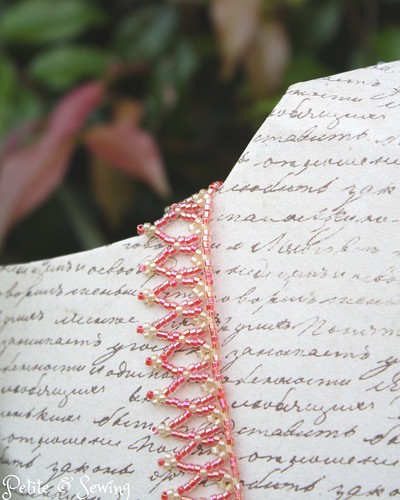
she is a delicate little necklace that I have used needle and thread to create with some very pretty apricot and cream seed beads.


and looks lovely with my navy linen dress.

Monday, July 1, 2013

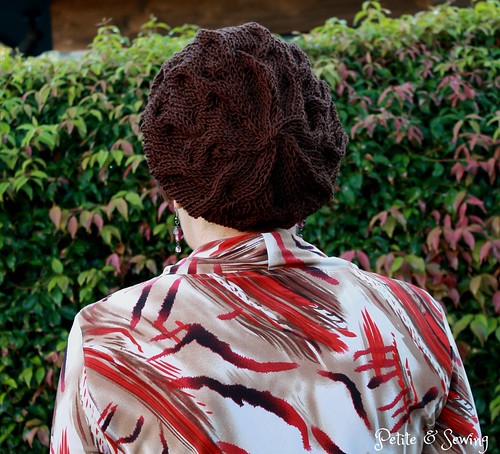
Slouchy beret

During May whilst trying to find a hat to wear, I tried on a few slouchy berets and quite liked the style but couldn't find any in a colour that I liked, so I headed over to Ravelry to see what patterns were available.

This pattern is a free download and has been designed by Natalie Larson and it is called "Star Crossed Slouchy Beret".

This was a pretty quick knit as I cast on last Thursday night and finished it at lunchtime on Sunday.

I used Morris Empire Superwash Merino 8ply wool, Clove and it took just over 1 skein.


I'm very happy with this beret and can see it getting quite a bit of wear now the days are getting quite cool.

Don't you just love being able to see something in the shops or on the internet and be able to go home and make it yourself, in the colour you like and even the fit - it really does make me smile!