It is great when you see a friend sew an item that you think would be perfect for your own use.
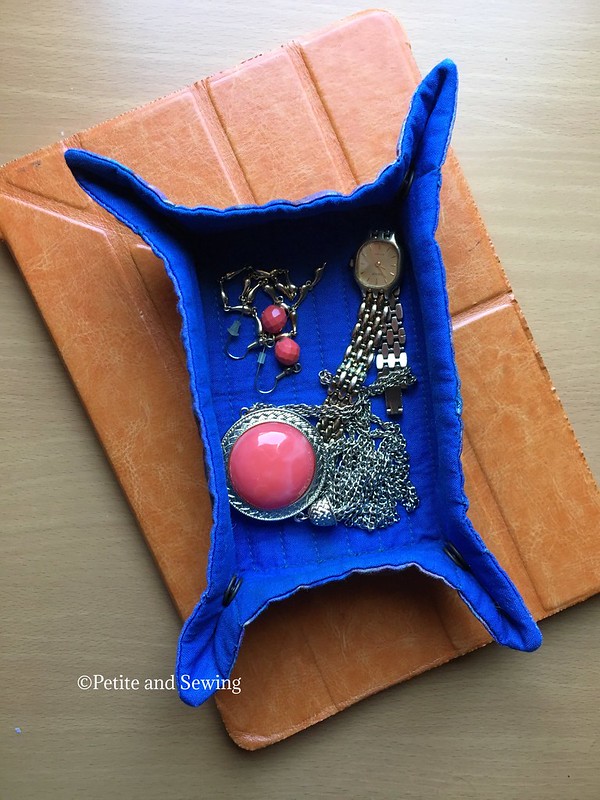
Cassiy posted this cute Travel Tray by Angie's Bits 'n Pieces that she is going to use at her ASG meetings to collect the fees for the day.
Then it dawned on me that this would be the perfect travelling item for me, as wherever I go, I always seem to struggle to find a place for my watch, bracelet, earrings and necklace when I take them off for the day.
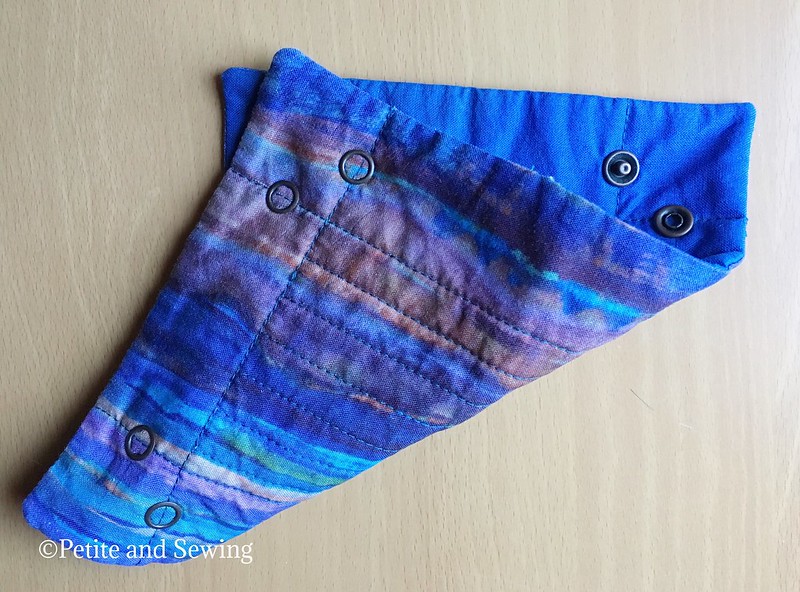
I still had a bit of the Xanadu Purple Haze that I used for my Take Off Tote as well as the blue quilting cotton so these were used for this tray.
This was my project at our last ASG meeting for the year in 2016, it was all cut out and ready to sew and by the time we stopped for our Christmas Lunch all the sewing was finished, only the snaps were left to do.
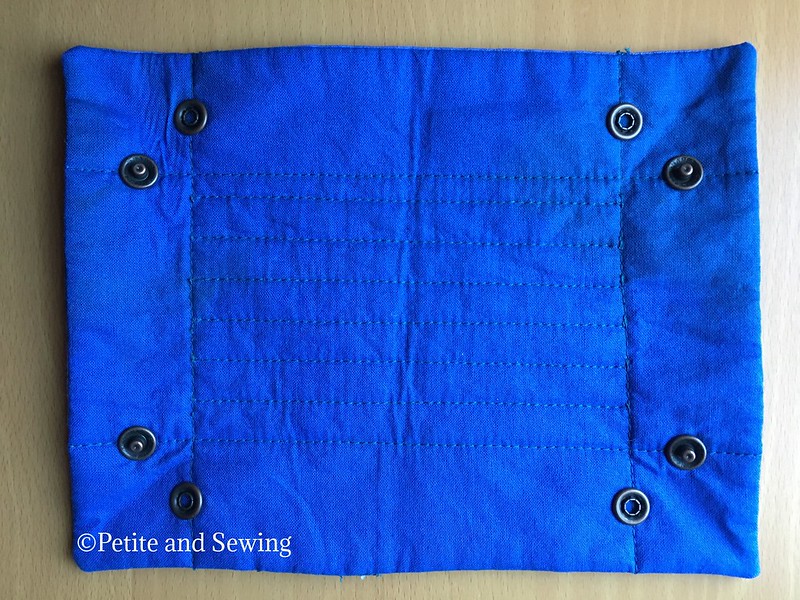
Using my Dk-93 Snap Press and some Snap Source Size 16 Antique Copper Open Prong Ring snap fasteners I installed them on each corner 2cm away from the edge.
It is cute and it is the perfect item for when I travel.
I just wish I had thought about the alignement of the snaps so I could have snapped it together in a tidy manner to pack!
Sunday, September 17, 2017
Sunday, September 3, 2017
The Classic French Jacket - Days 5 to 7
So far I have discussed my preparation and the first 4 days of the class, now to continue.
Next up were the sleeves, as I used Susan's pattern I already had the 3 piece sleeve and Susan pins one of the toile sleeve to my jacket which got a nod of approval so I could cut out my sleeves in fabric, quilt the lining, and finished the sleeve placket.
I then basted the under am sleeve seam together for a final check by Susan. This is where there was a huge difference between the calico and the final fabric as Susan took out 1cm to 2cm off the underarm seam.
Once this seam was machined, pressed open, trimmed and the lining seam fell stitched in place the sleeves are then pinned in place by Susan and this is where my fitting challenge arose!
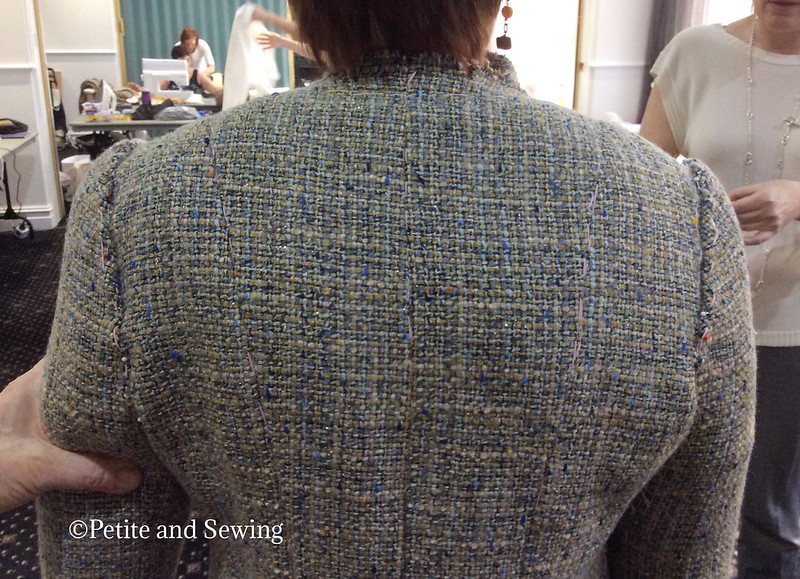
Can you see how the fabric is collapsing on my left hand side where the fabric is sitting very nicely on the right hand side?
It appears I am rather hollow there and it was very obvious in the soft structure of this jacket.
Luckily I had taken some slim shoulder pads to class and Susan took one of them and reshaped it it to look like this,
which when pinned in place filled out the fabric very nicely.
Oh and disregard the extra fabric I have at my under arms, this is not pinned in, you just can't do it so it is left up to me to fit the fabric in the armsyce that "is left" after Susan has pinned in the sleeve cap.
Now back to the hollow in my back, I have covered the shoulder pad that Susan had put together and here it is in the lining fabric,
and it will be hand sewn in place at the shoulder seam and this will let the edge of it sit beside the armsyce curve.
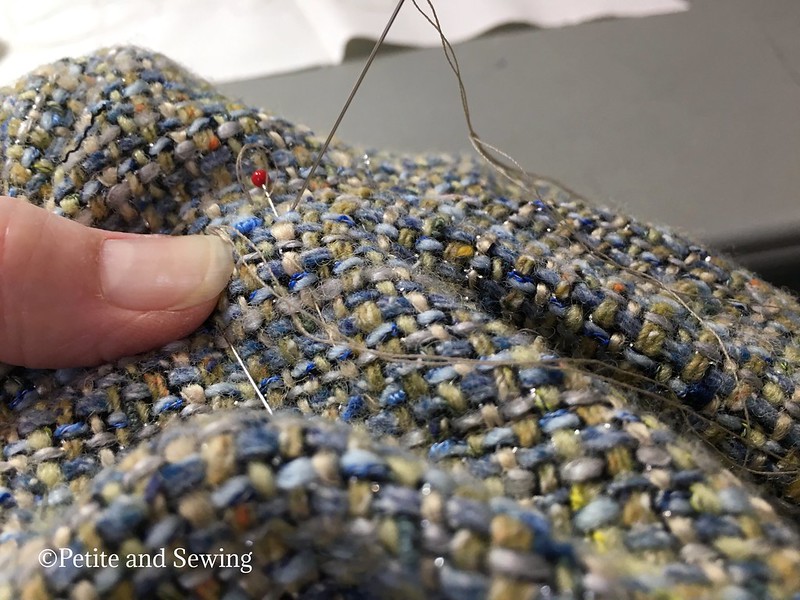
Once the sleeves are pinned in place, I then had to sew the sleeve in by hand, which feels quite insufficient but it is very solid and the drape of the sleeve is so much nicer.
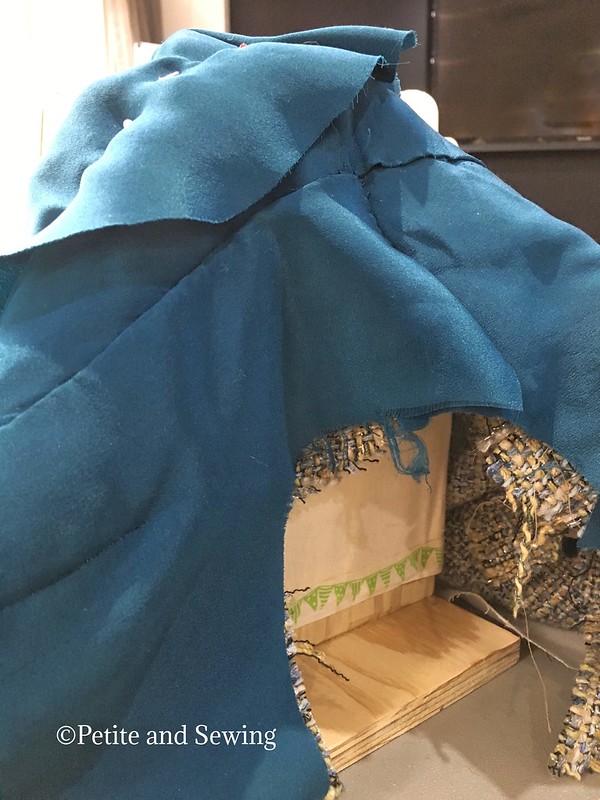
The next challenge was to attach the sleeve lining to the bodice of the jacket without getting yourself into a mess. This is where the wooden sleeve head padded block that I purchased from Bernina Chatswood came in very handy.
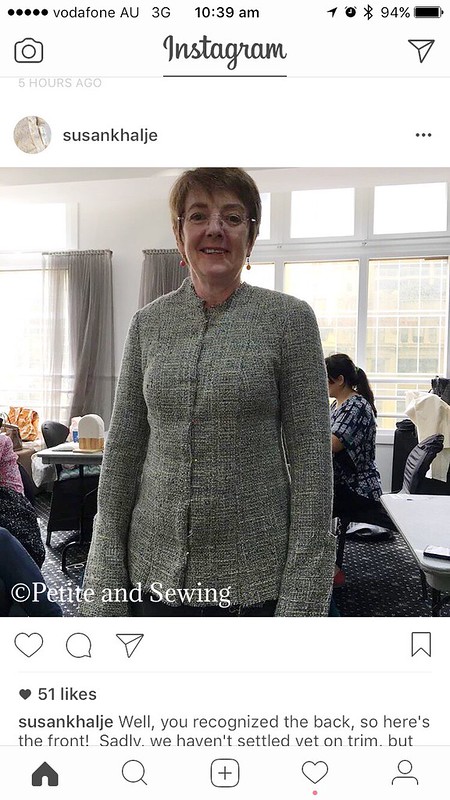
It is the last few hours of our course and a final try on
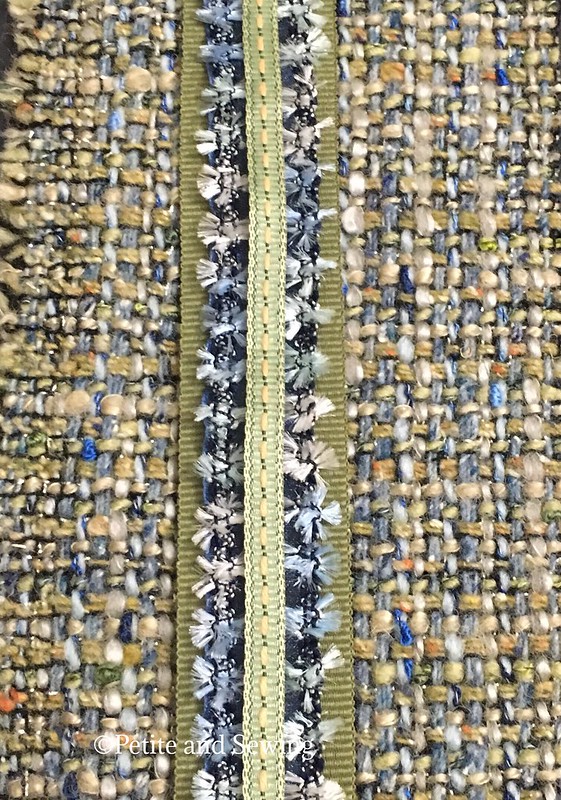
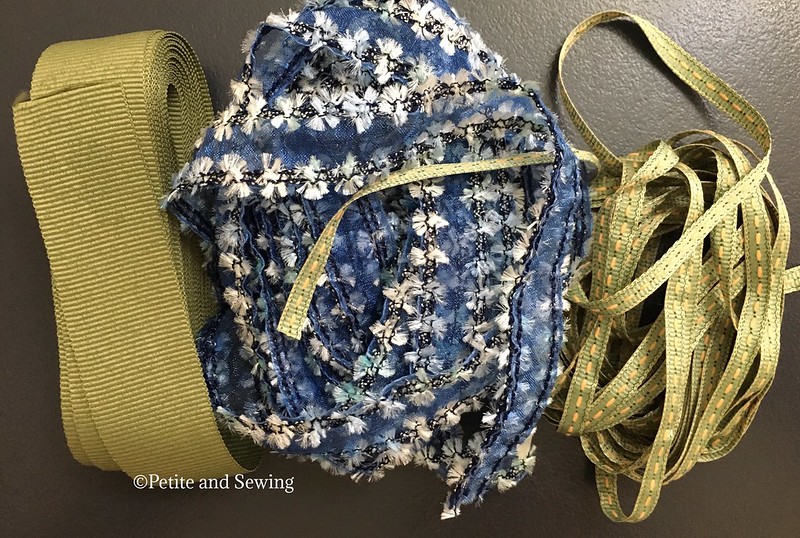
Yes, finding trim was proving to be elusive in Sydney so I sent a piece of fabric to my sister in Brisbane who took it to Sckafs Fabric and I was absolutely blown away by what they chose for my fabric
which consists of
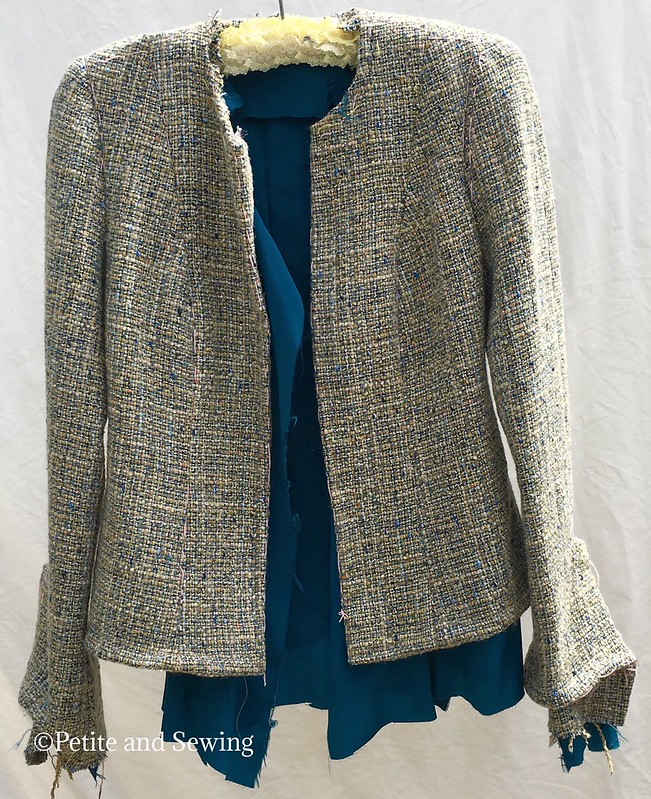
So at this stage my jacket is looking like this
To finish the jacket I still have to handsew:
- all the jacket hems
- sew on the hooks & eyes
- sew the trim on, 3 layers so 6 rounds of sewing
- finish the lining around the edges of the jacket
- sew the chain to the back hem
- find the buttons and sew them on
- make the pockets and sew them in place
At this stage I'm not sure when I will be able to finish my jacket, but my hand is getting better and if I take it a bit at a time it will get done.
******************
2017 Stash Out - 11.6
2017 Stash In - 6.5
2017 Stash Out - 11.6
2017 Stash In - 6.5
Subscribe to:
Comments (Atom)

