It is great when you see a friend sew an item that you think would be perfect for your own use.
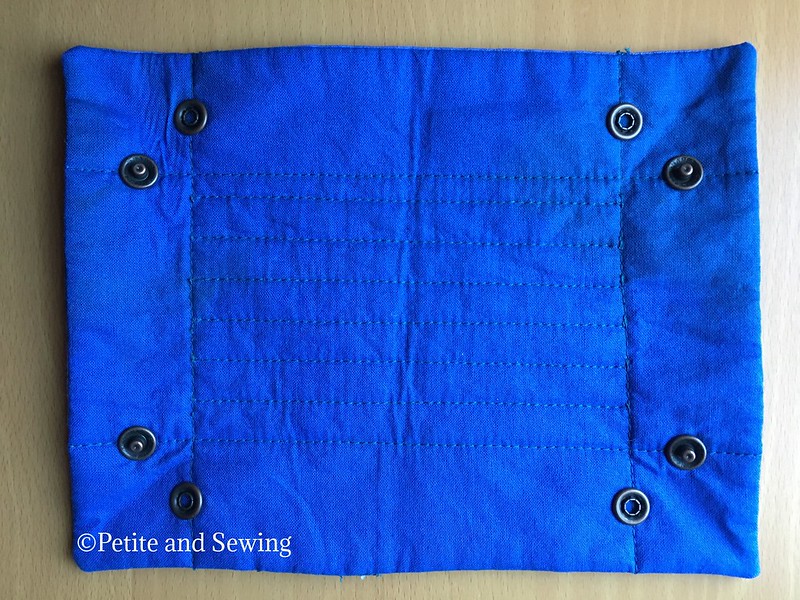
Cassiy posted this cute Travel Tray by Angie's Bits 'n Pieces that she is going to use at her ASG meetings to collect the fees for the day.
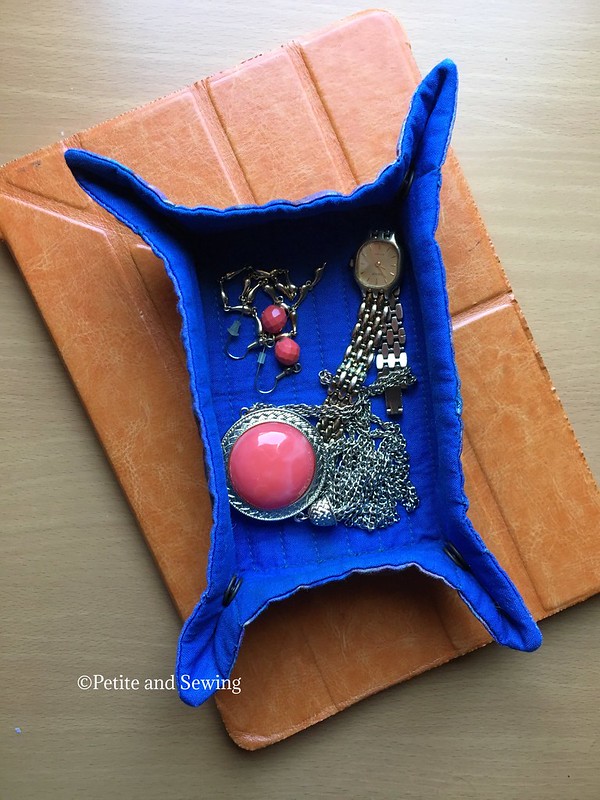
Then it dawned on me that this would be the perfect travelling item for me, as wherever I go, I always seem to struggle to find a place for my watch, bracelet, earrings and necklace when I take them off for the day.
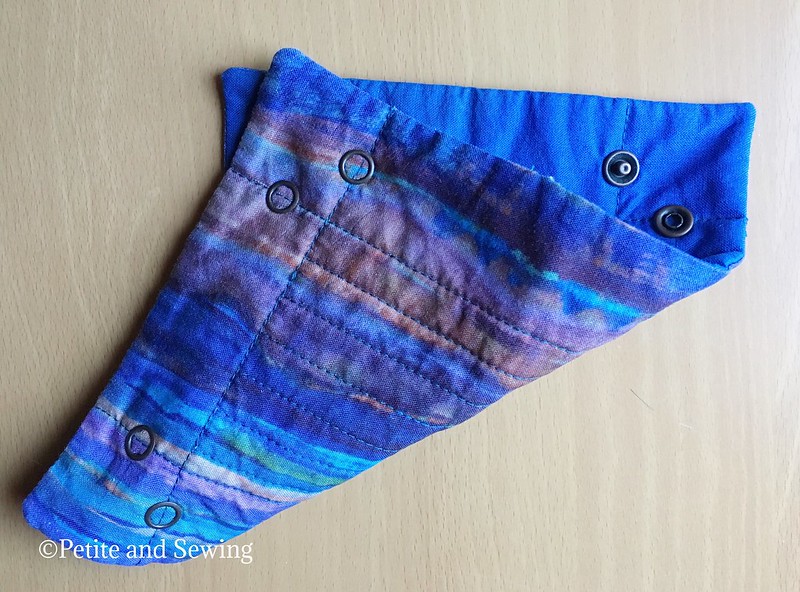
I still had a bit of the Xanadu Purple Haze that I used for my Take Off Tote as well as the blue quilting cotton so these were used for this tray.
This was my project at our last ASG meeting for the year in 2016, it was all cut out and ready to sew and by the time we stopped for our Christmas Lunch all the sewing was finished, only the snaps were left to do.
Using my Dk-93 Snap Press and some Snap Source Size 16 Antique Copper Open Prong Ring snap fasteners I installed them on each corner 2cm away from the edge.
It is cute and it is the perfect item for when I travel.
I just wish I had thought about the alignement of the snaps so I could have snapped it together in a tidy manner to pack!
Sunday, September 17, 2017
Sunday, September 3, 2017
The Classic French Jacket - Days 5 to 7
So far I have discussed my preparation and the first 4 days of the class, now to continue.
Next up were the sleeves, as I used Susan's pattern I already had the 3 piece sleeve and Susan pins one of the toile sleeve to my jacket which got a nod of approval so I could cut out my sleeves in fabric, quilt the lining, and finished the sleeve placket.
I then basted the under am sleeve seam together for a final check by Susan. This is where there was a huge difference between the calico and the final fabric as Susan took out 1cm to 2cm off the underarm seam.
Once this seam was machined, pressed open, trimmed and the lining seam fell stitched in place the sleeves are then pinned in place by Susan and this is where my fitting challenge arose!
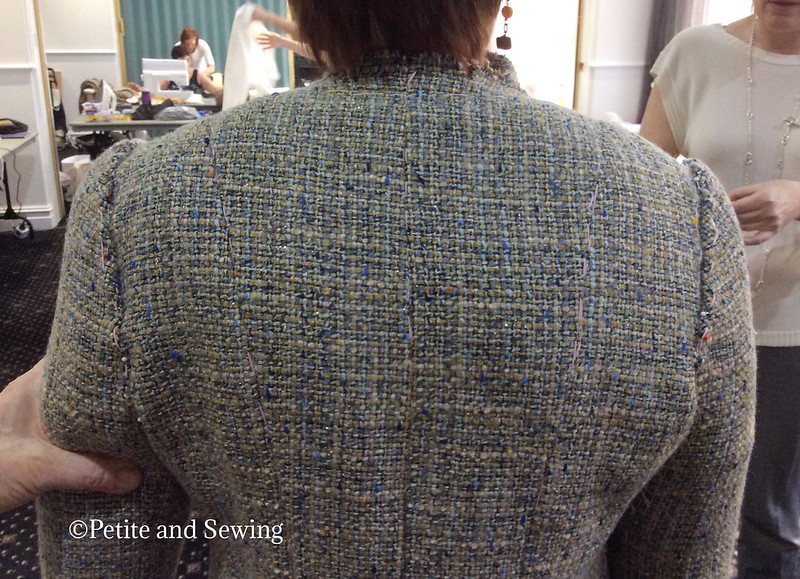
Can you see how the fabric is collapsing on my left hand side where the fabric is sitting very nicely on the right hand side?
It appears I am rather hollow there and it was very obvious in the soft structure of this jacket.
Luckily I had taken some slim shoulder pads to class and Susan took one of them and reshaped it it to look like this,
which when pinned in place filled out the fabric very nicely.
Oh and disregard the extra fabric I have at my under arms, this is not pinned in, you just can't do it so it is left up to me to fit the fabric in the armsyce that "is left" after Susan has pinned in the sleeve cap.
Now back to the hollow in my back, I have covered the shoulder pad that Susan had put together and here it is in the lining fabric,
and it will be hand sewn in place at the shoulder seam and this will let the edge of it sit beside the armsyce curve.
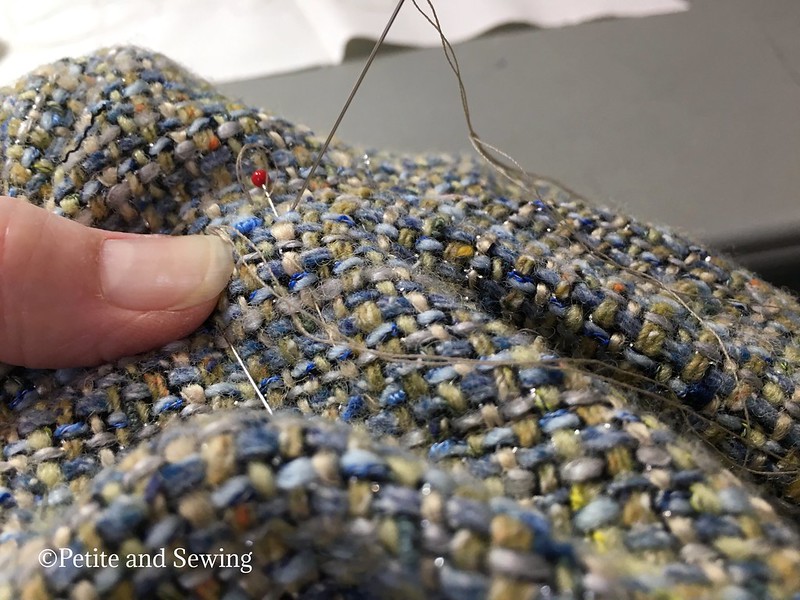
Once the sleeves are pinned in place, I then had to sew the sleeve in by hand, which feels quite insufficient but it is very solid and the drape of the sleeve is so much nicer.
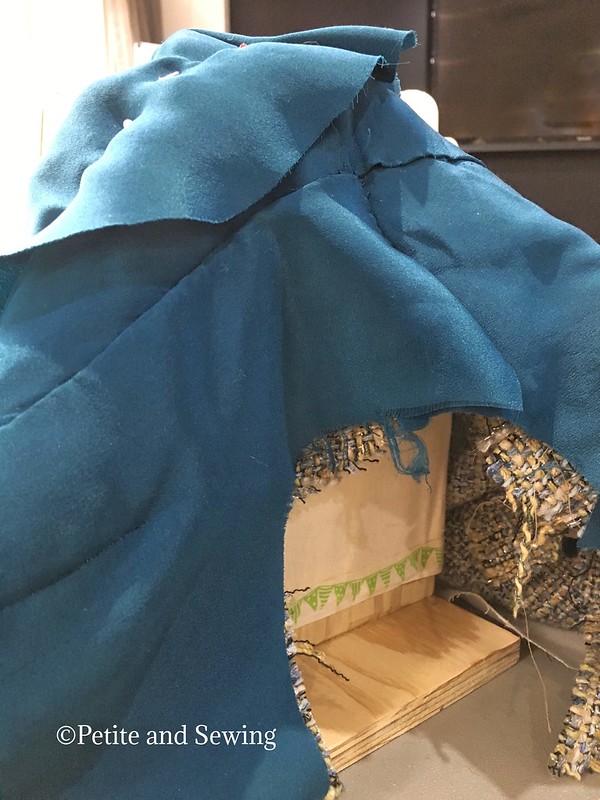
The next challenge was to attach the sleeve lining to the bodice of the jacket without getting yourself into a mess. This is where the wooden sleeve head padded block that I purchased from Bernina Chatswood came in very handy.
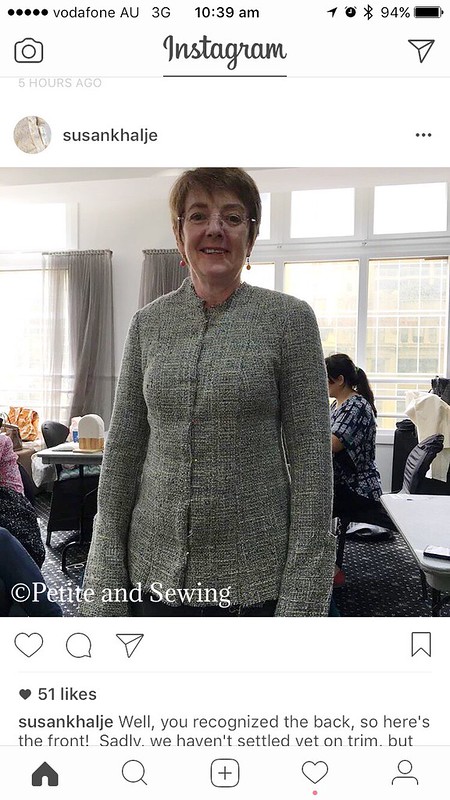
It is the last few hours of our course and a final try on
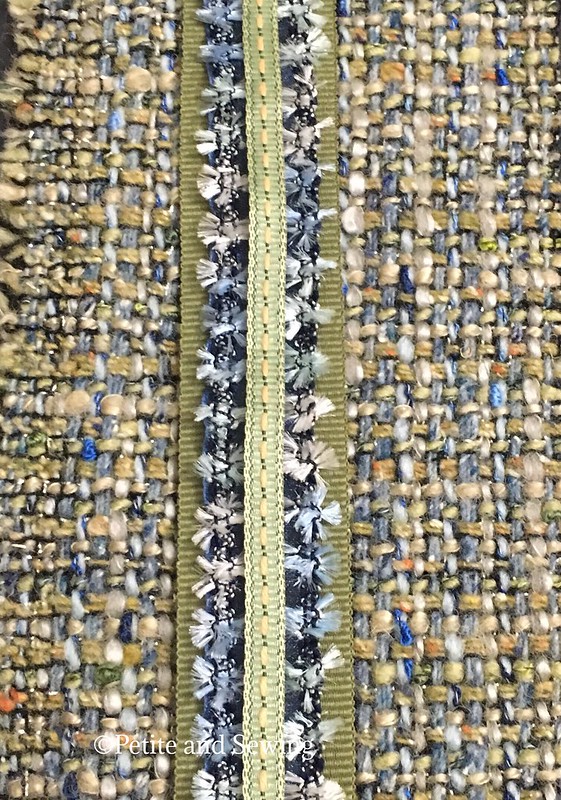
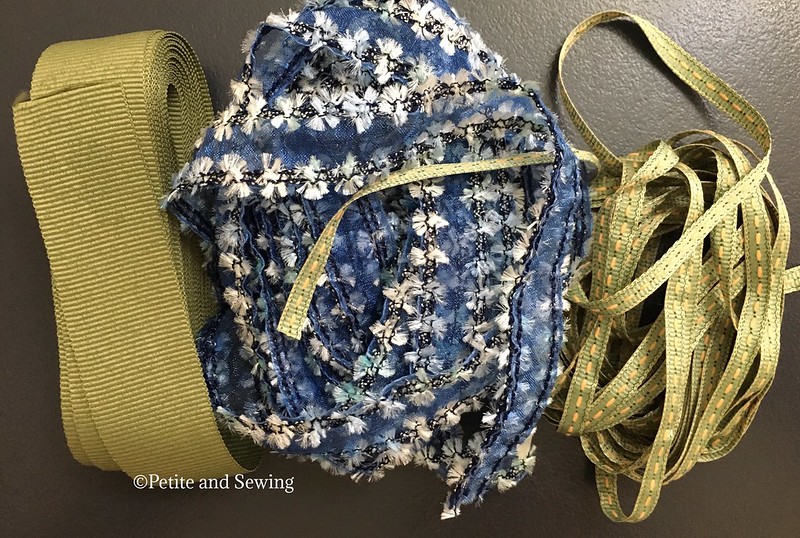
Yes, finding trim was proving to be elusive in Sydney so I sent a piece of fabric to my sister in Brisbane who took it to Sckafs Fabric and I was absolutely blown away by what they chose for my fabric
which consists of
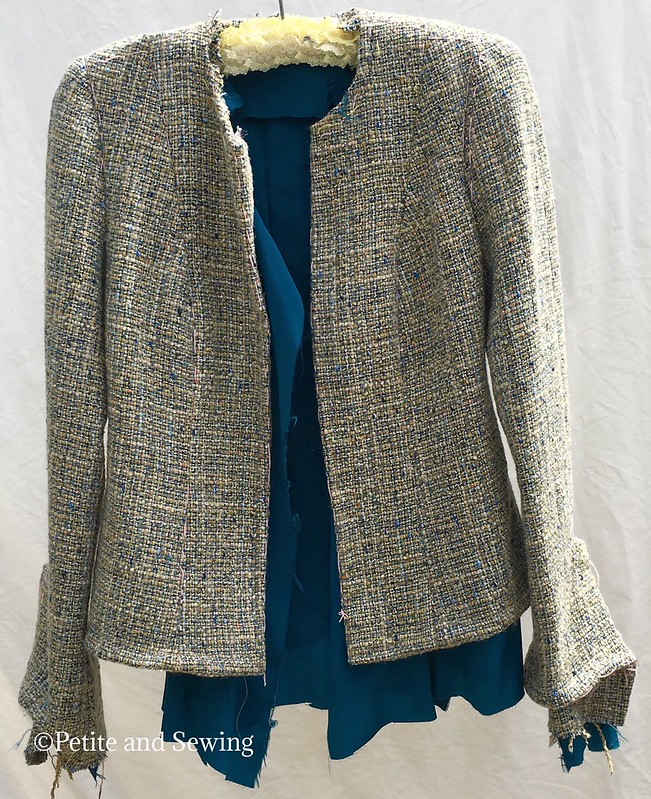
So at this stage my jacket is looking like this
To finish the jacket I still have to handsew:
- all the jacket hems
- sew on the hooks & eyes
- sew the trim on, 3 layers so 6 rounds of sewing
- finish the lining around the edges of the jacket
- sew the chain to the back hem
- find the buttons and sew them on
- make the pockets and sew them in place
At this stage I'm not sure when I will be able to finish my jacket, but my hand is getting better and if I take it a bit at a time it will get done.
******************
2017 Stash Out - 11.6
2017 Stash In - 6.5
2017 Stash Out - 11.6
2017 Stash In - 6.5
Sunday, August 27, 2017
The Classic French Jacket class - Days 1 to 4
Further to my post here on the preparation, here is what happened over the next 4 days.
Again a few more changes were made to my jacket, only slight and this is where I was thankful that I had different coloured Japanese cotton basting thread as it made it much easier to see what the new markings were.
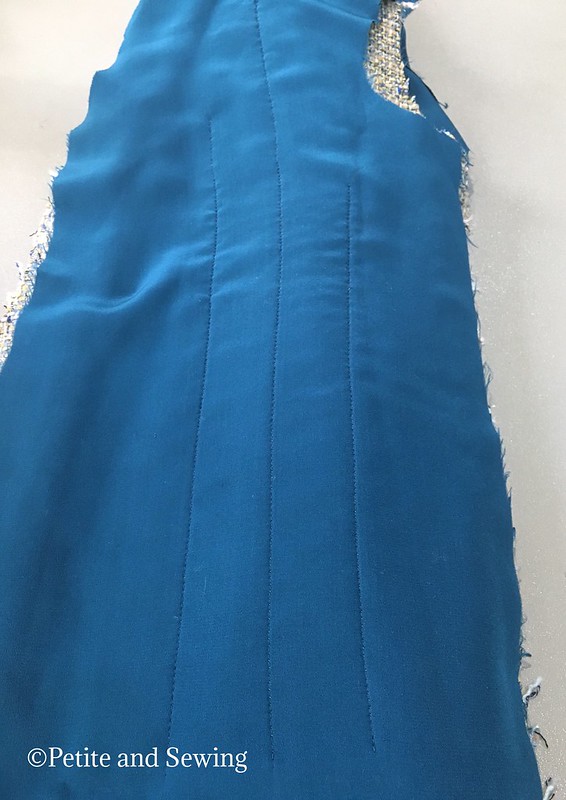
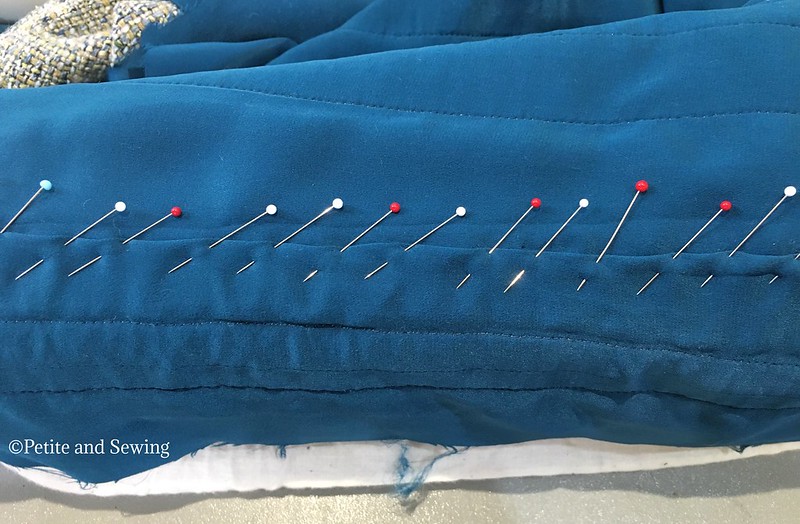
Next the 7 vertical seams are sewn by machine, pressed open, reduce the width of the seam allowances (not by much) of the main fabric. I then placed my seams over my sleeve board so I could pin the lining in place and trim if necessary and fell stitch the lining seams together.
This is where the jacket is really starting to take shape and the weight of it and the amazing fit still brings a smile to my face.
There is still quite a bit more I want to document, the sleeves and a fitting challenge that I didn't expect so I will be back next week with more.
See you soon.
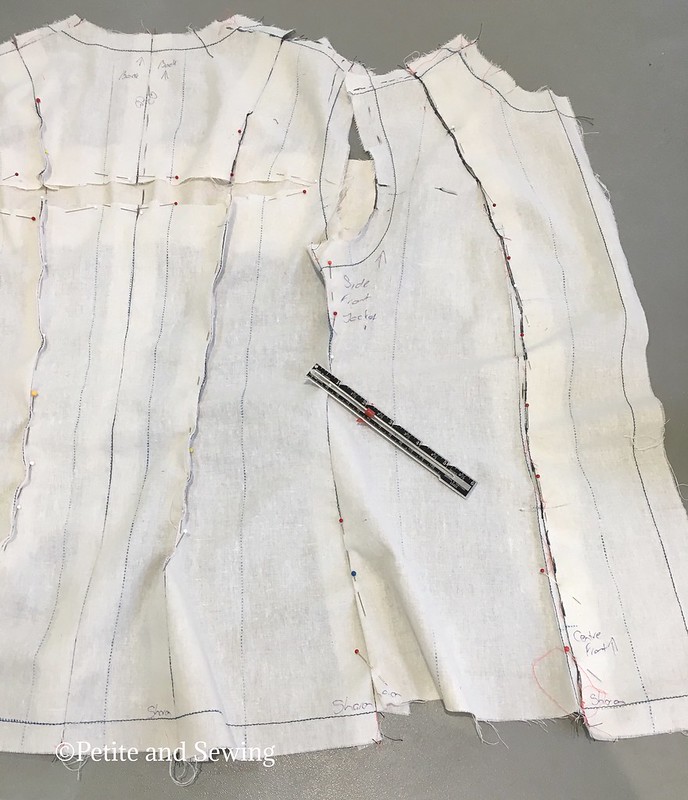
Even with my various toiles, Susan made a few more adjustments to my jacket.
Namely:
- High round back
- Took in the back princess seams slightly.
- Shaved a bit off under the arm back to nothing at the waist and another reduction to the hips.
- Flattened out the princess seam on the front and then letting it out from the waist down to the hips.
- The shoulders were changed slightly but this changed again during the last fitting.
- The sleeves haven't been looked at at this stage, this isn't done until the bodice is pretty much together.
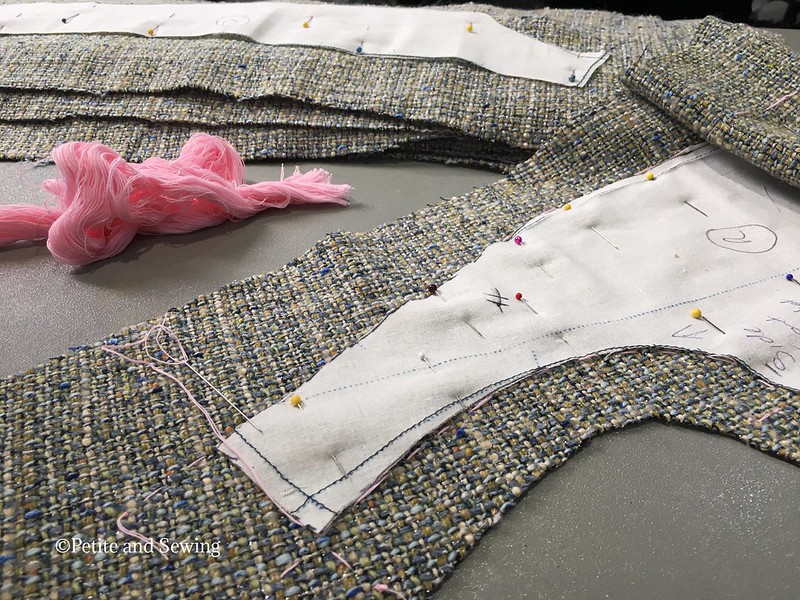
I then took apart my toile, stitched in my adjustments making sure that everything lays flat and then cut off those huge seam allowances to get ready to start positioning the jacket pieces on the fabric to cut out.
Luckily my fabric didn't have a major repeat or nap that I had to worry about.
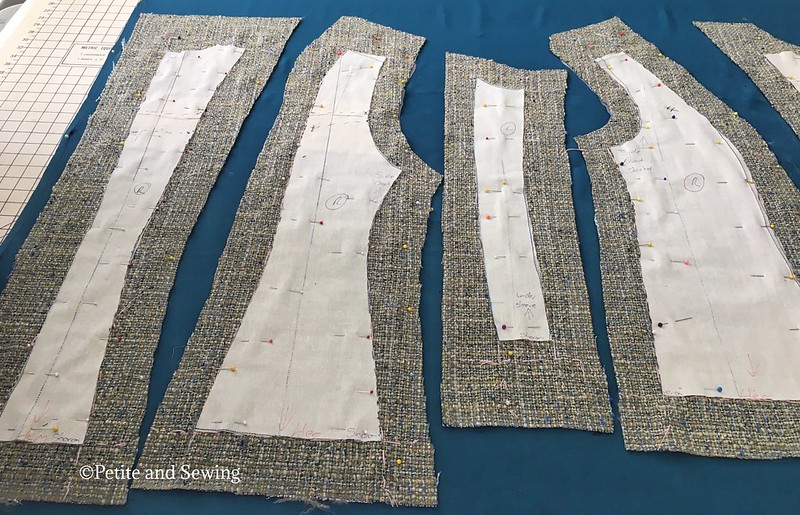
The hardest part was to make sure that I had the 2" of seam allowances on each side of each piece, this lets you handle your fabric without it disappearing in your hands. I tripled checked it all before taking a deep breath and cut it out using my Kai shears.
Then it was time to baste all the stitching and grainlines in place using the Japanese cotton basting thread that I purchased during my week of Couture back in May 2015.
Once I finished all the basting the jacket pattern is removed (I still kept each piece together as they all started to look alike with the huge seam allowances) I then reinforced the "peninsula" of the side front pattern piece above the armscye with silk organza for stablisation and support.
Cutting out my silk lining is next, laying my fabric on top of the silk, getting my grainlines correct and then again cutting it all out.
Finally I got to set up my sewing machine to start quilting all 8 jacket pieces (normally 7 but I have a centre back seam).
Then I hand baste the main jacket pieces together (leaving the lining free) for my second fitting.
Again a few more changes were made to my jacket, only slight and this is where I was thankful that I had different coloured Japanese cotton basting thread as it made it much easier to see what the new markings were.
Next the 7 vertical seams are sewn by machine, pressed open, reduce the width of the seam allowances (not by much) of the main fabric. I then placed my seams over my sleeve board so I could pin the lining in place and trim if necessary and fell stitch the lining seams together.
This is where the jacket is really starting to take shape and the weight of it and the amazing fit still brings a smile to my face.
There is still quite a bit more I want to document, the sleeves and a fitting challenge that I didn't expect so I will be back next week with more.
See you soon.
Saturday, August 19, 2017
Preparation for The Classic French Jacket class
This seems such a long timde ago, but I do want to document it.
In our detailed pre-class notes Susan asked us to bring to class "a fitted muslin/toile".
I have made a couple of jackets using V7975 but my last jacket ended up being a "Miss" as it just felt too large and is currently back in pieces whilst I decide if I can salvage it.
Talking to one of my sewing friends who attended Susan's class in Baltimore, highly recommended Susan's pattern, The Classic French Jacket as she found it had a nicer line and much less fullness over the bust and less ease in the pattern altogether, so this pattern winged it's way to me.
The pattern envelope only contains 2 pages of pattern tissue, one for sizes 4-14 (bust sizes) and 16-24 (bust sizes). I started with a size 6 (e.g. bust 35") which was closest to my high bust measurement.
However when I checked:
During one of the Craftsy sales I purchased the "Fitting Solo - From Measurement to Mulsin with Linda Lee" class and this showed me a very logical way to make the necessary adjustments to the width.
The following adjustments were made to my pattern pieces:
The following adjustments were then made:
1. Lowered front neckline by 1cm
2. Lengthened the sleeves by 1.5cm
3. Shortened the length by 6cm
In our detailed pre-class notes Susan asked us to bring to class "a fitted muslin/toile".
I have made a couple of jackets using V7975 but my last jacket ended up being a "Miss" as it just felt too large and is currently back in pieces whilst I decide if I can salvage it.
Talking to one of my sewing friends who attended Susan's class in Baltimore, highly recommended Susan's pattern, The Classic French Jacket as she found it had a nicer line and much less fullness over the bust and less ease in the pattern altogether, so this pattern winged it's way to me.
The pattern envelope only contains 2 pages of pattern tissue, one for sizes 4-14 (bust sizes) and 16-24 (bust sizes). I started with a size 6 (e.g. bust 35") which was closest to my high bust measurement.
However when I checked:
- my measurements + ease
- minus the flat pattern measurements
- it showed I needed to add quite a bit extra.
During one of the Craftsy sales I purchased the "Fitting Solo - From Measurement to Mulsin with Linda Lee" class and this showed me a very logical way to make the necessary adjustments to the width.
The following adjustments were made to my pattern pieces:
- Neck line gaposis of 1cm
- FBA of 2.5 cm
- Added 0.4 fromt the waist to 1cm at the hip for each seam
- Full Bicep Adjustment of 5.5 cm across the 3 piece sleeve which was very well explained in Fit For Real People on page 172.
- The back pattern piece can either be on the fold or seamed. I chose to seam it as I like the look of the back with the extra seam.
The following adjustments were then made:
1. Lowered front neckline by 1cm
2. Lengthened the sleeves by 1.5cm
3. Shortened the length by 6cm
4. Added more width to sleeves - 2cm at Biceps and 1.5cm at my foreaem, with nothing at the wrist
5. Broadback adjustment of 1cm
6. Dropped armhole and sleeve arms centre by 1.5cm
7. Added 5mm to centre back from neck edge to nothing at the waist.
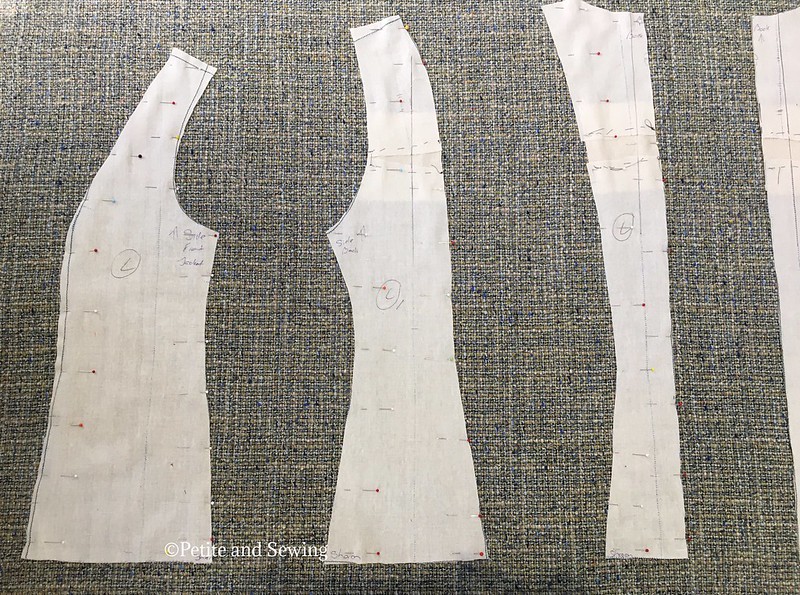
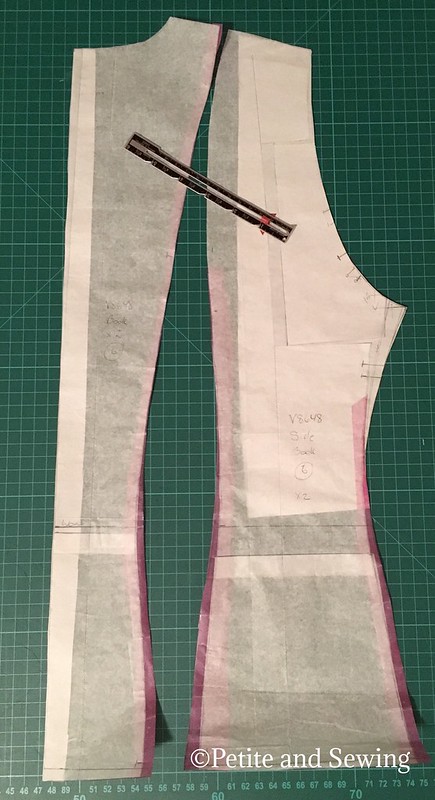
and here are the pattern pieces ready for my 2nd toile:
and here are the pattern pieces ready for my 2nd toile:
Saturday, August 12, 2017
Cream top and other news
When I showed you my Skewed Cowl top, I mentioned that I had made 2 other tops prior to this one during our weekend away.
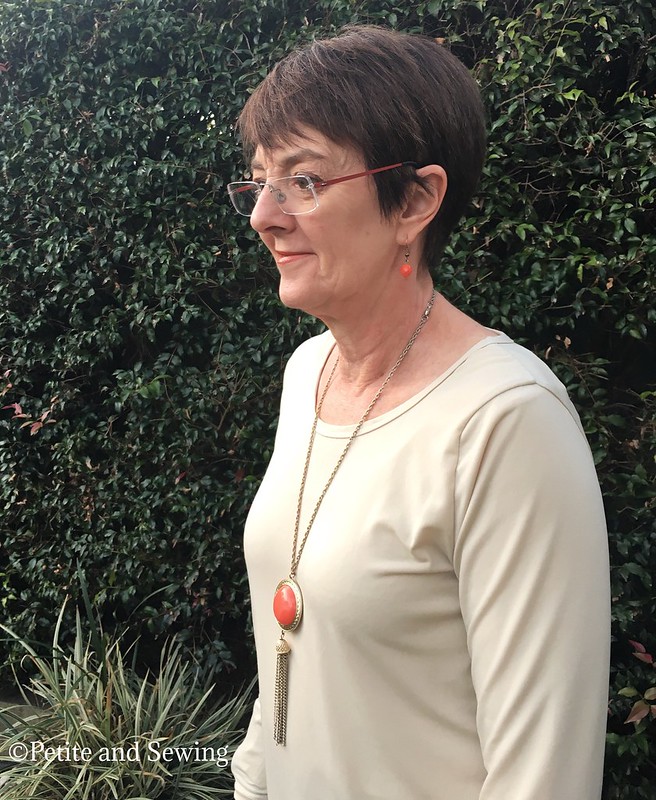
This is the first top that I had partly made but needed some fitting help with.
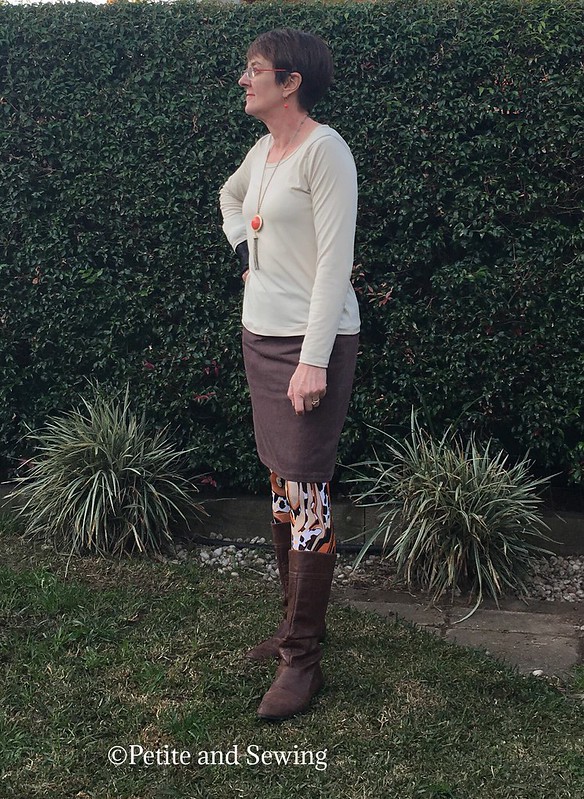
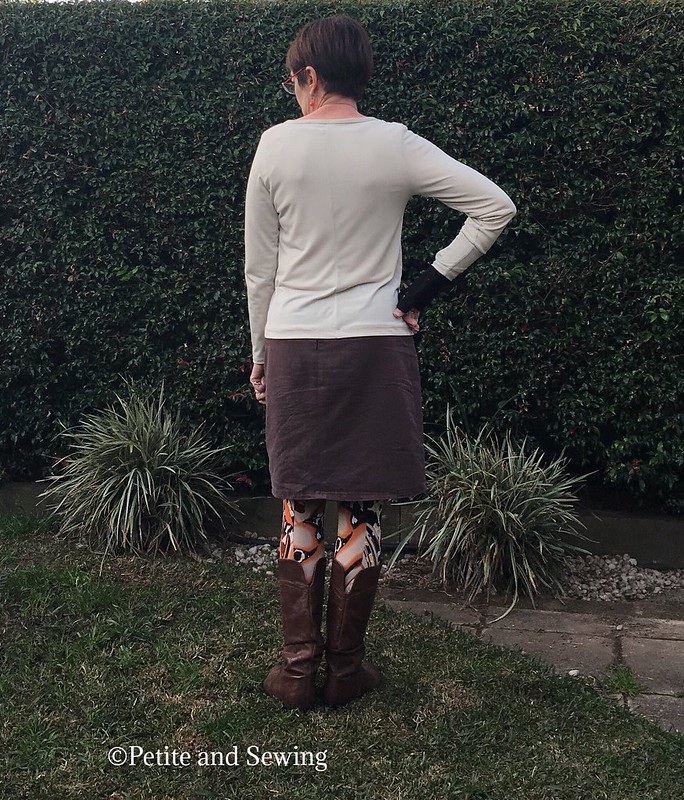
Now I'm not too sure why it has taken me quite so long to replace my cream knit top I made back in 2014 as this top is proving invaluable in my current winter wardrobe.
Again I have used KS 3740 with a further two adjustments:
I did use my Coverstitch binder for the neck band.
Now you may have noticed my accessory on my right hand, it is an Exos splint to keep my wrist and thumb still as I have de Quervain's Tenosynovitis which is a result of all the fine handsewing I did back in February. This has only been on for 2 weeks (I do remove it 4 times a day to do exercises and shower) but I'm not sure how much longer it will take to reduce the inflammation.
So not much sewing, knitting or jewellery making is happening here at the moment but I do have a few more blog posts to catch up on.
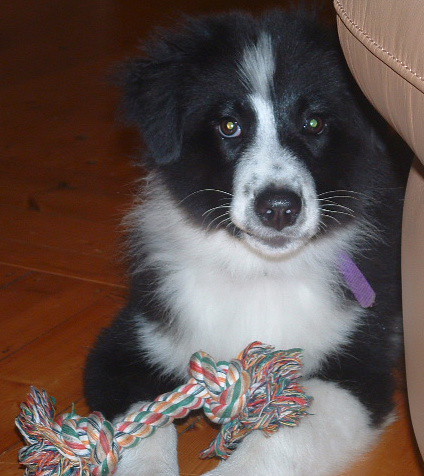
On a much brighter note, please meet Tomba who joined our family at 11 weeks of age and is now 19 weeks old. We are off to his 2nd dog obedience class tomorrow.
Our household was just too quite after Roscoe left us and Tomba (who will be a very similar size to Roscoe) is making our life very interesting.
******************
2017 Stash Out: 7.6 m
2017 Stash In: 4 m
This is the first top that I had partly made but needed some fitting help with.
Now I'm not too sure why it has taken me quite so long to replace my cream knit top I made back in 2014 as this top is proving invaluable in my current winter wardrobe.
Again I have used KS 3740 with a further two adjustments:
- a centre back seam to try and remove some of the excess fabric in the middle of my back, sometimes I think it works others not so sure.
- forward shoulder adjustment that I have been doing to my TNT woven blouse pattern.
 |
I did use my Coverstitch binder for the neck band.
 |
| Twisted sleeve - what now! |
So not much sewing, knitting or jewellery making is happening here at the moment but I do have a few more blog posts to catch up on.
On a much brighter note, please meet Tomba who joined our family at 11 weeks of age and is now 19 weeks old. We are off to his 2nd dog obedience class tomorrow.
Our household was just too quite after Roscoe left us and Tomba (who will be a very similar size to Roscoe) is making our life very interesting.
******************
2017 Stash Out: 7.6 m
2017 Stash In: 4 m
Wednesday, July 26, 2017
Australian Stitches - Stylish Sewing with Stitches
Here is the latest Index for Volume 23 for Stylish Sewing with Stitches.
You are more than welcome to download a copy.
One of the benefits I can see with Open Drive is that I can see how many of you are downloading the files which is wonderful e.g. 284 downloads of the Index for Volume 22.
If you want to find the Indexes for Volumes 12 onwards, they are here.
Enjoy.
You are more than welcome to download a copy.
One of the benefits I can see with Open Drive is that I can see how many of you are downloading the files which is wonderful e.g. 284 downloads of the Index for Volume 22.
If you want to find the Indexes for Volumes 12 onwards, they are here.
Enjoy.
Sunday, June 18, 2017
Skewed Cowl Collared top
The other weekend I want away for a 3 day sewing retreat with the Australian Sewing Guild at The Tops Conference Centre.
I had taken a top that was cut out which I wanted some help with fitting and then fabric for another 3 tops.
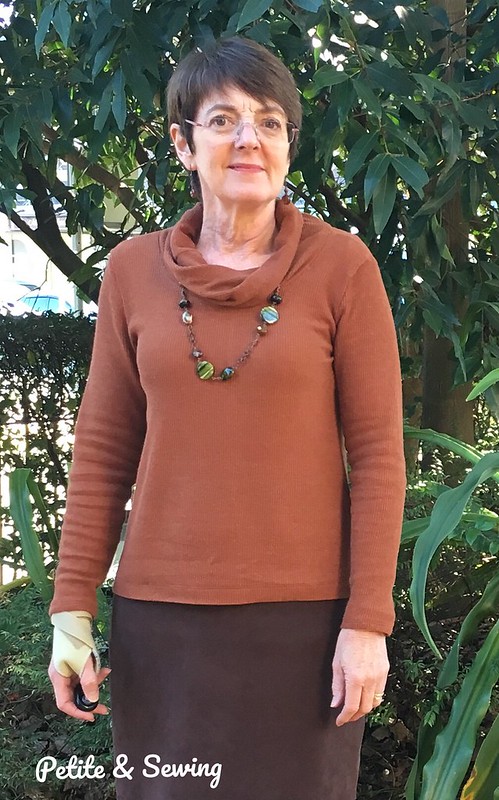
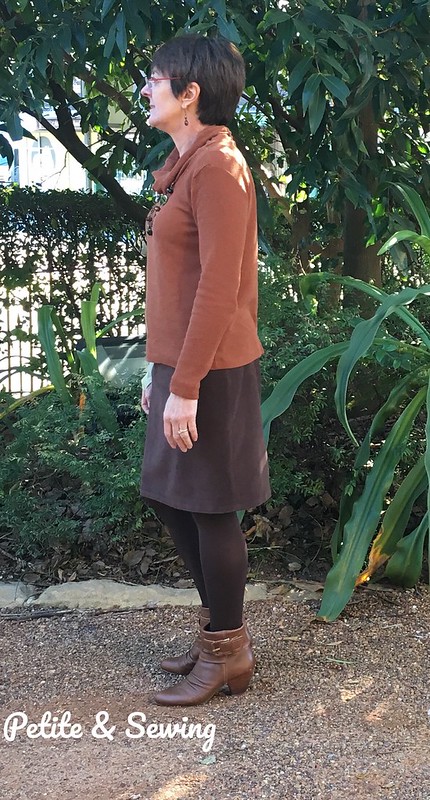
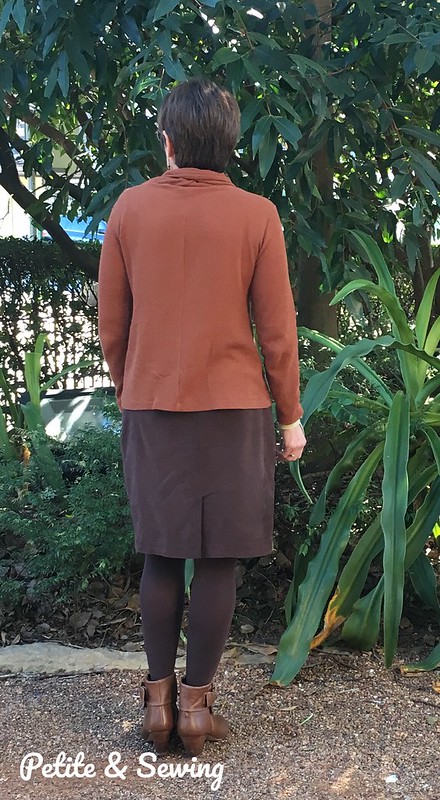
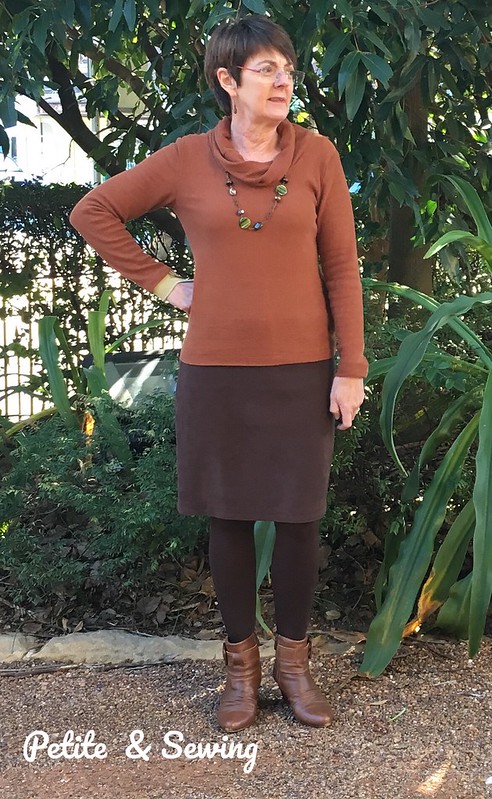
On the 2nd evening I pulled out this camel coloured knit which I purchased during my US trip back in 2011 and had plans to make the cowl neck version of KS 3740 my TNT knit top. Unfortunately there wasn't enough fabric for the cowl from the pattern, but as this fabric had fantastic drape I really wanted a cowl neck of some sort.
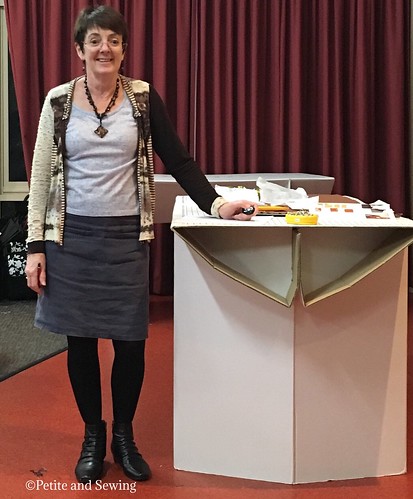 |
| You can see the fabric on the table. |
How I wore it to work the other week.
Now to get photos of the other two tops I made prior to this one!
******************
2017 Stash Out: 6.1 m
2017 Stash In: 4 m
Tuesday, June 13, 2017
Vale Roscoe
This is so hard to write.
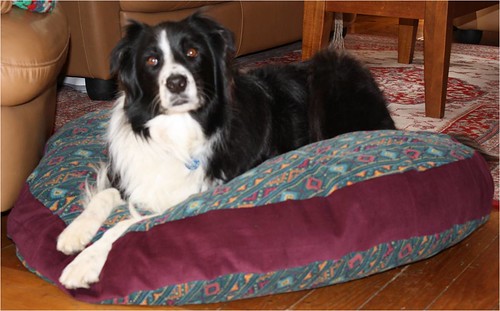
Over the years my long term readers have come to know my beautiful boy Roscoe.
He came into our lives as a 9 week old pup, our fur baby in January 2004.
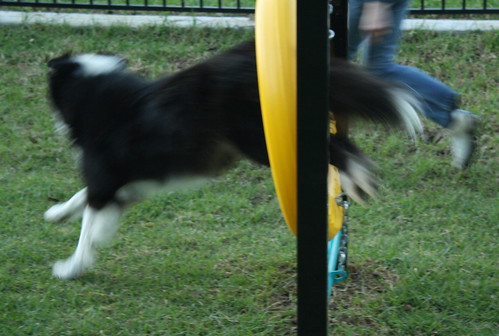
Since then he has been my constant companion, always by my side, we have trained together and even drove around Sydney doing Agility training which he still loved to do at our local Off Leash Area
Roscoe was very accustomed to seeing me taking photos for my blog in the backyard for many years and then for some reason at 6 years of age he decided it was time for him to be included where he managed to be in a lot of my photos from then on.
Our mornings started with the alarm going off and then being bombarded by Roscoe until we got out of bed to go for our morning walk. This was the first part of a morning ritual, breakfast and coffee (frothed milk) with a possible yogurt container to lick and play with were just the mornings. Around 5pm or when we got home another walk and play time was had before dinner and then cuddles until we all went to bed.
He loved catching ball, playing soccer, chasing and catching the Frisbee and of course, a stick was always a great play toy.
One of the treats Roscoe really enjoyed was a trip to the beach playing in the surf and rolling in the sand.
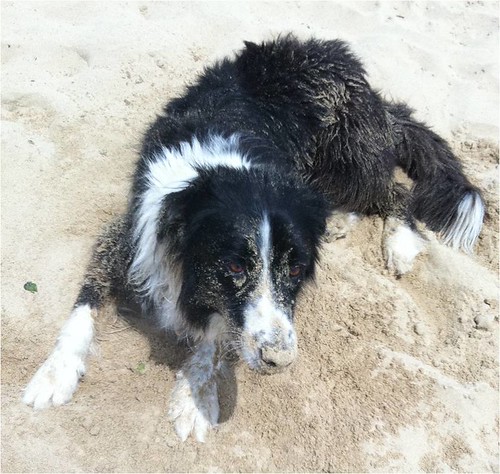 |
| It took days to get all that sand out! |
Last week it all came to a head, Roscoe struggled to walk even half a block without rushing home very distressed. A trip to the vet confirmed our worst fears and we had to say goodbye.
He will be missed!
He will be missed!
Sunday, June 4, 2017
Me Made May 2017 - Another Year
has passed and I do find that May does make me look at my wardrobe in a different way, not just grab the combinations I am familiar with, but to try and change them up and wear garment combinations that I haven't or don't normally wear.
One of the garments that I was very pleased to wear was my couture dress which was finished to wear on Day 5 but at this stage that is the only photo I have managed to get so I promise a lot more information and photos will appear.
An item that Jean from Sew Jean Margaret talked about were her merino layers and as a cold frog this is something that I need to look into further. In fact I know I have the pale coloured merino in the stash and my TNT knit t-shirt will be the perfect base.
Once again May has highlighted that I need more tops, either to replace those that are finally getting too old or plain tops so I can wear my denim jacket and those two jackets from Dilliander which now the weather is getting colder will certainly come in handy.
In part I did get 3 tops made in May, one striped and two plain so I am on my way to fixing the top issue.
Finally if you would like to see any of the photos in more detail, here is a link to my Flicker album and I also now have in instagram account petitieandsewing where I posted my daily outfits.
Sunday, May 28, 2017
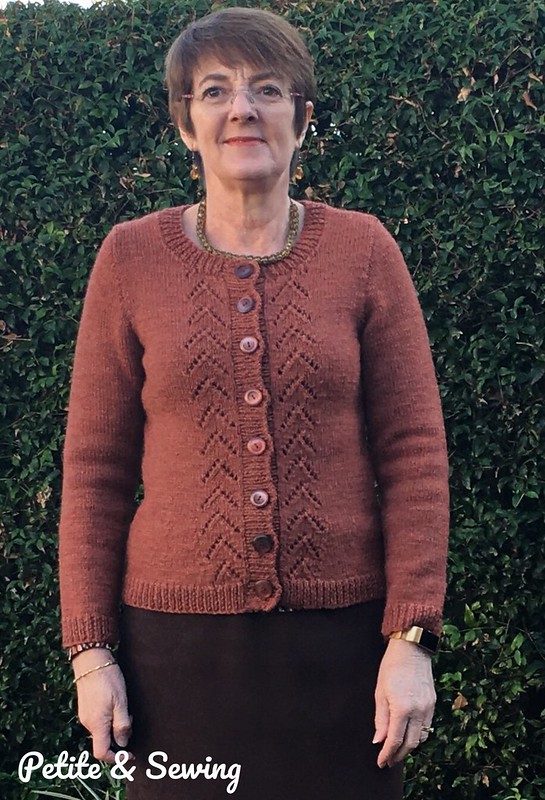
Charlie's Cardigan
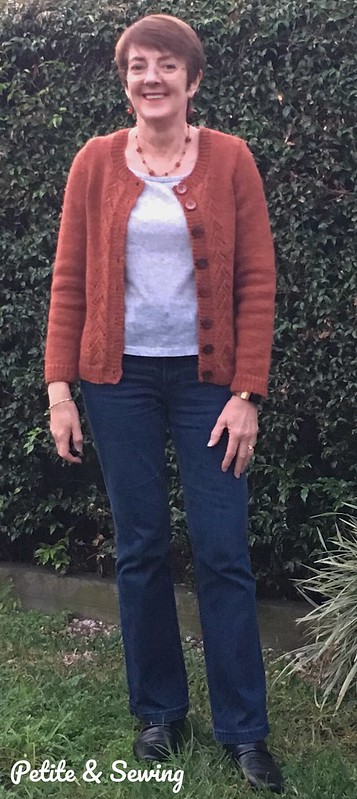
I am so happy with my new cardigan for a couple of reasons.
Firstly I found out about Amy Herzog a few years ago over at Stitcher's Guild and have since purchased her 3 books as well as her Craftsy classes.
As soon as I started to read and listen to Amy I loved the way she spoke about Fabric, body shapes and styles to suit your body all based on your knitting. In fact Franklin Habit from Mason-Dixon Knitting wrote a great post about Amy's 3 books.
Now I struggle with maths, whether it is drafting a pattern or working out how to increase or decrease my stitches for my knitting it just gets me so flustered that I choose not to do it.
This is where Amy's CustomFit has come to my rescue.
There are a number of steps, in no particular order.
Essentially you and a friend take all your measurements, which I found to be more comprehensive than what I have previously done for sewing. The measurement are entered into the CustomFit site (once you have joined).
Then you decided on what wool you want to use, yes you can choose any wool, linen, cotton that you have and that you want to knit a garment with. You knit a swatch of at least 30 stithces by 15 cm (6 inches) and work out your stitch and row gauge and then this information is entered into CustomFit.
Thankfully my knitting stash is not as large as my fabric stash but I had purchased this Bendigo Woollen Mills 8ply Rustic in Sienna back in May 2015 and decided to use this for my first CustomfFit cardigan.
Here is my 3rd swatch, I wanted fabric that I liked the feel of and it was achieved with 4.75mm needles.
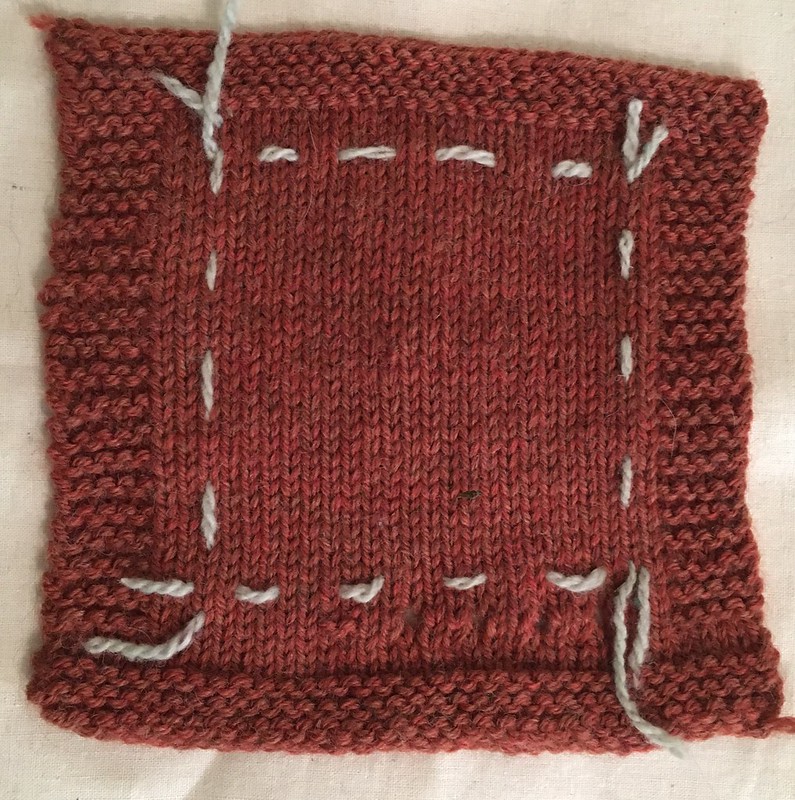 |
| Amy Herzog has a huge amount of information on swatching |
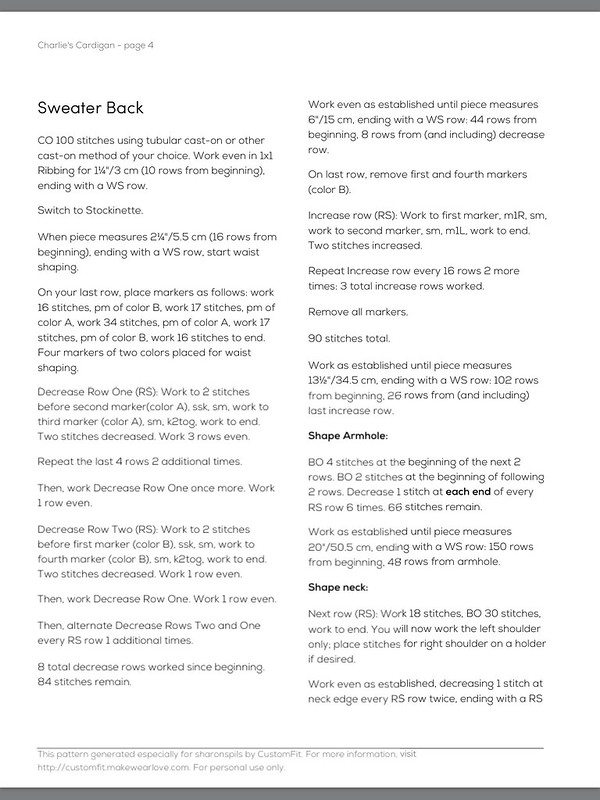 |
| My pattern page. |
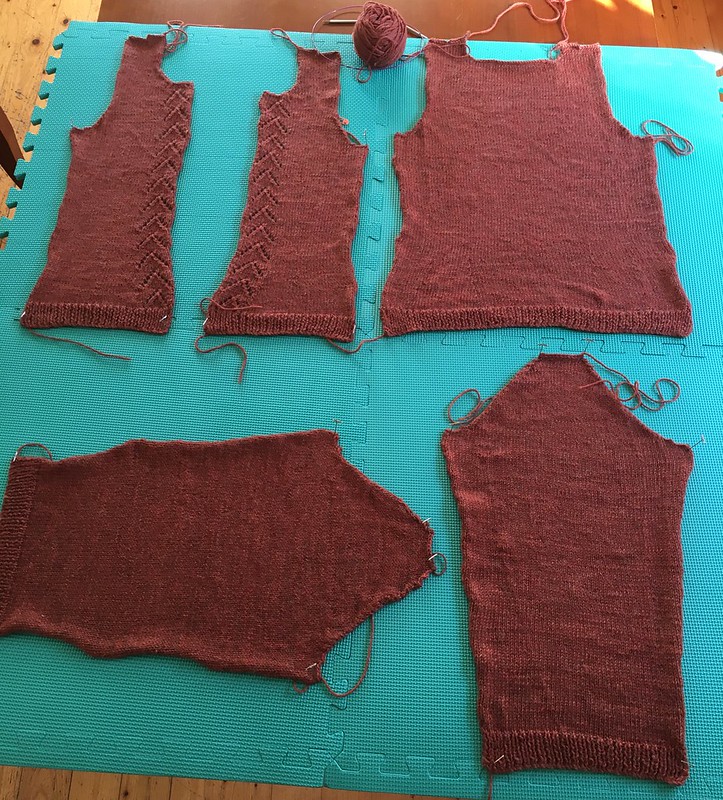
The other reason I am so happy with this cardigan is as you know I have changed my knitting style to Continental and was completely blown away that I could knit this cardigan in 7 weeks!! Normally it takes me at least a year to knit the pieces!
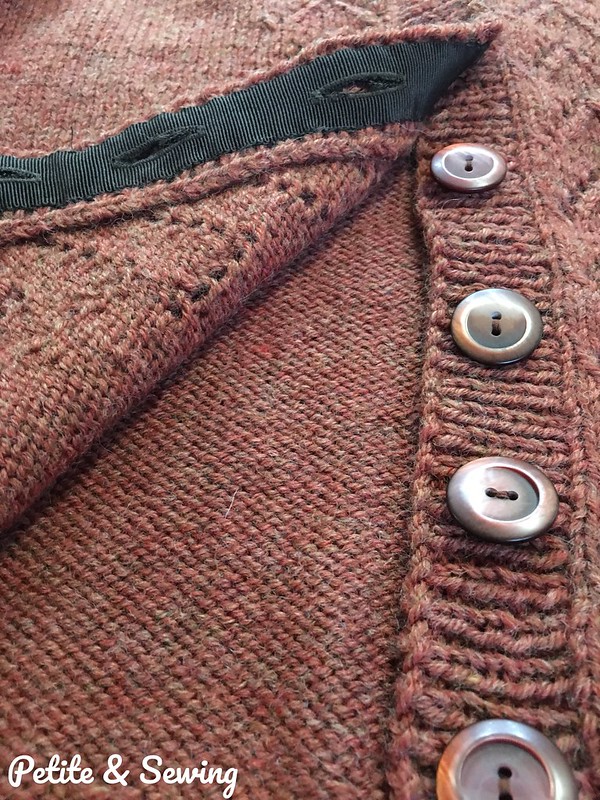
But then it did take me another 7 months to finish it as life got in the way and this was my first button band and then summer was upon us. I finally got motivated to do the neckband and button bands which I also stablised with Panda Petersham purchased from Torb & Reiner in Melbourne.
and it was finally ready for the cooling weather.
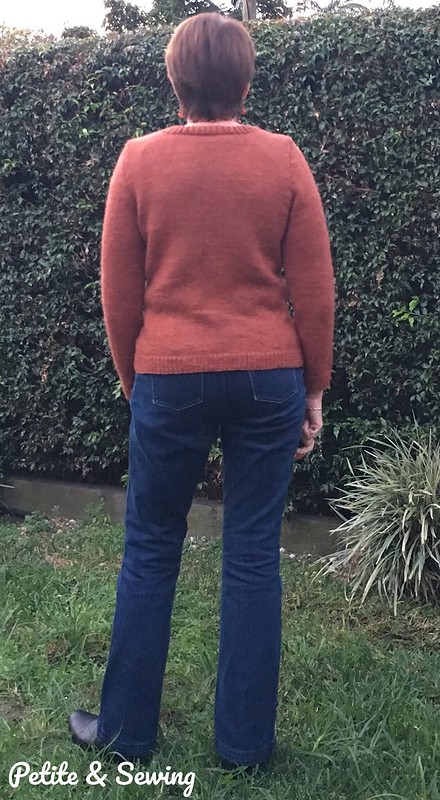
The only change I know I need to make to my measurements is the sleeve length for long sleeves, these could be longer but are quite wearable as they are.
Expect to see a lot more CustomFit knitting!
Subscribe to:
Comments (Atom)

