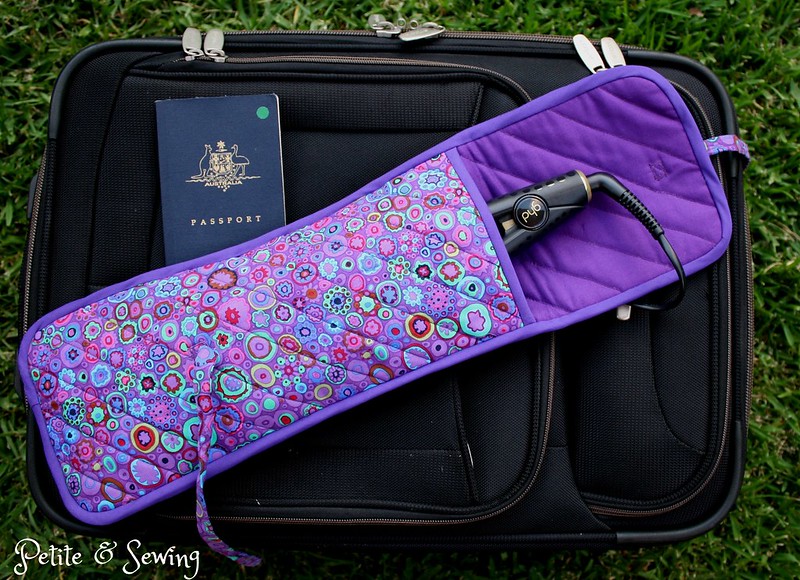
Even though I said my sewing mojo had disappeared, it didn't stop me from making my best friend a Curling Iron travel case for her birthday back in February.
I found this great tutorial over at Sew4Home for a Flat Iron, Curling Iron Travel Case and then spotted the perfect print and plain fabric as well as the Insul-Bright Insulated Lining (so the iron can be packed when it is hot) at The Remnant Warehouse.
The instructions are very well written and easy to understand.
The one thing I did differently was to quilt the sandwiched fabric together to keep it all secure.
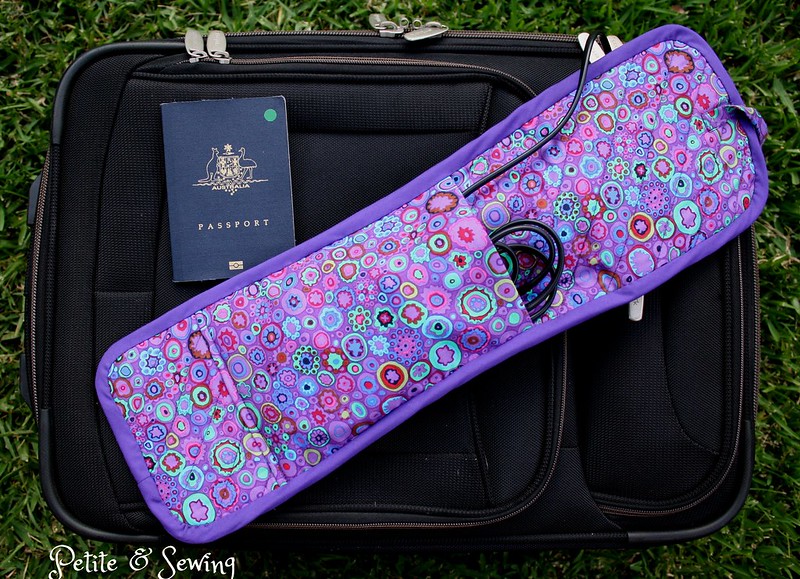
This is the Travel Case closed with the cord in the back pocket. To get an idea of the finished size it is sitting on top of my carry on bag.
The hot iron is encased within the Insul-Bright Insulated lining.
and the cord is then folded into the pocket on the back.
For those days that the iron is cold, you can put both the Iron and cord in the front pocket.
I believe it has been on few trips already!
and, if you haven't entered my giveaway, you still have a few days to do so.
Sunday, March 29, 2015
Friday, March 27, 2015
It was a tie for first place and I'm very happy to see that it was another Aussie, meggipeg!
Now we both get to go fabric shopping at Fashion Fabrics Club so more fabric will be added to the stash!
Sunday, March 22, 2015
Goodies and a GIVEAWAY!
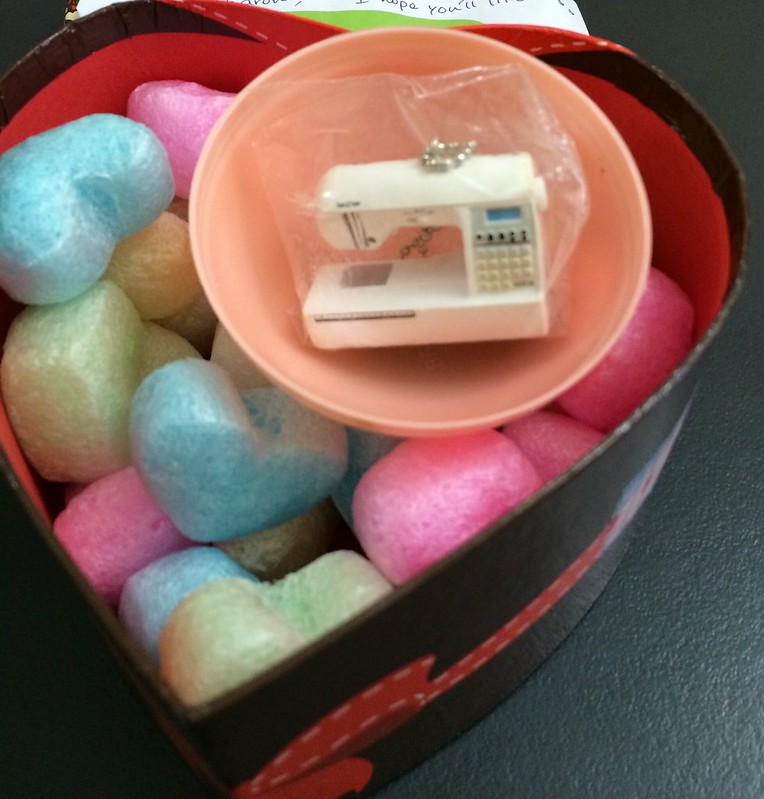
Back in December Yoshimi had a giveaway for a gachapon and I'm certain that Yoshimi heard my squeal of delight when I was a winner.
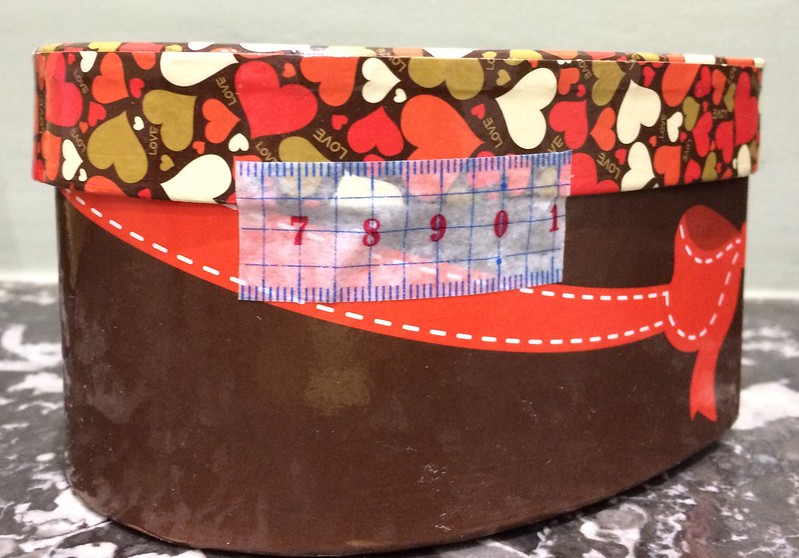
Look at the gorgeous packaging by Yoshimi!
and inside
Isn't that the cutest sewing machine!
and then,
I found a new blogger to me, Mainleydad from The Japanese Pattern Challenge, who I first spotted over at Pattern Review with his Missoni jacket.
Mainleydad is a self taught sewist, and is making himself a very interesting wardrobe, with pieces that might work for Mark (Thread Theory patterns as well as some of his plainer shirts). One product that he uses a lot of is Hug Snug.
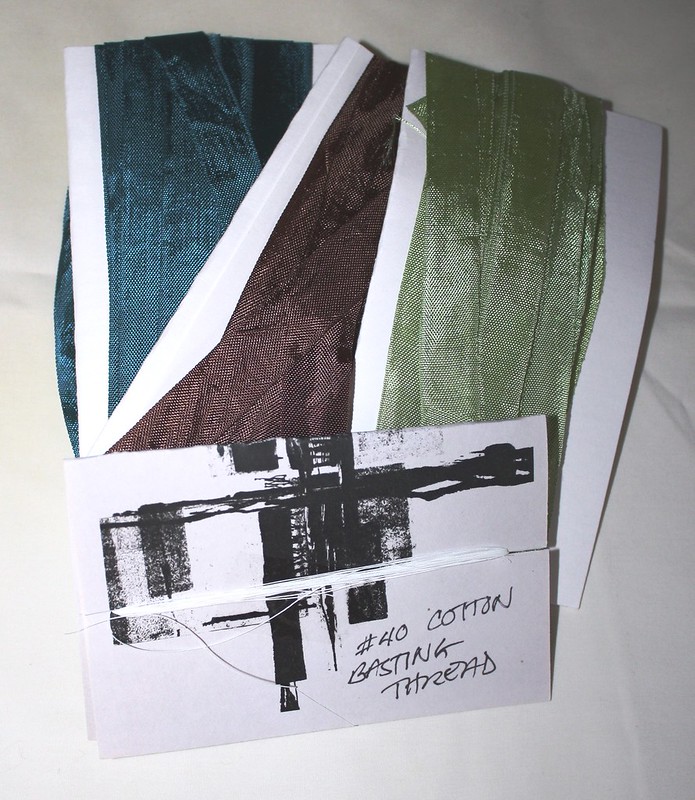
I was blown away when the postman delivered this generous parcel from Mainleydad.
Three different colours of Hug Snug and some #40 Cotton Basting Thread. His note did say, "the basting thread might turn me into a baste-oholic like him", only time will tell.
Mainelydad also shared with me the link for Lilacs & Lace where Laura Mae shows you how to use the Hug Snug
Now it is my turn for giveaway.
I have been trying to tidy up my sewing room and have found these that I thought you might like.
The first is the SideWinder, it is a portable bobbin winder that winds your bobbins without your sewing machine.
Here you can see it in action.
Next is a Sewing Companion Library book that I have ended up with 2 copies, it is Easy Guide to Sewing Blouses and here at Amazon you can have a look at some of what is inside.
If you would like either of these let me know in the comments which one you would like. Entry will be finalised and drawn on 2 April 2015.
Monday, March 16, 2015
New Jeans
I really needed something to kick start the sewing mojo and The Jeans Contest over at Pattern Review did the trick.
With the weather getting cooler I finally admitted that my blue jeans needed to retire, so searching amongst my stash I found some lovely dark navy 10oz washed stretch denim which I had purchased from Spotlight back in 2010. Thankfully it had been pre-washed and was all ready to go.
Again I have used the Jalie Jean pattern which I have made here and here.
One thing I keep forgetting to tell you is how I get the mirror image for the pockets. Jennifer Stern told us about it during the Blueprints to Blue Jeans course over at Pattern Review and Jennifer was given this tip by an ASG member.
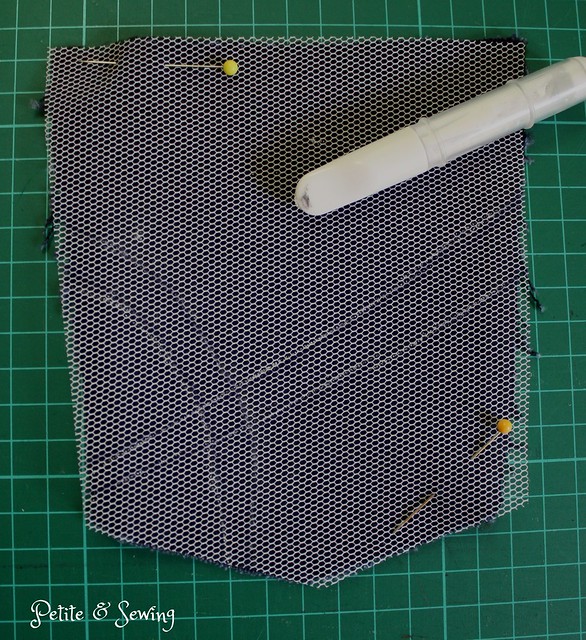
Once you design your pocket, you take a piece of nylon tulle and trace off your design with a Sharpe.
Lay the tulle over your pocket and then trace the lines with your Clover Chaco liner
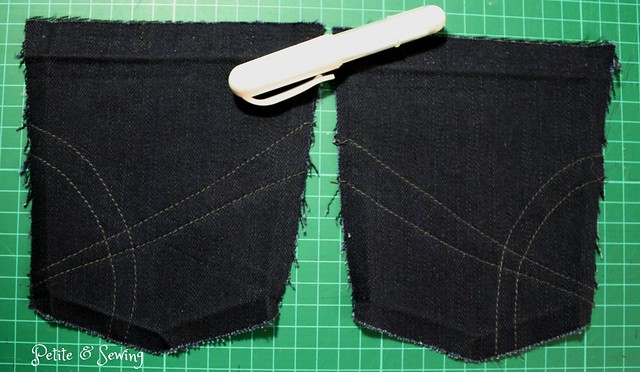
Stitch your design and you have two perfectly mirrored pockets!
and here they are completed
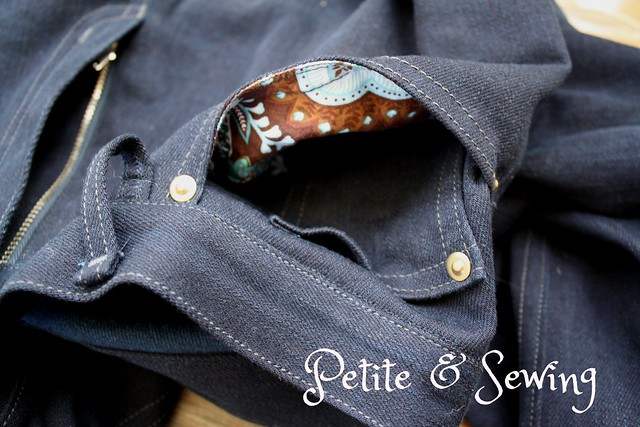
I also dug out this lovely Vera Bradley cotton fabric for the front pockets.
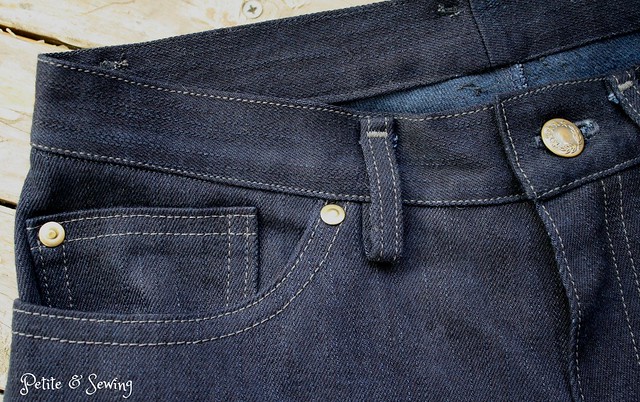
This time I used Debbie Cook's Jeans Fly tutorial and then the buttonhole wasn't working with the automatic buttonhole foot, so I found a great video tutorial for a manual buttonhole over at 3 Hours Past the Edge of the World
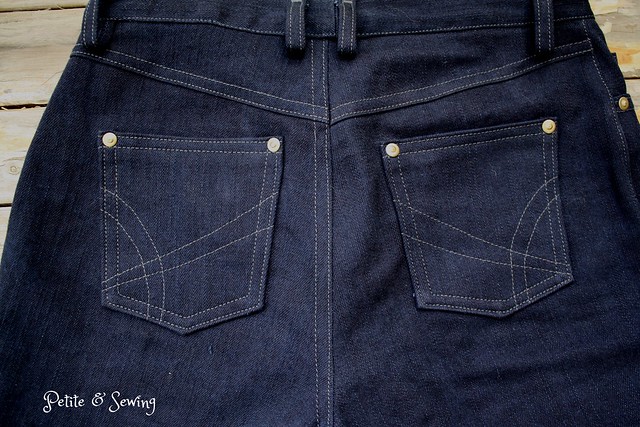
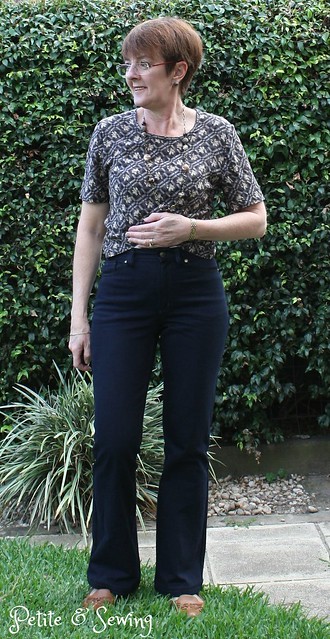
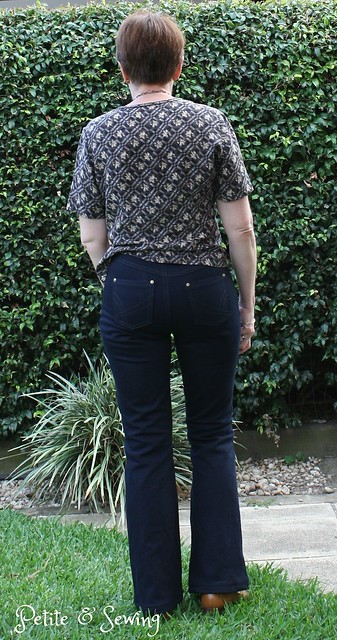
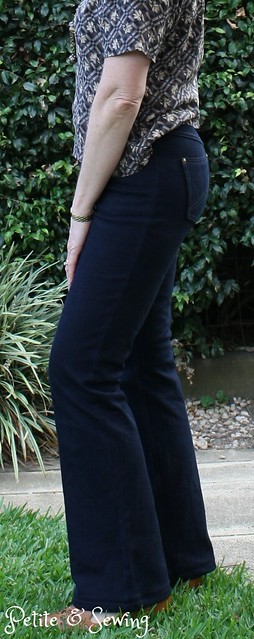
Now for the completed Jeans!
Notions used:
******************
2015 Stash Out: 4.2 m
2015 Stash In: 13.5 m
With the weather getting cooler I finally admitted that my blue jeans needed to retire, so searching amongst my stash I found some lovely dark navy 10oz washed stretch denim which I had purchased from Spotlight back in 2010. Thankfully it had been pre-washed and was all ready to go.
Again I have used the Jalie Jean pattern which I have made here and here.
One thing I keep forgetting to tell you is how I get the mirror image for the pockets. Jennifer Stern told us about it during the Blueprints to Blue Jeans course over at Pattern Review and Jennifer was given this tip by an ASG member.
Once you design your pocket, you take a piece of nylon tulle and trace off your design with a Sharpe.
Lay the tulle over your pocket and then trace the lines with your Clover Chaco liner
Stitch your design and you have two perfectly mirrored pockets!
and here they are completed
I also dug out this lovely Vera Bradley cotton fabric for the front pockets.
This time I used Debbie Cook's Jeans Fly tutorial and then the buttonhole wasn't working with the automatic buttonhole foot, so I found a great video tutorial for a manual buttonhole over at 3 Hours Past the Edge of the World
Now for the completed Jeans!
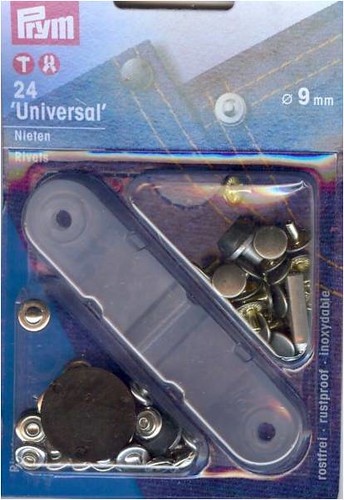
- Prym tool to install all the rivets.
- Gutterman Upholstery Thread # 36 for all the topstitching.
No wardrobe is complete unless you have a pair of blue jeans so I am now ready for the cooler weather that is starting to sneak in.
I'm not too sure what will be next, there are too many ideas running around in my mind.
2015 Stash Out: 4.2 m
2015 Stash In: 13.5 m
Subscribe to:
Comments (Atom)

